
Start with a bowl and a scoop
Mud Kitchen Tools and Supplies: What You Need (and What to Skip)
A mud kitchen does not need matching accessories to be fun. A few sturdy pots, spoons, cups, and scoops create more possibilities than a crowded station full of tools. Here is what to use first, what can wait, and what to leave out.

If you are setting up a mud kitchen for the first time, it is easy to think you need a special sink, stove, or wooden play set. You do not. The most useful kit is made from tools your child can carry, fill, pour, and clean with you.
Keep play tools separate from the kitchen items used for food. Store them in a tote or crate near the outdoor station so setup and cleanup take only a few minutes.
The starter mud-kitchen tool kit
One mixing bowl
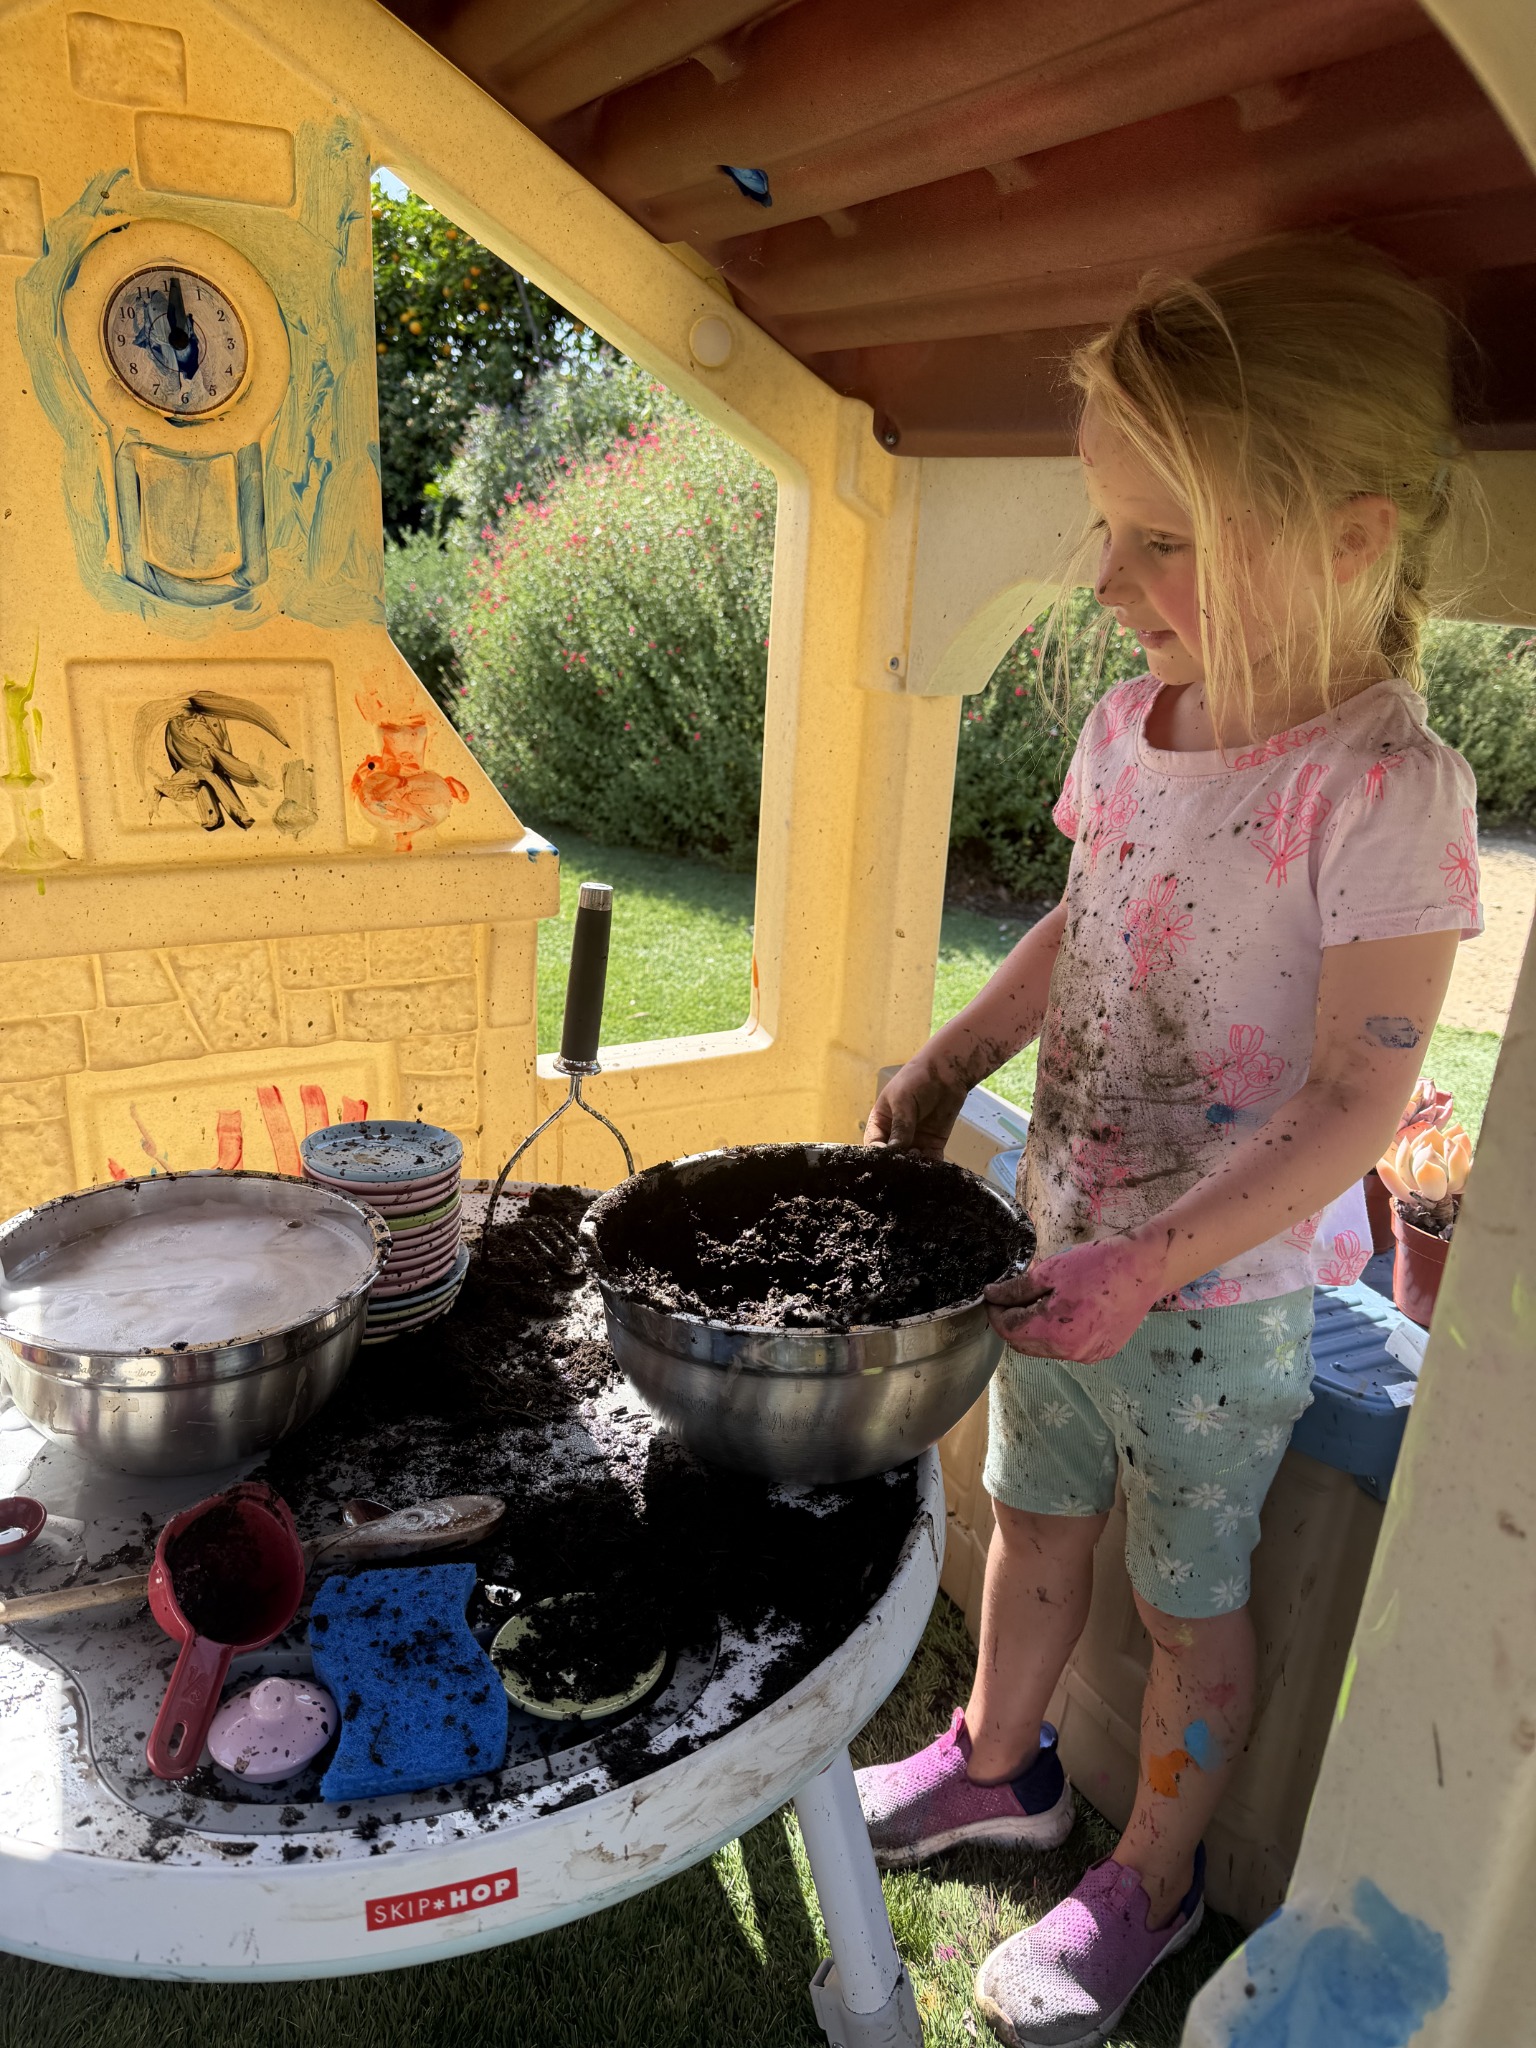
Choose a large, sturdy bowl that will not tip easily. Stainless steel is durable and easy to rinse; a shallow plastic basin can also work.
One scoop and one spoon
A large scoop moves soil quickly, while a sturdy spoon makes stirring and pretending easier. Avoid sharp edges and thin handles that can snap.
Two or three cups
Different sizes encourage filling, pouring, and comparing. Use unbreakable cups with wide openings.
A small water container
A short pitcher, watering can, or squeeze bottle helps children add water gradually. An adult can refill it as needed.
A sponge or brush
Keep a designated sponge, soft brush, and towel nearby for rinsing tools and wiping the play surface.

Household items that work well
- Old stainless-steel bowls: Mixing, sorting, and serving pretend creations.
- Measuring cups: Scooping and pouring with familiar shapes.
- A muffin tin: Making small batches or arranging pretend “treats.”
- A plastic funnel: Pouring into containers with a smaller opening.
- A wide sieve or colander: Separating chunky materials from finer soil, with adult supervision.
- A silicone spatula: Scraping the sides of bowls and stirring thick mixtures.
- A plastic tray: Keeping the play area defined and easier to rinse.
Before using a secondhand or repurposed item, check it for sharp edges, cracks, flaking coatings, rust, loose parts, and handles that could come off. Wash it before play and keep a separate bin for mud-kitchen supplies.
Optional add-ons to add only if they solve a problem
A low shelf or crate can hold tools. Hooks can keep aprons and towels off the ground. A small dish tub can act as a rinse sink. A chalkboard or scrap-card menu can add pretend-play ideas. None of these are required for the first session.
If your child repeatedly transports water, consider a refillable water station. If they make lots of small portions, add a muffin tin or a few extra cups. If the tools disappear into the yard, use a bright bin that stays beside the kitchen.
What to skip in a toddler mud kitchen
- Glass jars, ceramic dishes, or anything likely to shatter.
- Sharp knives, metal skewers, or utensils with pointed ends.
- Rusty, cracked, splintered, or peeling items.
- Small loose parts for a child who mouths objects.
- Electrical appliances or battery-powered toys near water.
- Tools that are too heavy for a child to lift safely.
- Decorative items that will be difficult to clean or easy to break.
Do not feel pressure to buy an entire themed set. A mud kitchen is an invitation to play, and simple tools often leave more room for imagination.
Store and clean the tools
At the end of play, shake or rinse off loose dirt outdoors, then wash tools with soap and water when needed. Let everything dry before storing it in a ventilated crate or tote. Keep the play set separate from food-preparation dishes and bring it in if weather or pests could damage it.
For the full setup, read how to set up a toddler mud kitchen on a budget. For activity prompts that use a basic kit, see 20 easy mud-kitchen activities.
Frequently asked questions
What are the best mud kitchen utensils?
Start with a sturdy bowl, large scoop, spoon, and cups. A muffin tin and small pitcher are useful additions, but you can wait to see what your child likes.
Can I use real kitchen utensils?
Yes, if they are sturdy, age-appropriate, and kept only for outdoor play. Avoid sharp, fragile, or difficult-to-clean tools.
Do I need a mud kitchen sink?
No. A small pitcher and a rinse tub can provide water without a permanent sink or plumbing.




Leave a Reply