
Four tubes can become a whole setting
Toddler Crafts with Toilet Paper Rolls: A Castle and More
Choose a tube project by what you want it to do: stand, become a character, guide a ball, or join other pieces. Start here with a four-tower castle built with broad paper tabs.

Cardboard tubes are wonderfully useful until your toddler decides the whole collection is a telescope department. Save four matching ones for this castle. Their round walls make ready-made towers; the interesting job is attaching flat walls to a curved surface.
This guide to toddler crafts with toilet paper rolls brings together different uses for the same starting material. The castle has its own complete instructions below. The rocket, unicorn and ball-drop choices lead to separate tutorials, so you can choose the kind of making you actually want today.
For a standing build, use uncrushed tubes with level bottoms. Wrap four in paper, prepare four cardstock walls with folded end tabs, and join the walls around the towers. Add an adult-cut doorway before assembly and secure the finished castle to a firm cardboard base.
Choose what the tube needs to do
Stand as a single model
The cardboard-tube rocket adds fins and a paper nose cone. Choose it when you have one good tube and want a model with its own base supports. It is a different assembly from a four-tower building.
Carry a face and paper curls
The tube unicorn with a curled mane keeps the body open and decorates the outside. Its paper strips are curled around a pencil, then attached by straight tabs. Choose it if your child mainly wants colors and a character.
Become a passage for a ball
The cardboard-tube ball drop depends on the opening being larger than its chosen ball. Follow that tutorial’s fit checks and supervision guidance. A tube that looks wide from outside may still be too narrow inside.
Join other tubes into a setting
The castle below uses the tubes as corners, not ball passages or hand puppets. Broad tabs connect each flat wall to two towers. Match the tower heights before assembling; four different heights make this more of a scenic ruin.
Supplies for one four-tower castle
Prepare the cutting jobs before your child joins in.
- Four clean, dry cardboard tubes, about four inches tall and one and a half inches across
- Four white paper rectangles, approximately six by four inches, trimmed to fit the tubes
- Four lavender cardstock rectangles, each six by three inches
- One firm cardboard base, ten inches square
- One glue stick and eight short pieces of clear tape
- A black crayon
- A pencil, ruler, and adult scissors
Use craft tubes or matching paper-towel tube sections if preferred. Avoid crushed rims or loose paper layers. Measure the actual tubes before trimming their wrappers; their circumference determines the overlap you need.

Prepare towers and walls separately
- Wrap the towers.
Try one white rectangle around a tube without glue. Trim its height flush with the tube and leave a modest overlap at the back. Glue and wrap it smoothly, then repeat for the other three.
- Cut shallow tower notches.
An adult cuts four small rectangular notches around each upper rim, about a quarter inch wide and half an inch deep. Keep them shallow and spaced apart. Leave the lower standing rims completely intact.
- Mark the wall tabs.
On each six-inch wall, mark a line one inch from either short end. Fold those lines. The central four-inch section is the visible wall; the two outer sections attach to the towers.
- Prepare one doorway.
On the middle of the front wall, draw an arch one and a half inches wide and two inches high, opening from its bottom edge. An adult cuts it out. The other three walls remain uncut.
- Draw before joining.
Add a few black crayon stone lines to the central wall sections. Draw small tower windows if wanted. Keep the glue tabs mostly clear so wax does not cover their attachment areas.
- Arrange a dry square.
Stand the towers on the base with one wall between each pair. Keep every wall’s bottom edge level with the base and its top below the tower notches. Adjust the corners until all four central wall sections fit without bending.

Connect the curved and flat pieces
- Join the front pair.
Glue each front-wall tab onto the side of its neighboring tube, curving the tab gently to follow the cylinder. Press the whole tab, not just its folded edge. Add one short tape piece over each join while the glue grips.
- Make the back pair.
Repeat with a plain wall and the other two towers. Match the front pair’s spacing. You now have two separate wall-and-tower sections rather than four towers wandering around the table.
- Add the side walls.
Connect the two sections with the remaining walls. Keep the front doorway facing outward and the walls square to one another. Use the remaining tape pieces at the four side-wall joins.
- Secure the castle to its base.
Once the wall joins hold, add glue around each tower’s lower contact edge and along the wall bottoms. Press the model onto the base and let it settle. Lift the finished scene by the cardboard, not a tower.
This is a light paper building. It can frame a scene for small paper characters, but it is not built to carry heavier toys on top. There is no roof or upper walkway.
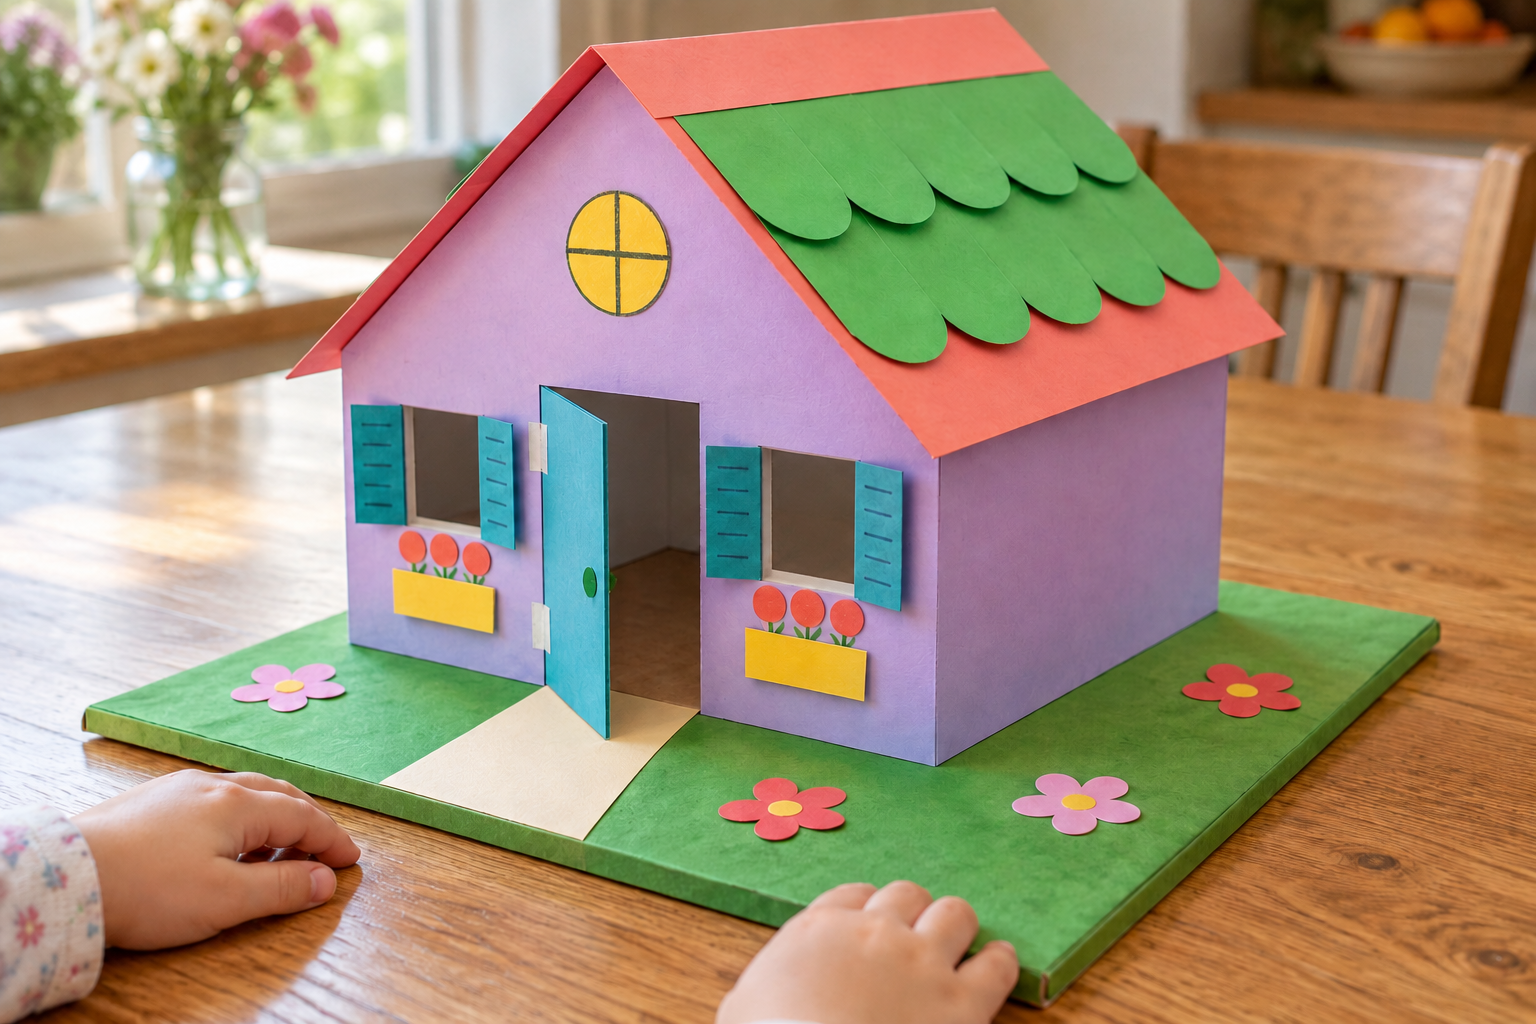
The construction-paper guide’s small house uses a continuous folded wall strip instead. Choose that method when you want a prop that can flatten; these four castle towers stay joined.
Repair the join that is causing trouble
A tab peels away
Curve it against the tube and press its full surface. Add the short tape piece across the join. A sharp fold floating away from the cylinder gives glue very little to hold.
The square twists
Check that all four central wall sections are four inches long. Straighten the arrangement before attaching it to the base. Do not pull one dry corner apart to compensate for another misplaced tab.
A tower rocks
Look for wrapping paper below its lower rim. Trim that paper flush. Replace a badly crushed tube instead of trying to balance it with loose scraps underneath.
The front wall tears
Keep a full inch of card above the doorway and broad sections on both sides. Use cardstock for the wall. A very wide arch leaves little material to connect the towers.
The tower tops bend
Make the next notches shallower and use fewer cuts. Flatten a bent section gently from inside. The decorative rim does not need to hold anything.
The base lifts
Apply glue lightly and keep the cardboard flat while it grips. Avoid soaking the base with paint. Hold the base underneath when moving the scene.
Add a setting without adding weight
Draw paths on the base or place a separate paper moat around it. The shoebox dollhouse has a different kind of interior if your child wants rooms and furniture. Keep those expectations separate from this open courtyard.
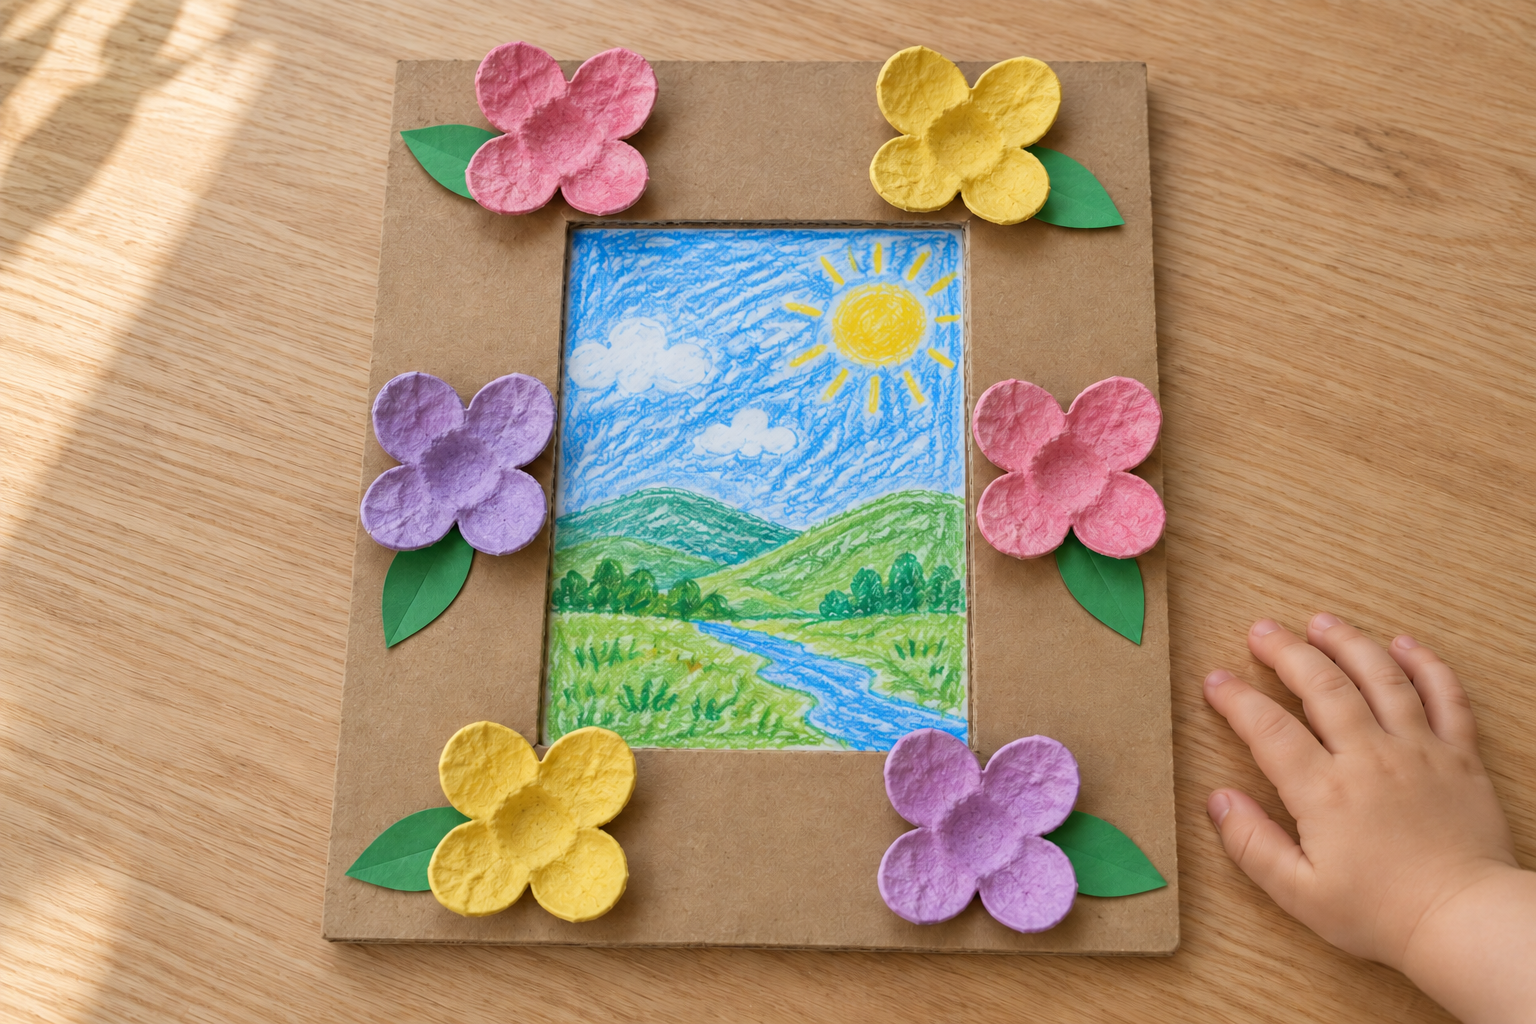
An egg-carton flower frame can display a drawing of the castle afterward. Save its heavier cardboard flowers for the frame instead of hanging them from these thin walls.
Three castle variations
A plain-rim castle
Skip the tower notches and draw a decorative band near each top. The walls and tabs stay the same. This leaves the tubes easier to reuse later.
A color-block castle
Use two wall colors in opposite pairs. Keep the measurements identical. Draw the stone pattern before joining them.
A courtyard picture
Place a small flat drawing inside before the final side wall is attached. Keep its edges within the open courtyard. Do not add tall layers that press against the walls.
Cardboard-tube craft questions
What toddler crafts can you make with toilet paper rolls?
Choose a castle, rocket, unicorn or ball-drop setup from this guide. They use tubes in different ways. Follow the linked tutorial for the project you choose.
Can you use paper-towel tubes instead?
Yes, adults can prepare matching short sections. Check their height and circumference before cutting wrappers. Use uncrushed pieces with level lower rims.
How do you attach flat walls to round tubes?
Use broad folded tabs that curve against the tube sides. Press the full contact area and reinforce with short tape pieces. A narrow edge alone is an unreliable join.
Does the cardboard castle need paint?
No, white wrappers and colored cardstock provide the color. Draw details with crayon before assembly. That keeps wet paper out of the structural joins.
How do you store a tube castle?
Keep it on its base in a shallow box with room around the towers. Lift underneath the base. Check loose tabs before bringing it back for another play session.





Leave a Reply