
Real-deal craft
How to Make a Paper Mâché Bowl Without Flour
Paper mâché looks charming right up until the wet newspaper welds itself to your favorite mixing bowl. The fix is boring but essential: wrap the mold first. Then you can let your preschooler get gloriously gluey while you quietly make sure there are enough overlapping layers for a bowl that actually lifts off in one piece.

What you need
Use what you have; the quantities are for one small setup.
Supplies and quantities
- 1 small sturdy mixing bowl, about 6 inches across, to use upside down as a mold
- Clear plastic wrap, enough to cover the entire outside of the mold
- About 8–10 full newspaper pages, torn into strips roughly 1 inch wide
- 1/2 cup plain white PVA school glue
- 1/2 cup plain water, for a roughly 1:1 glue mixture
- 1 shallow dish and a washable brush or spoon
- 1 old towel or protected table surface
- Optional: washable craft paint and a broad brush after the bowl dries

Before you begin
Turn the mold upside down and wrap its outside snugly in plastic wrap. Tuck the wrap under the rim so no bare ceramic or glass peeks through. Smooth the big wrinkles, but you do not have to get it museum-perfect. The plastic is what lets your finished shell escape later.
Tear newspaper strips before anyone opens the glue. A mix of short and long pieces is useful: long strips cross the dome; short ones tuck around the curve near the rim. Tear instead of cutting when possible, because ragged paper edges disappear into neighboring pieces more easily.
Mix the glue and water in a shallow dish until it looks like thin white cream. The exact amount absorbed depends on your newspaper, so make another small batch if you need one. Put the inverted mold on the old towel and nominate one side of the table for dry strips; otherwise every strip becomes a glued-together newspaper sandwich.
How to make it
- Lay the first layerBrush a little glue mixture onto a newspaper strip, then smooth it over the wrapped outside of the upside-down bowl. Overlap the next strip by about a finger-width. Work from the top of the dome toward the rim and cover the whole surface. Keep the open bottom edge fairly even and do not wrap paper underneath the mold.
- Add two more crossing layersBrush or dip strips lightly and lay the second layer across the direction of the first. Add a third layer at another angle. Smooth air pockets with the flat of a hand. A little wrinkling is part of the look; large dry patches are the bits that split later. You should still be able to see the bowl shape.
- Tidy the rimPress short pieces along the edge where the bowl will open. Stop at the rim rather than folding strips under it; folded-under paper can lock your shell onto the mold. Wipe off puddles of glue collecting at the bottom of the towel.
- Dry completelyLeave the mold upside down in a ventilated spot where no one will use it for dinner. Let the paper dry at least overnight and often 24–48 hours, depending on humidity and how wet the layers were. The outside should feel firm and room-temperature dry, not cool, tacky, or bendy.
- Lift, peel, and finishAn adult gently works a fingertip around the rim and lifts the dry shell from the plastic-covered mold. Peel the plastic away from the inside. If the shell flexes or feels damp underneath, set it open-side up to finish drying. Adults can trim an uneven rim with scissors, then offer paint only once everything is dry.
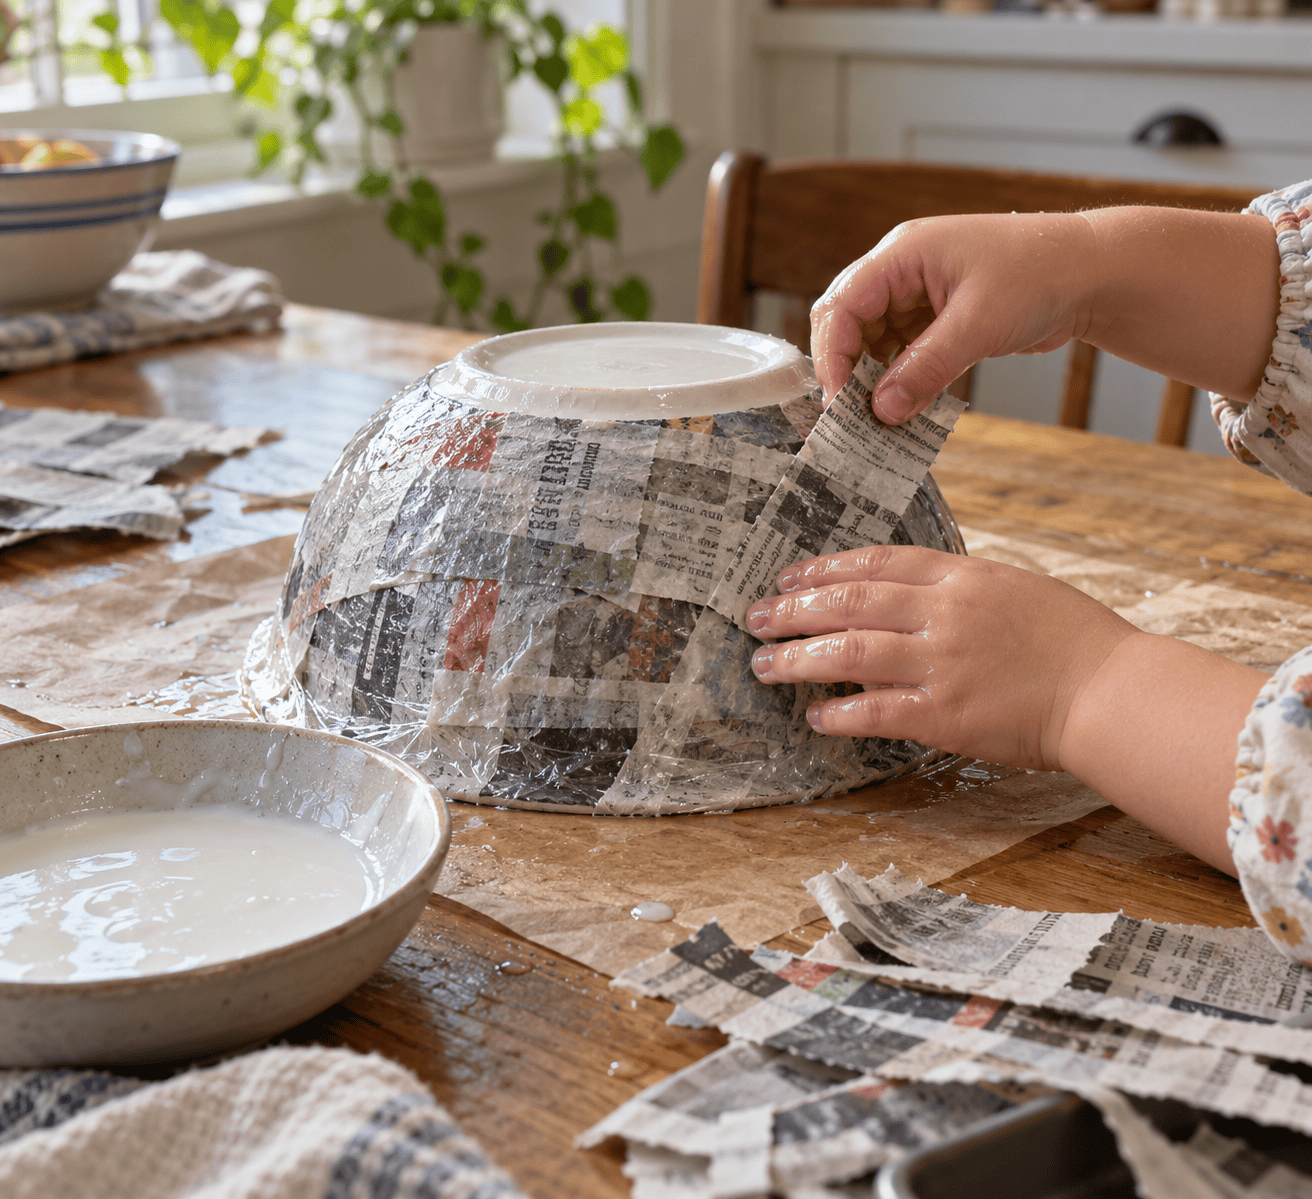
The second layer is where my kids usually decide a glue-covered hand is more interesting than the bowl. I keep a damp rag nearby and carry on. If you can still see loose dry flaps at the end, brush those down before the bowl dries; they do not magically attach overnight. If your child prefers a quicker keepsake, the salt dough tutorial is a very different project with a solid dough rather than layered paper.
What to do next
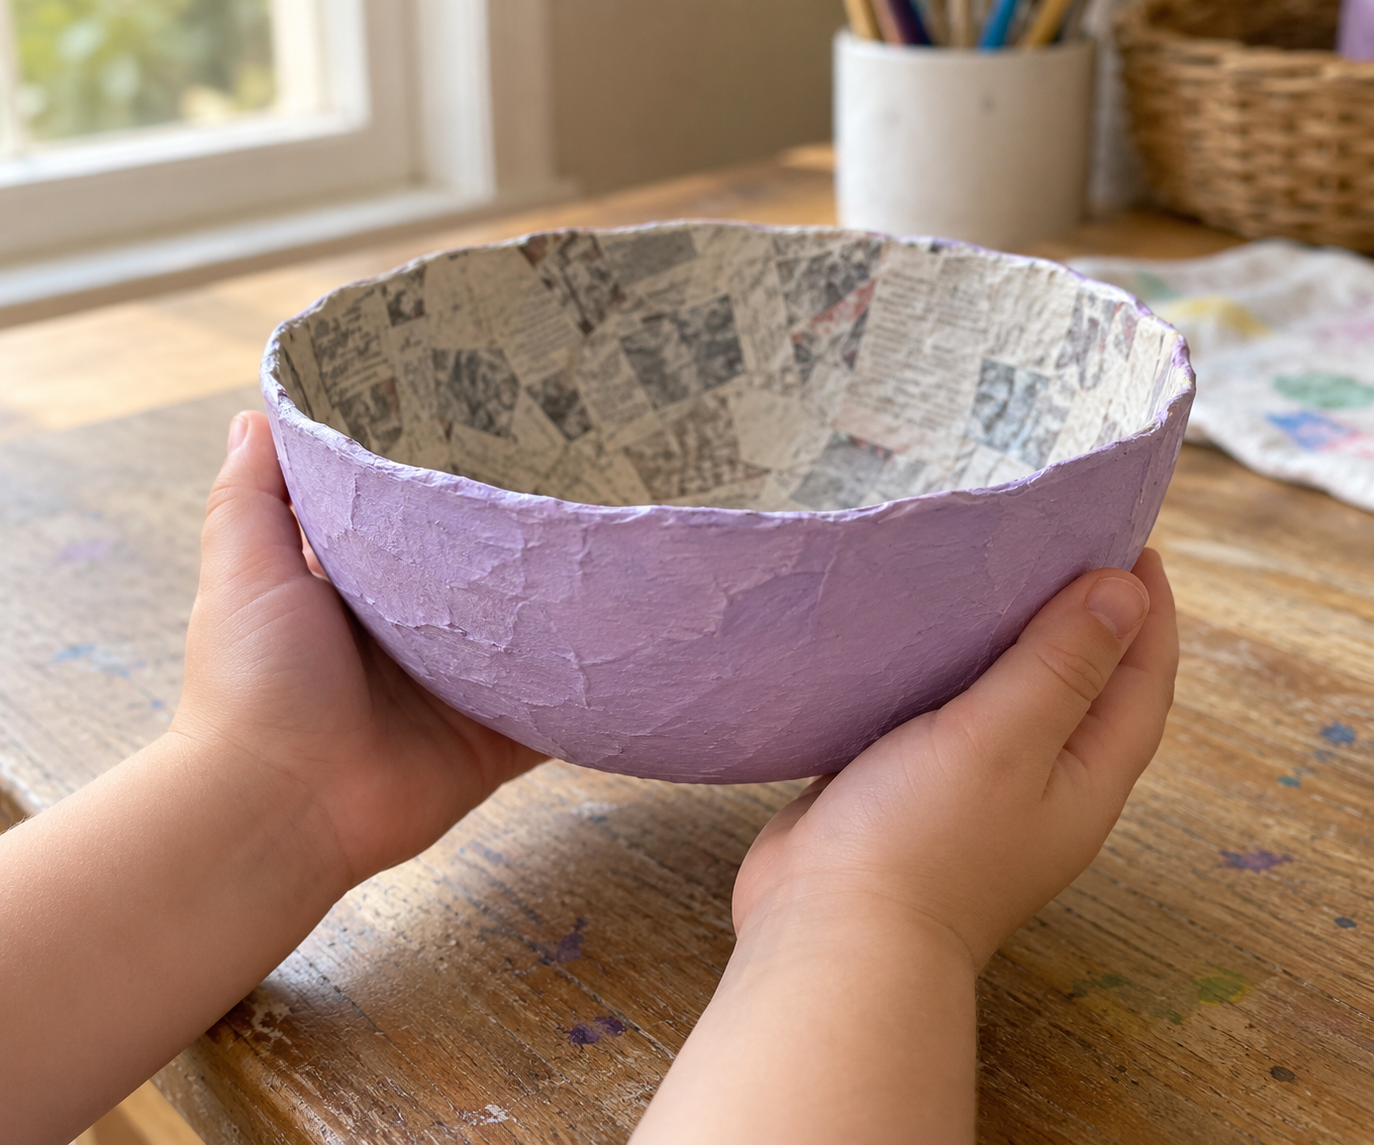
Treat the finished bowl as a decorative catchall for large, dry treasures, not a food dish or a water container. Paint the outside in one thin coat, let it dry, and add another if you want stronger color. I like leaving the newspaper visible inside because it proves this started as an alarming pile of soggy strips. A pencil cup or shelf display is kinder to paper mâché than the bathroom sink.
Loving this? Next try Baking soda air-dry clay. Want something that can be done over a weekend – save Homemade scratch-art paper for a longer project!
Small setup details that help
The glue ratio is forgiving, but the paper should feel coated rather than swim in the dish. I usually brush the strip on the tray, lift it by one end, and smooth it onto the bowl. Pulling a strip through the glue with two fingers works too, if the finger-glue situation is already beyond saving. Check the mold from eye level before you walk away: is the rim clear, are there three layers over the top, and does any newspaper disappear underneath? Those three checks prevent most of the miserable unmolding stories. Put the drying bowl somewhere children can look at it without testing its squishiness every hour.
Troubleshooting: real fixes
The shell will not come off the mold
Check for newspaper folded under the rim. An adult can snip the trapped edge carefully, then loosen the shell a little at a time. Never yank a damp bowl.
It is still soft after a day
Give it more airflow and time. A thick, puddled layer dries slowly; turn the released shell open-side up only once it is firm enough to lift.
A hole appeared between strips
Bridge it with two or three fresh overlapping pieces of glue-wet newspaper and let the patch dry fully. Do not rely on paint to fill a structural gap.
The bowl collapsed after removal
It was likely too damp or had too few overlapping layers. Return it to the protected mold if possible, add a couple of crosswise layers, and allow a longer dry.
Three ways to change it up
Unpainted newsprint
Leave the paper visible and paint only the rim once dry. The text and little color blocks make a surprisingly good pattern.
Tissue-color finish
After the shell is dry, brush on a thin top layer of colored tissue with the same glue mix. Let it dry again before displaying.
Shallower trinket bowl
Use a shallow mold and stop the paper at its rim. The drying and unmolding steps stay the same; this one works better for bigger collected leaves or chunky toy treasures.

A quick safety note
Frequently asked questions
Can you make paper mâché without flour?
Yes. This method uses plain white school glue thinned with water, so there is no flour paste to cook or store. Use approximately equal volumes and coat the strips lightly; drowning them slows the drying.
How many layers does a paper mâché bowl need?
Three overlapping layers are a useful starting point for a small six-inch bowl. Cross the strips in different directions and cover gaps at the rim. A larger bowl may need more reinforcement and drying time.
How long does a paper mâché bowl take to dry?
Plan on 24–48 hours, sometimes longer in a humid room or with very wet strips. The shell should be firm and dry underneath before you paint or put anything inside it. Timing matters less than how it feels.
Why did my paper mâché stick to the bowl?
Bare spots in the plastic wrap or paper folded under the rim can trap it. Wrap the entire outside of the mold and stop the paper at the rim. Let the shell dry before gently releasing it.
Can I use a balloon instead of a bowl mold?
You can, but a wrapped mixing bowl makes a stable, open decorative dish with less surprise during drying. A balloon is a different shape and adds a popping step. This tutorial is sized for a sturdy bowl mold.

Leave a Reply