
Make-it-yourself art
How to Make Scratch-Art Paper with Crayons and Paint
The reveal is ridiculous fun: a black sheet that looks completely unpromising suddenly gives you neon swirls. But homemade scratch art has a very specific failure mode. If you skimp on the crayon layer, the black paint sticks straight to the paper and nothing bright appears underneath. Let your preschooler go heavy on the color for once. They have been training for this moment.

What you need
Use what you have; the quantities are for one small setup.
Supplies and quantities
- 1 sheet heavy white cardstock, about letter size
- 6–8 bright wax crayons, wrappers removed or peeled back
- 2 tablespoons black washable tempera paint
- 2–3 drops plain liquid dish soap
- 1 small dish and 1 broad paintbrush
- 1 blunt wooden craft stick for scratching
- 1 old towel and a drying spot where the page can lie flat

Before you begin
Cover the table. Black washable paint is still black paint, and a determined preschooler can transfer it onto a sleeve in one hug. Keep a damp cloth close and put the finished page on a tray where nobody will set a snack on top of it.
Peel enough wrapper from the crayons to use their broad sides. Choose strong colors like yellow, pink, orange, blue, and green. Pale pastels can look subtle under the black coat. A sheet of heavier cardstock handles paint better than thin printer paper.
Plan to split this into two short sessions. The first is crayon and paint; the second is scratching after the black coat is truly dry. Trying to hurry it with a craft stick while wet produces gray smears and one disappointed small artist.
How to make it
- Cover every bit with crayon
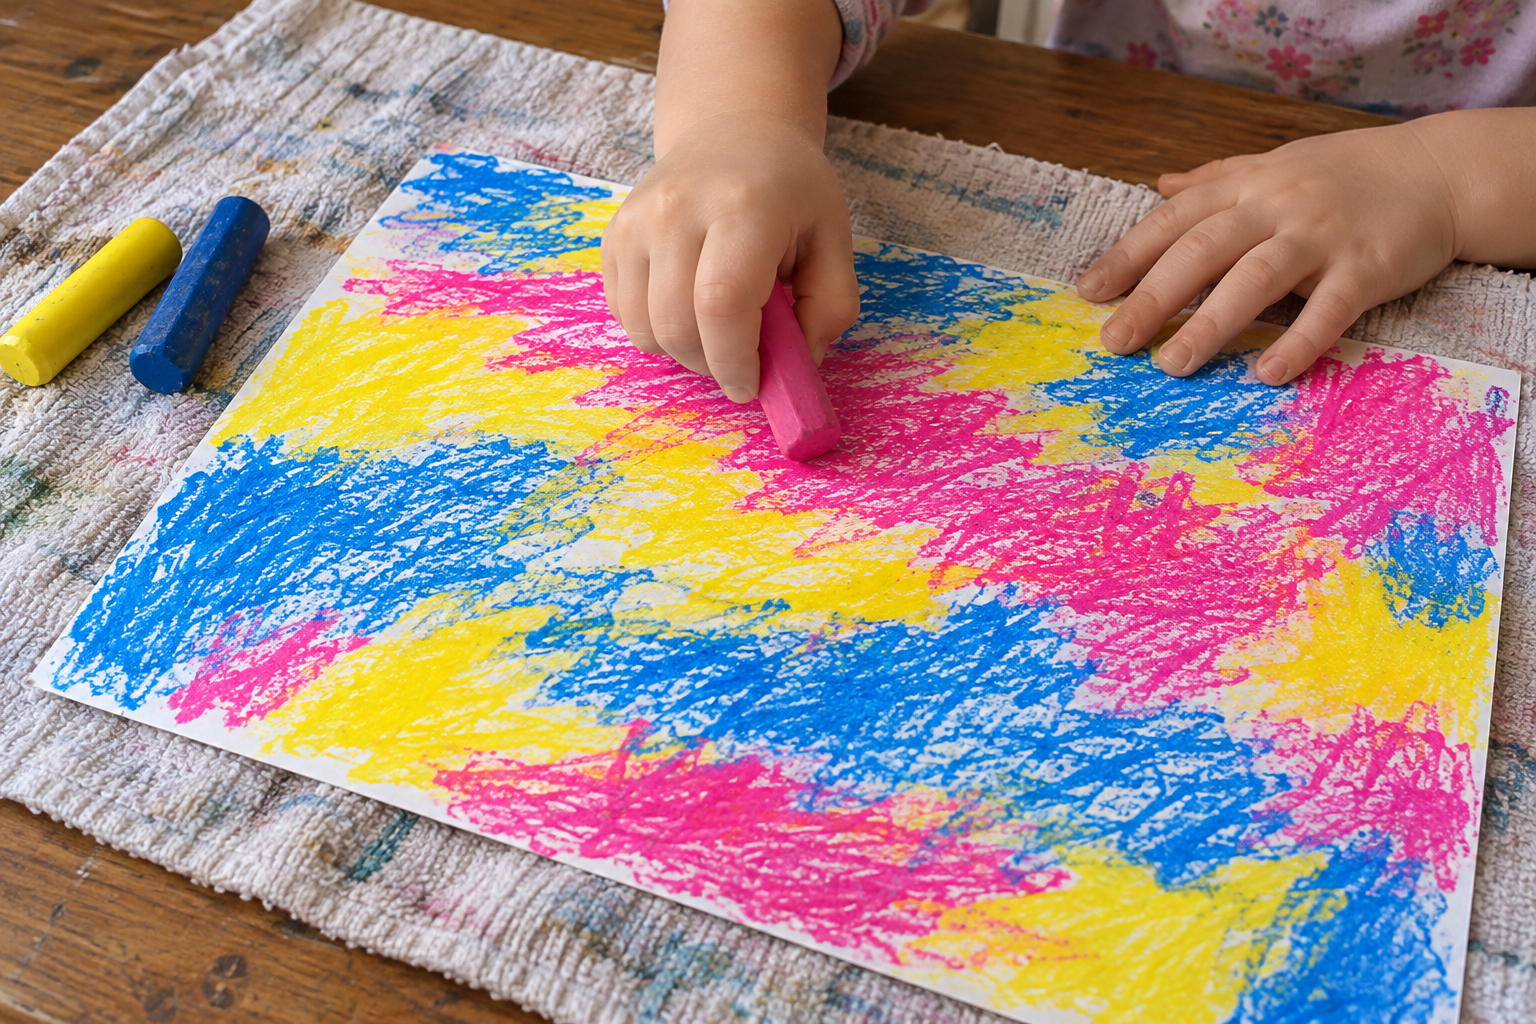
Use the broad sides of wax crayons to fill the cardstock edge to edge with dense, overlapping bright patches. Press enough to make a waxy layer. Hold the sheet up to the light: if large white islands remain, color them in before reaching for paint.
- Mix the top coat
Stir 2 tablespoons black washable tempera with 2–3 drops dish soap in a small dish. The soap helps the paint spread over wax, but too much makes it foamy and streaky. An adult can measure while your child chooses where the finished sheet will dry.
- Paint one thin coat
Brush black paint evenly over the crayon layer. Do not scrub back and forth over one spot for ages. If a few colored streaks show through, allow the first coat to dry before deciding on another thin pass. Thick blobs take longer and crack when scratched.
- Let it dry flat
Set the sheet on a flat tray for about 1–2 hours, or until the whole surface is matte and does not transfer black onto a fingertip. Humidity and paint thickness change the timing. Lift an edge gently to check that it has not stuck to the towel.
- Scratch a test line
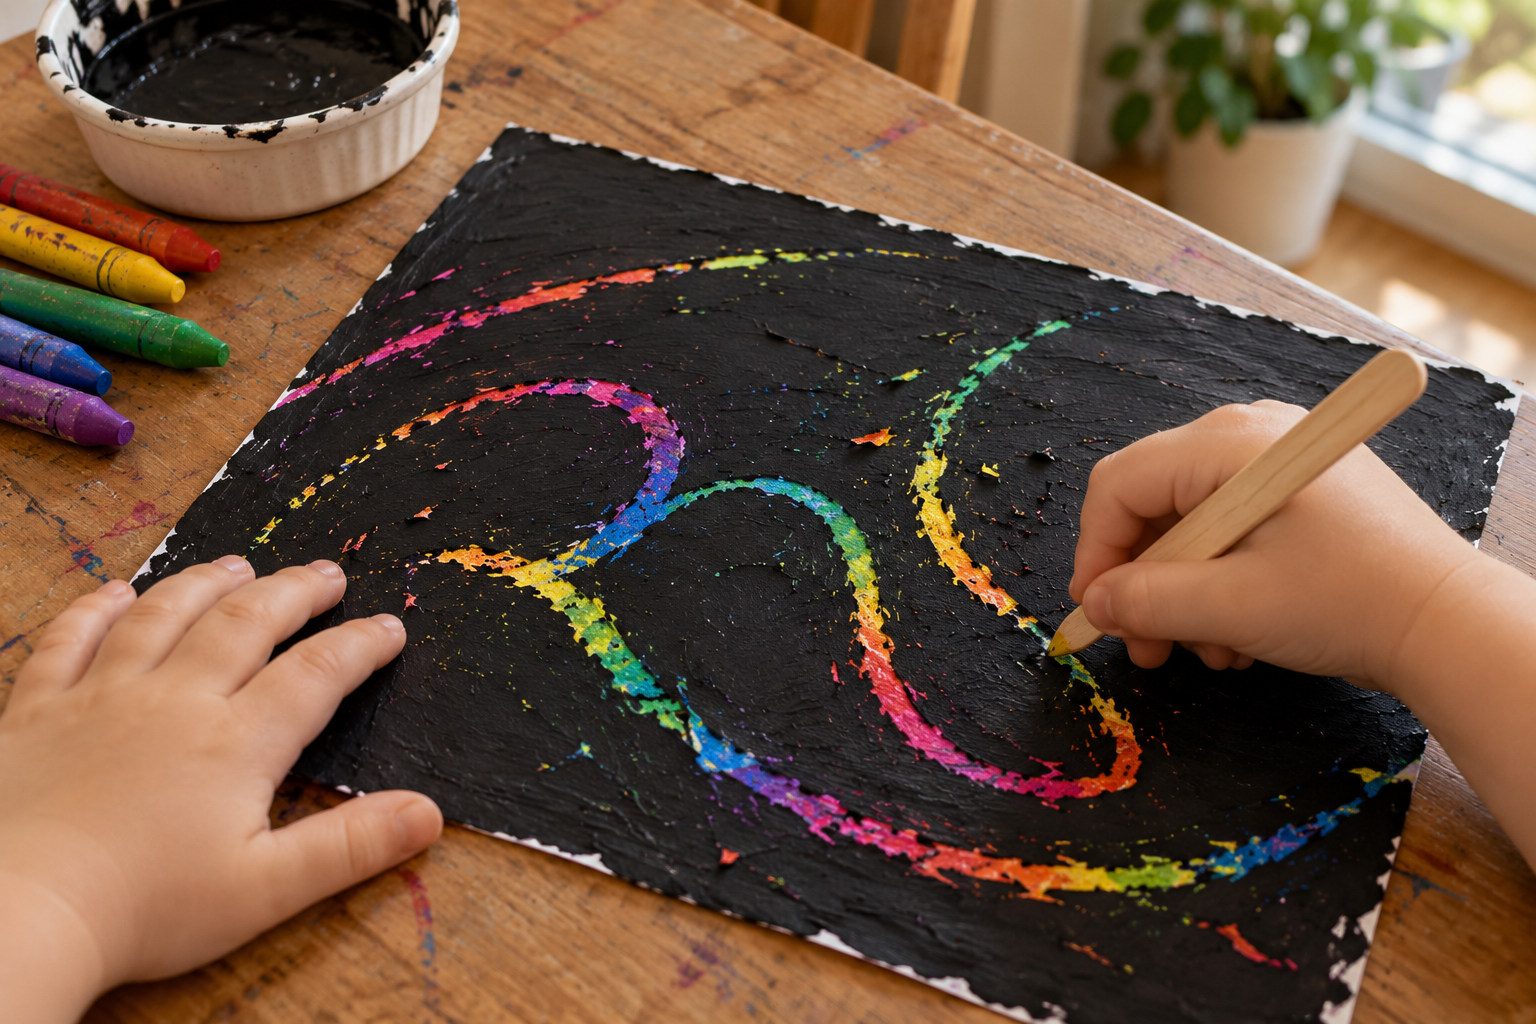
Give your child a blunt wooden craft stick and make one short test line in a corner. Draw slowly with just enough pressure to lift the black coating and reveal the crayon. Then make spirals, stars, roads, or whatever appears. If the stick digs into paper, ease the pressure or turn it to a rounder edge.
The first scratch feels like opening a present your child made for themselves. Mine immediately draw one huge loop and then ask if they can cover it again. You can make a second sheet next time; repainting the scratched one tends to fill the grooves unevenly. If you want a painting activity that starts with the brush instead of ending with it, see our easy toddler painting setups.
What to do next
Let loose black flecks dry, then brush them from the table into the bin. Display the page flat or tape it lightly to a wall after the scratches are done. Do not laminate a still-tacky sheet; wait until the coat is fully dry. I like keeping one un-scratched corner to show how much color was hiding underneath.
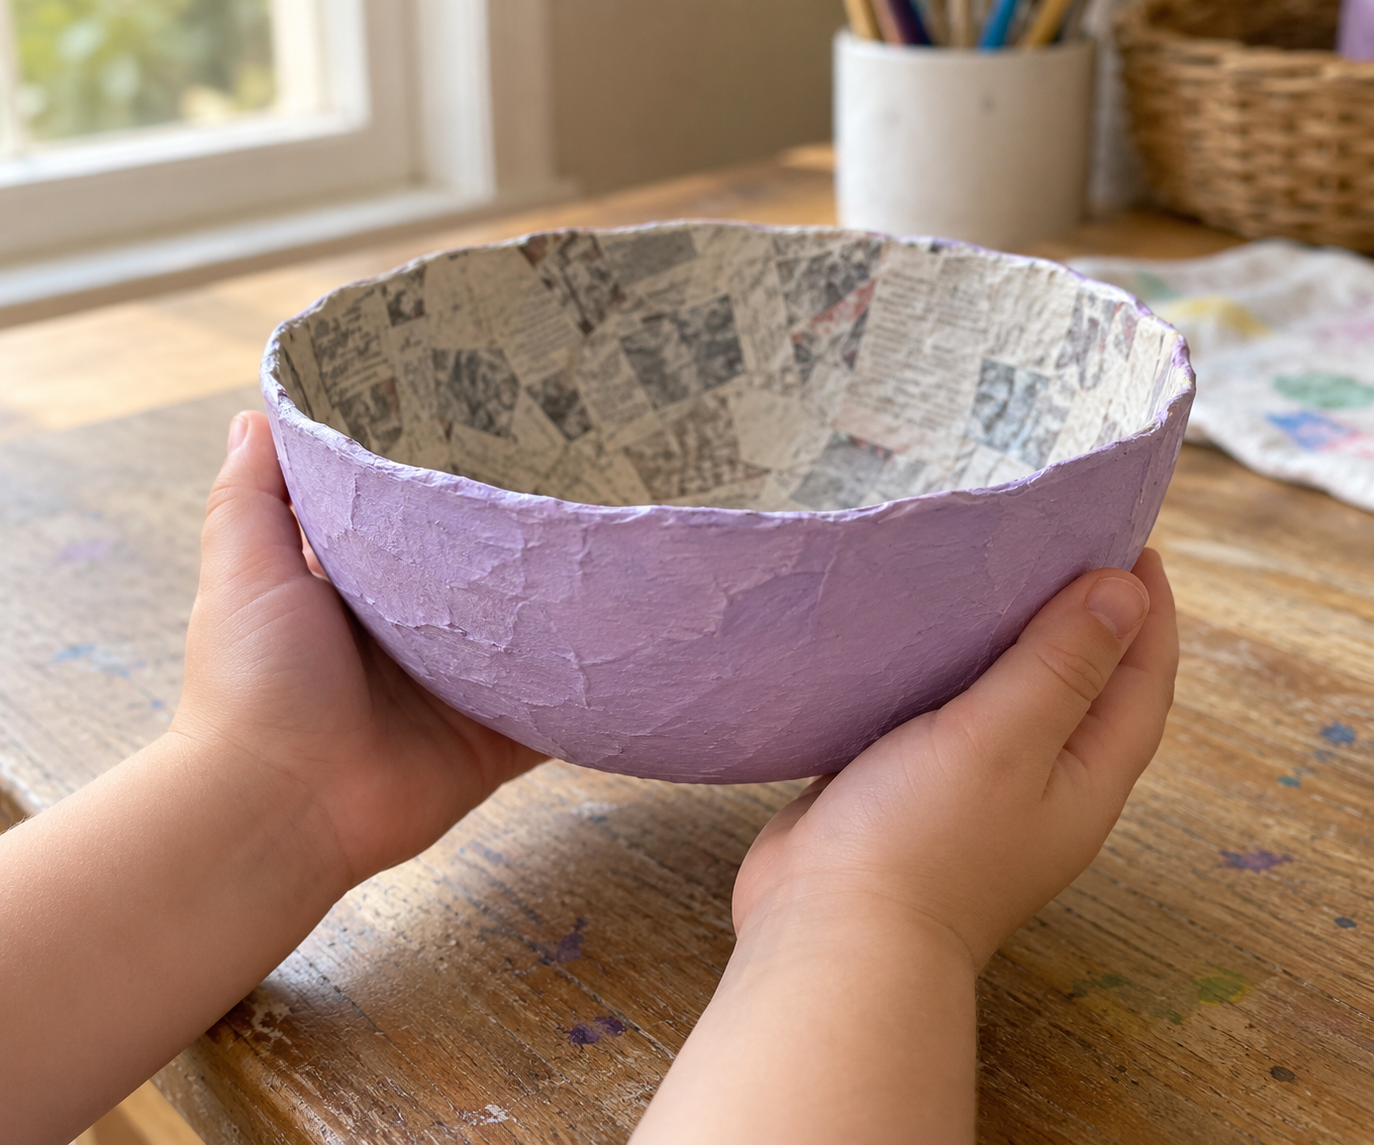
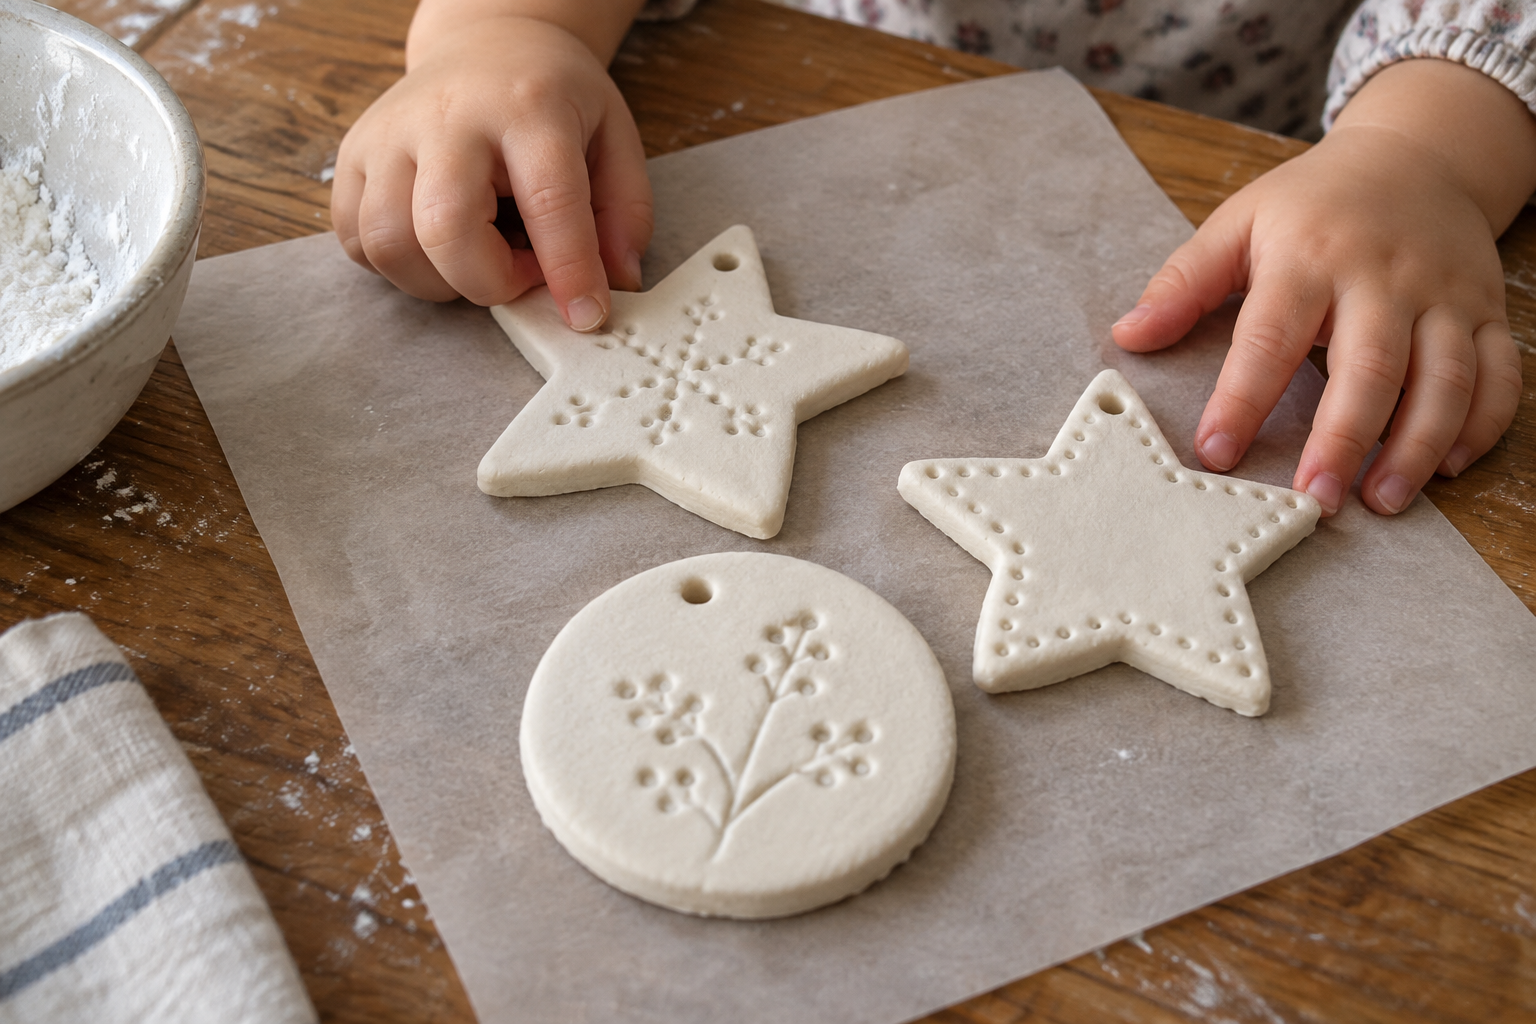
If you want to change the pace after this, try Paper mâché bowl without flour. For a completely different setup, save Baking soda air-dry clay for another day.
Small setup details that help
Try one sample square yourself before calling your child back to the table. Scratch lightly in the corner, then look at what happened: bright color, gray smear, or ripped white cardstock. Those three results tell you whether to begin, wait longer, or use less pressure. The color stage can look messy and still work beautifully, provided the wax reaches the edges. I have learned to leave the crayons out until we have inspected the sheet for white gaps, because putting every color away and then finding one bare triangle is a small but avoidable parenting inconvenience.
Troubleshooting: real fixes
The black paint beads up
The wax layer may be very slick. Add a single drop of dish soap to the remaining paint, stir, and brush a thin test patch. Do not pour soap directly onto the paper.
The scratch reveals white paper
There was not enough crayon on that area, or the stick cut through the cardstock. Color the next sheet more heavily and scratch with a lighter touch.
The surface smears instead of scratching
The paint is still damp. Leave it flat longer, especially if you added a second coat. Dry paint lifts as little flakes rather than gray streaks.
The cardstock curls
Use heavier cardstock and apply a thinner paint coat. Once completely dry, press it under a clean book with protective paper on either side for a short while.
Three ways to change it up
Rainbow bands
Make broad stripes in a rainbow order before the black coat. Scratched lines reveal different colors as they cross the bands.
Hidden picture
An adult or child draws a big wax-crayon sun or flower beneath the black. Scratch a few lines over the same area to reveal pieces of the hidden color.
Small cards
Cut heavy cardstock in half before coloring. Smaller sheets are easier to cover densely and easier for a younger preschooler to finish in one sitting.

A quick safety note
Frequently asked questions
Can I make scratch art with regular crayons?
Yes, standard wax crayons work if you lay down a dense layer using their broad sides. White gaps let paint grip the cardstock, so cover the whole sheet. Oil pastels may behave differently and can be messier.
What paint works on crayon scratch art?
This method uses black washable tempera with a few drops of dish soap to help it spread over wax. Apply thin coats and let each dry fully. Test a corner because brands differ in coverage.
Why is the black paint peeling off in large pieces?
A very thick coat or too much soap can make a brittle top layer. Try one thin coat and dry it flat. Small flakes along a scratch line are normal; whole sheets lifting means the top layer is too heavy.
How long does homemade scratch-art paper take to dry?
Allow about 1–2 hours for a thin coat, longer for a second coat or a humid room. Touch a corner first. If black rubs onto your fingertip, the craft stick will smear it too.
What can kids use instead of a sharp scratching tool?
A blunt wooden craft stick works well, especially its rounded edge. Press lightly to lift paint without cutting the cardstock. Adults can help with the first test line.

Leave a Reply