
Homemade puffy paint turns a regular painting activity into colorful, raised process art. Children can squeeze it into lines, pile it into dots and watch their creations puff up with a little adult help.

Thick homemade puffy paint adds color, texture and plenty of squeezing practice to art time.
If your toddler has painted with brushes, fingers and sponges, puffy paint is an easy way to make the activity feel completely new. The mixture is thick enough to create raised lines and shapes instead of ordinary flat brushstrokes.
It is also a surprisingly useful fine motor activity. Squeezing bottles and piping bags helps strengthen the hands and fingers children use for drawing, dressing and eventually writing. You can find more playful ways to build these skills in our collection of fine motor activities for preschoolers.
Quick Answer: Mix 1/4 cup flour, 1/2 teaspoon baking powder, 1/2 teaspoon salt, 3 tablespoons water and a few drops of food coloring. Add another tablespoon of water if needed, then squeeze the paint onto microwave-safe cardstock. An adult can microwave the picture in short bursts until the paint puffs.
Why make puffy paint at home?
Homemade puffy paint combines art, sensory exploration and a simple science experiment. Children get to create a picture and then watch it change as the baking powder reacts to heat.
During the activity, children can practice:
- Squeezing and controlling a bottle or piping bag
- Creating lines, dots, curves and simple shapes
- Recognizing and mixing colors
- Making predictions about what will happen
- Exploring raised, bumpy and smooth textures
Helpful to know: Puffy paint is process art. The goal does not need to be a perfect picture. Squeezing colors, making swirls and watching the mixture change are valuable parts of the activity.
If the transformation is your child’s favorite part, try one of these easy toddler science activities next.
Easy Microwave Puffy Paint Recipe
This small batch makes approximately one color of puffy paint.
Ingredients
- 1/4 cup all-purpose flour
- 1/2 teaspoon baking powder
- 1/2 teaspoon table salt
- 3 to 4 tablespoons water
- A few drops of food coloring
Supplies
- Small mixing bowl
- Spoon or craft stick
- Squeeze bottle, piping bag or sturdy zip-top bag
- Heavy microwave-safe cardstock or a plain paper plate
- Microwave-safe plate
Making several colors? Prepare one small batch for each color. Separate batches make it easier to keep the measurements and consistency even.
How to make puffy paint step by step
- Mix the dry ingredients. Add the flour, baking powder and salt to a small bowl. Stir until they are evenly combined and break apart any visible lumps.
- Add the water. Begin with 3 tablespoons of water. Stir until the mixture is smooth, then add the remaining tablespoon a little at a time if the paint is too thick.
- Add the color. Stir in a few drops of food coloring. The flour will soften the color slightly, so add another drop if you want a stronger shade.
- Transfer the mixture. Spoon the paint into a squeeze bottle or piping bag. For a quick alternative, use a small zip-top bag and carefully cut a tiny opening in one corner.
- Create the artwork. Place heavy cardstock on a microwave-safe plate. Let your child squeeze thick lines, dots, spirals or shapes onto the paper.
- Puff the picture. An adult should microwave the artwork for approximately 15 seconds. If necessary, continue heating it in 5 to 10-second bursts while watching it continuously.
- Let it cool. Remove the plate carefully and place it out of reach until both the artwork and plate have cooled completely.
Adult-only step: A grown-up must operate the microwave and handle the hot plate. Never microwave paper containing staples, foil, metallic decoration or glitter. Stay beside the microwave and stop as soon as the paint appears puffed and set.
What should puffy paint look like?
Before heating, the paint should look similar to thick pancake batter. It should squeeze out smoothly but remain raised on the paper instead of immediately spreading into a puddle.
After heating, the painted lines should appear larger, firmer and slightly bumpy. Very thick areas may puff more dramatically than thin lines.
Do a quick test: Squeeze one line onto a scrap of cardstock. If it holds its shape, the paint is ready. If it spreads, add a little more flour. If it will not squeeze out, add water one teaspoon at a time.
How to make puffy paint easier for toddlers
Traditional squeeze bottles sometimes require more hand strength than a young toddler has. A soft piping bag or sturdy zip-top bag may be easier because children can squeeze it with both hands.
For a calmer setup:
- Offer two or three colors instead of filling the table with choices.
- Place every piece of cardstock on its microwave-safe plate before painting.
- Cover the work surface with an old towel or washable mat.
- Demonstrate squeezing slowly while moving the tip across the page.
- Make the bag opening small so the paint does not pour out at once.
- Allow children to explore freely instead of requiring a specific picture.
Children who dislike sticky hands can still enjoy this activity without touching the paint. Let them use a squeeze bottle or bag and keep a damp cloth nearby. Our guide to the signs of a sensory-avoiding toddler has more ideas for adapting messy activities.
How to make no-cook puffy paint
If you do not want to use a microwave, you can make a fluffy air-dry version with shaving cream and white school glue. It does not expand through heat, but it dries with a soft, raised appearance.
No-Cook Shaving Cream Puffy Paint
A fluffy alternative that can dry naturally.
Ingredients
- 1/2 cup foam shaving cream
- 1/2 cup white school glue
- A few drops of food coloring or washable liquid paint
Instructions
- Add equal amounts of shaving cream and white school glue to a bowl.
- Fold the ingredients together gently to preserve the fluffy texture.
- Add a few drops of coloring and fold again until the color is even.
- Apply the mixture to heavy paper or cardboard with a brush, spoon or piping bag.
- Lay the artwork flat and let it air-dry completely.
Not taste-safe: The no-cook recipe contains glue and shaving cream. Keep it away from children’s mouths and eyes, supervise closely and stop the activity if it causes skin irritation.
Microwave puffy paint vs. no-cook puffy paint
| Feature | Microwave Recipe | No-Cook Recipe |
|---|---|---|
| Main ingredients | Flour, baking powder, salt and water | Shaving cream and school glue |
| Finished texture | Firm, raised and bumpy | Soft, fluffy and raised |
| Drying method | Short microwave bursts | Air-drying |
| Adult help | Required for heating | Required for close supervision |
| Best feature | Fast and dramatic transformation | No microwave needed |
Easy puffy paint art ideas
Children can use puffy paint for completely open-ended art or begin with a simple picture idea.
For more creative ways to use paint, explore these easy painting activities for toddlers.
Common puffy paint problems
The paint is too runny
Add flour one teaspoon at a time until the paint can hold a raised line. Avoid adding a large amount at once because the mixture can quickly become too stiff.
The paint is too thick to squeeze
Add water one teaspoon at a time and stir thoroughly. You can also make the opening in the piping bag slightly larger.
The paint did not puff
Make sure baking powder was included and is not expired. Thin paint lines may only rise slightly, while thicker sections produce a more noticeable result.
The paper curled or buckled
Use heavier cardstock and support it with a microwave-safe plate. Thin paper absorbs moisture from the paint and curls more easily.
The finished paint cracked
A little cracking is normal, especially when the paint has been applied very thickly. Moderately thick lines usually dry more evenly.
The paint started turning brown
Stop the microwave immediately. Browning or a scorched smell means the picture has been heated for too long. Use shorter bursts for the next piece of artwork.
Remember: Microwave strength varies significantly. The paint may need less time in a powerful microwave, so short, closely watched bursts are safest.
Can you store homemade puffy paint?
Flour-based puffy paint gives the best results when it is made and used on the same day. Because it contains flour and water, it should not be left at room temperature for later play.
If you have a small amount left, place it in a labeled, sealed container and refrigerate it for no more than one day. Stir it thoroughly before reuse and discard it if its smell, color or texture has changed.
The shaving cream version also works best when freshly mixed. It gradually loses its fluffy volume, so make only as much as you expect to use during one activity.
How to clean up puffy paint
- Wipe table spills before the mixture dries.
- Soak used bowls and spoons in warm, soapy water.
- Scrape large quantities of unused paint into the trash.
- Avoid washing thick flour mixtures down the drain.
- Let completed artwork cool and dry flat before moving it.
- Check clothing care instructions if food coloring leaves a stain.
If minimizing cleanup is your main priority, these low-mess crafts for toddlers are good activities to keep on hand.
Puffy paint safety tips
Homemade puffy paint is a craft material, not food. The microwave version contains raw flour before heating, and the shaving cream version contains ingredients that must never be eaten.
- Supervise children throughout the activity.
- Have an adult operate the microwave.
- Use only microwave-safe paper and plates.
- Never microwave metal, foil, staples or glitter.
- Watch the artwork constantly while it is heating.
- Let the plate and artwork cool before children touch them.
- Keep paint, squeeze-bottle caps and plastic bags away from children’s mouths.
- Wash hands after the activity.
Frequently asked questions
Can you make puffy paint without a microwave?
Yes. Mix equal amounts of foam shaving cream and white school glue, then add a small amount of coloring. It will air-dry with a raised texture.
Can you use self-rising flour?
Yes. Self-rising flour already contains leavening and salt. Mix it with enough water to create a thick batter, add coloring and test a small amount before preparing multiple colors.
Is homemade puffy paint edible?
No. Raw flour should not be eaten, and the artwork may not heat evenly enough to make it safe. Puffy paint made with glue and shaving cream is also strictly non-edible.
What type of paper works best?
Plain, heavy cardstock or an uncoated paper plate works well. Do not microwave paper containing metallic ink, foil, staples or glitter.
Can I use washable paint instead of food coloring?
Yes. Add a small amount of washable liquid tempera paint. Too much may make the mixture runny, so begin with only a few drops.
How long does puffy paint take to dry?
Microwaved puffy paint sets quickly but must cool before it is handled. No-cook shaving cream paint may require several hours or overnight to dry, depending on its thickness.
Make more homemade craft materials
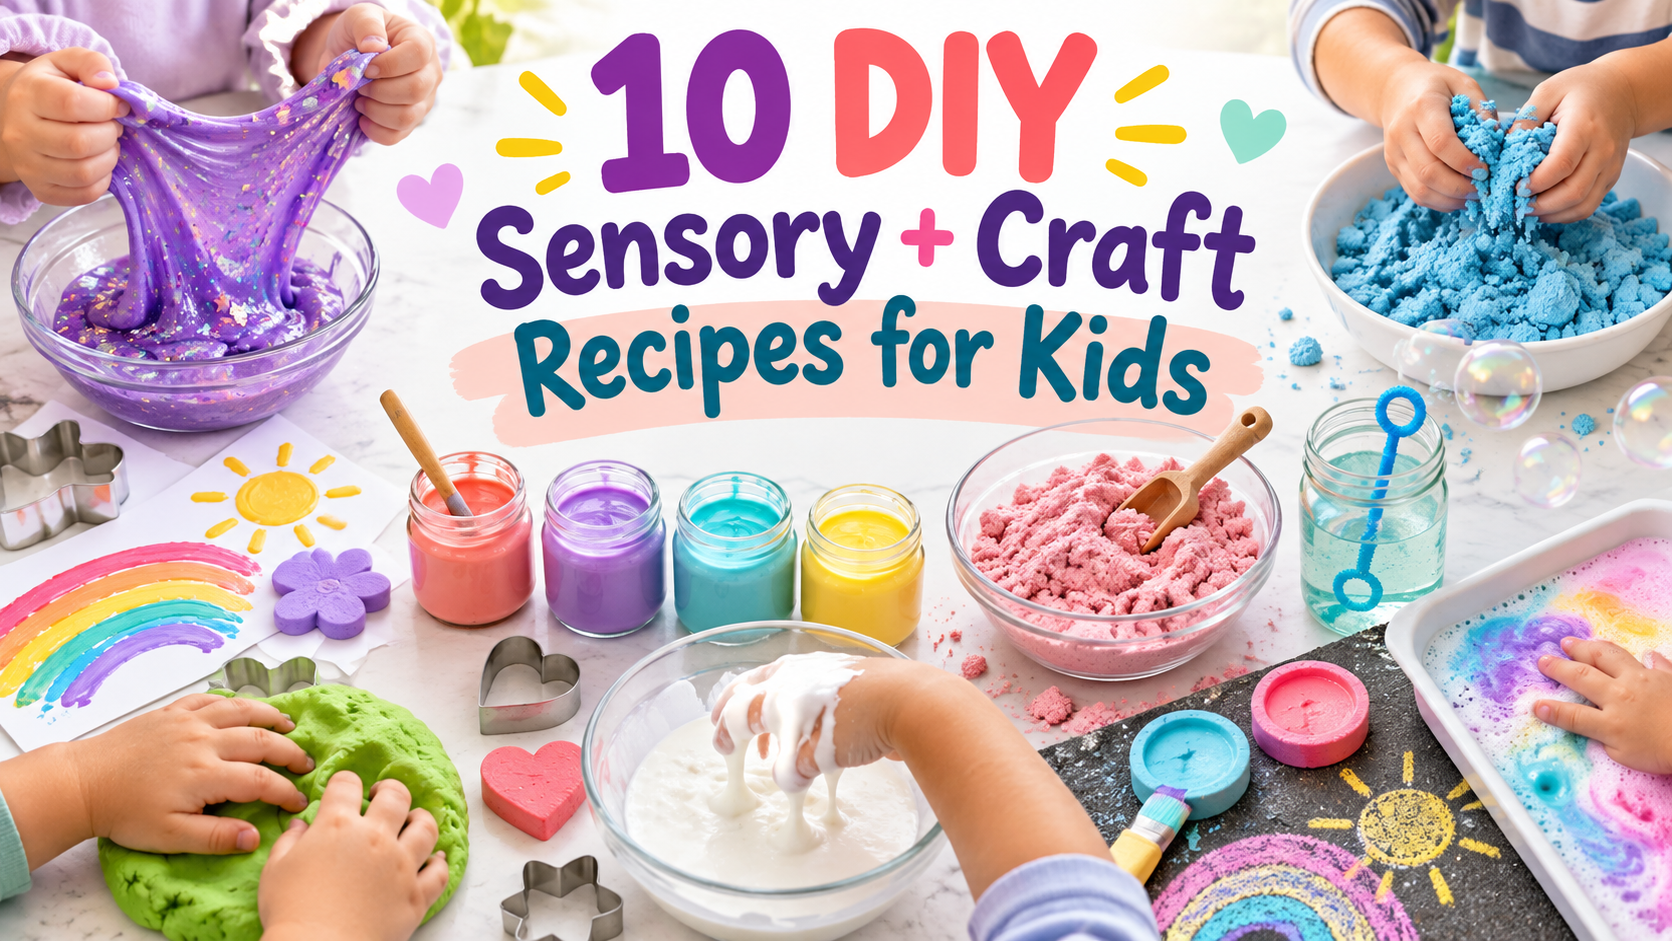
Puffy paint is one of ten simple projects in our complete collection of DIY sensory and craft recipes for kids. The collection includes squishy sensory materials, moldable doughs and homemade art supplies made for hands-on play.





Leave a Reply