
A gift wrap project
Homemade Wrapping Paper Toddlers Can Paint
A painted kraft sheet that fits the gift and folds cleanly.

Dry-fit thin kraft paper around a small box. Flatten it and paint loose marks with a lightly loaded brush. Let it dry completely before wrapping.
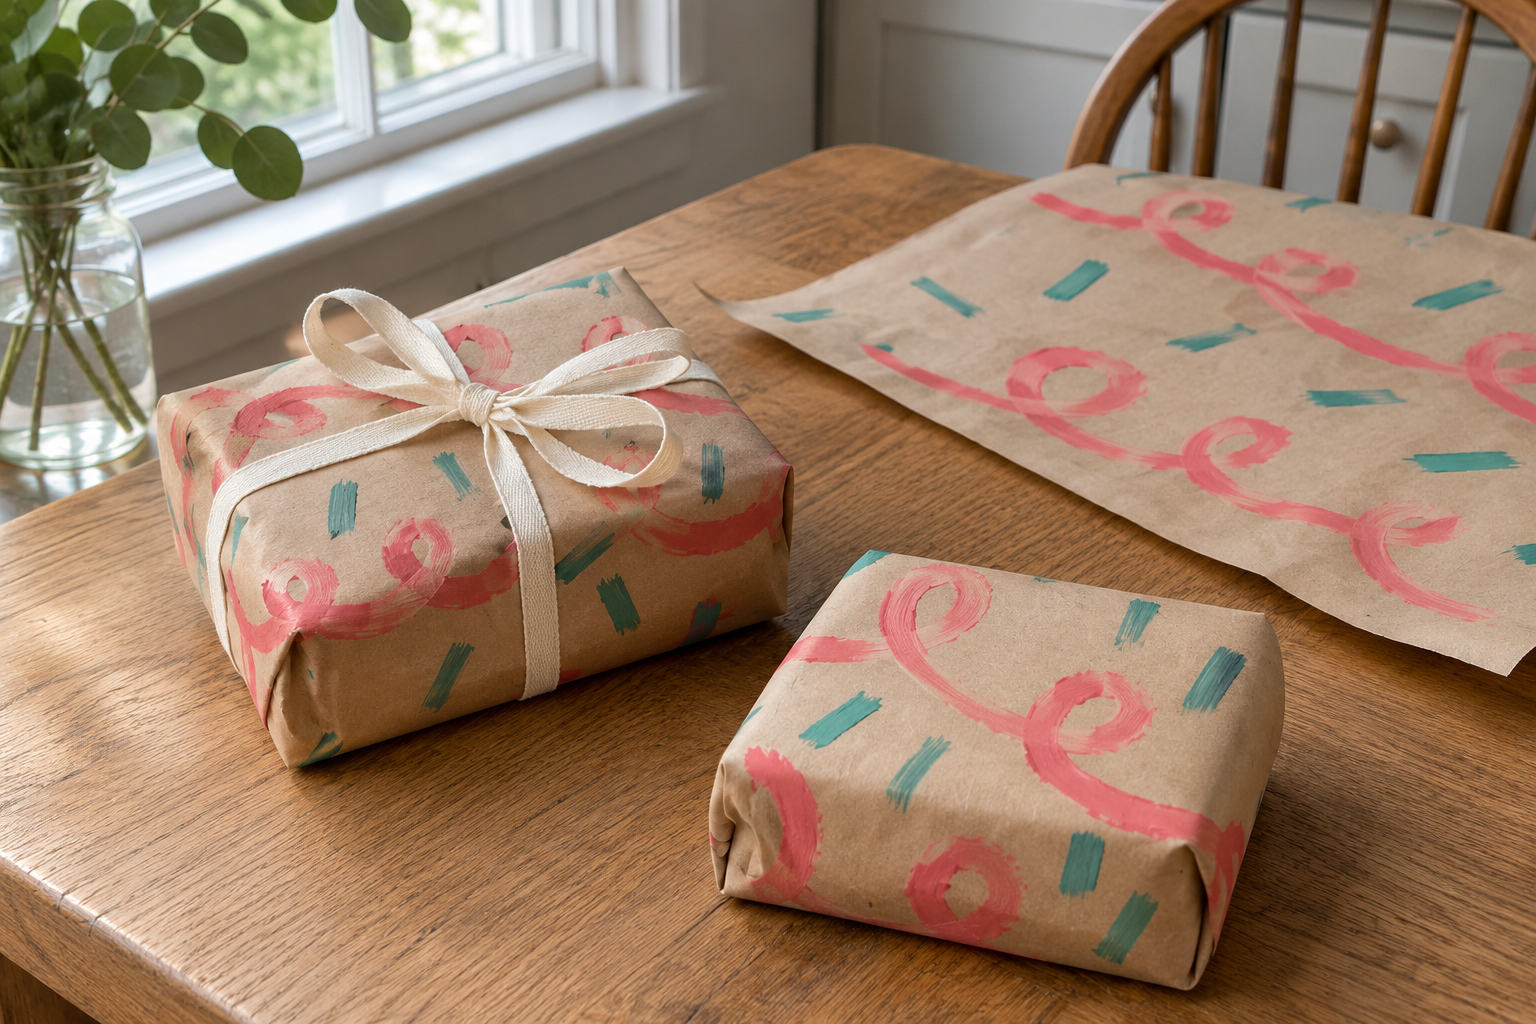
The prettiest wrapping paper in the pile can start with the brown paper you almost put in the recycling. Give your toddler a brush loaded with coral paint, let them make three enormous squiggles, and add a few teal dashes between them. Once the paper goes around a box, those wandering lines look like they were meant to turn the corner.
The practical trick is to fit the paper to the gift before you paint. A beautifully painted sheet that’s an inch too short is still an inch too short. There are only so many strips of tape you can use to negotiate with that problem.
Set up one sheet and one box
Start with one box you can comfortably hold in both hands. A book in a shallow box, a small puzzle, or a little stack of socks inside a carton is easier than trying to wrap a stuffed animal with six legs pointing in different directions.
- One sheet of thin kraft paper, about 18 by 24 inches for a box roughly 8 by 5 by 2 inches
- About 1 teaspoon each of coral, pink, and teal washable craft paint to start
- Two broad brushes and a shallow palette or three small dishes
- Four short pieces of low-tack tape, if suitable for your protected work surface
- A wipeable table cover, a cloth, and a flat drying spot
- Scissors and wrapping tape for the adult; ribbon is optional
That sheet size gives you room to trim. It isn’t a sizing rule for every box. If your paper came crumpled in a delivery, pick a section without holes or hard folds that cross the middle of the gift. Soft wrinkles are fine. Heavy brown shipping paper may be too stiff to fold neatly around a little box, so crease a scrap before committing.
If your child tends to sweep a brush toward the table edge, put the palette inside a rimmed craft tray beside the sheet. You still need to cover the table, but the palette has a place to land.

Paint the sheet, then wrap the gift
Test the fit while everything is dry. Put the box near the middle of the sheet. Bring the two long edges around the box until they meet with about an inch of overlap. At each open end, check that the paper reaches far enough to fold over and cover the end. If it hangs well past the box and bunches when you fold it, trim a little and try again. Make a small pencil mark on the reverse at the center of the panel you want on top, then flatten the sheet.
Keep the paper still. Lay it over the table cover and secure the corners if your surface can take the tape. A roll that keeps curling can sit reverse-rolled loosely for a few minutes first. Put your palette beside the sheet, where your child can reach it without dragging a wet brush across the whole page.
Start with big marks. Dip just the brush tips into coral or pink and wipe the extra on the lip of the dish. Show one loop, then hand over the brush. Loops, swoops, and half-finished circles all work. Ask for a few marks in different parts of the page, so that after wrapping, there’s some color on the sides as well as the top. If the artist prefers to work exclusively in one corner, that corner can become the front of a smaller gift.

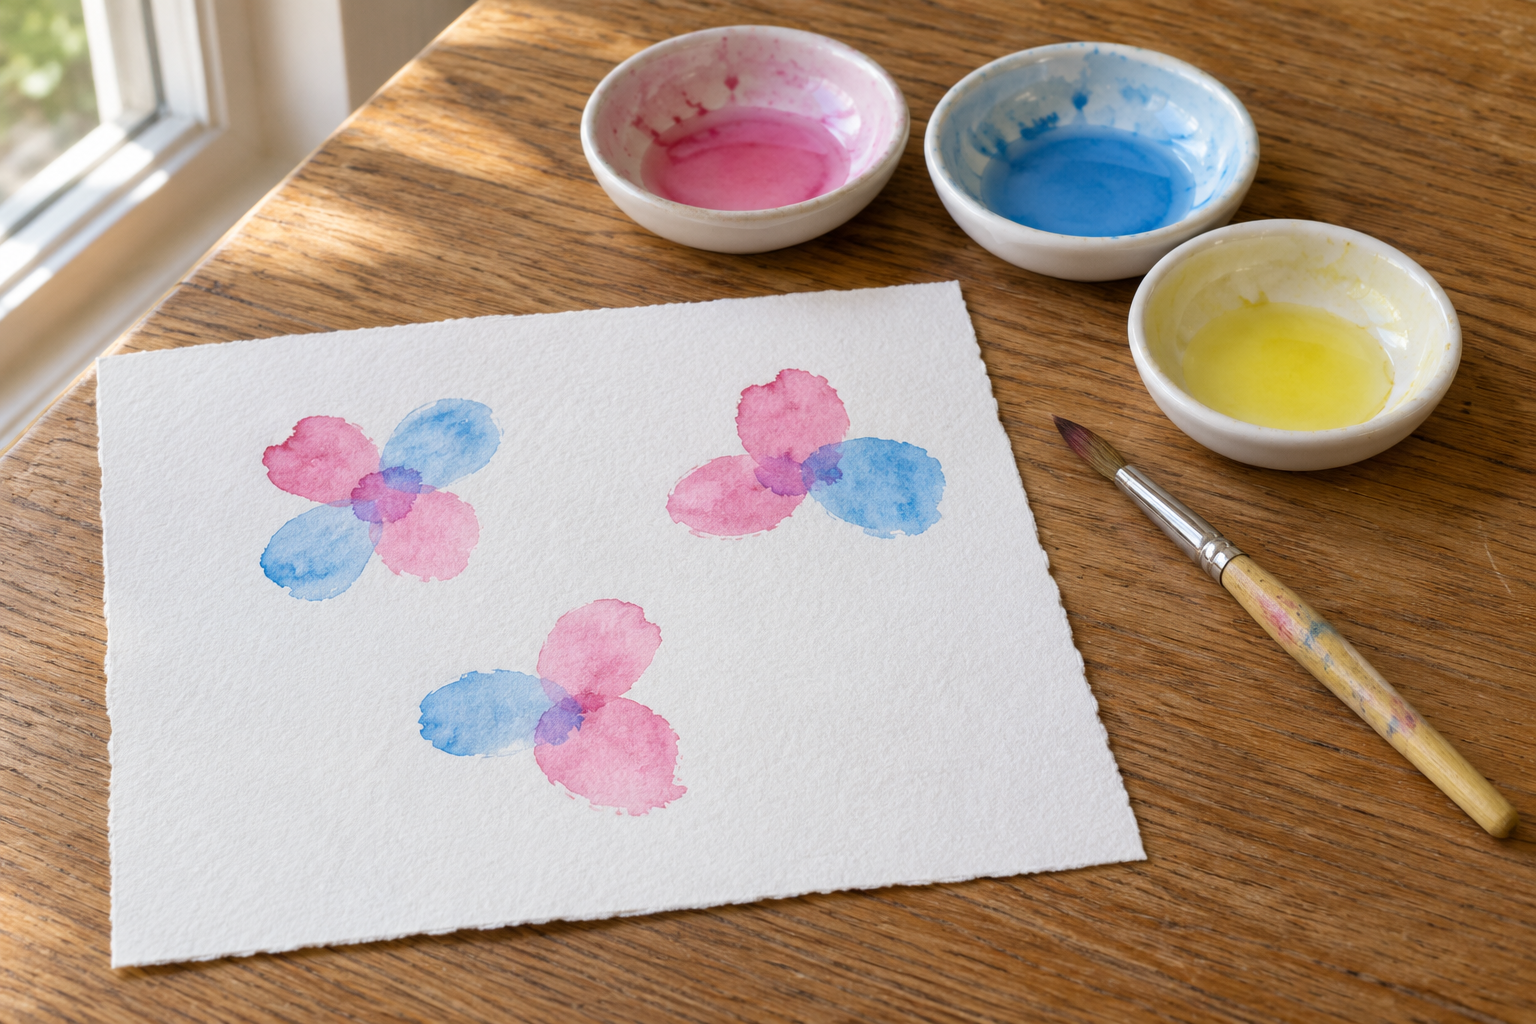
Add little marks between the big ones. Put teal on a separate brush and make quick dashes where there’s room. Leave some brown showing. You get the effect of a pattern with very little paint, and you don’t have to wait for an entire painted background to dry. If you want a watery color wash, use it on a separate stiff gift tag; the homemade watercolor guide shows how to mix a small amount.
Dry it flat, then test a crease. Leave the paper paint side up. Check the thickest stroke, rather than the driest corner, before you move the sheet. Once dry, fold a painted offcut. If the paint cracks or rubs off, make your actual folds on mostly bare paper or use the art as a flat panel taped to the top of an already wrapped gift.
Put the best part on top. Turn the paper paint side down. Set the box upside down over the panel you marked, bring the long edges together, and tape the seam. Fold the side corners in at each end, then fold the two flaps over them. If the end feels like you’re folding a paperback, trim the excess before taping. Flip the box and let your toddler choose which way the painted loops face when you hand it over.

Fixes for the sheet that didn’t cooperate
The paper goes soft under the brush.
Stop adding paint to that spot and let it dry flat. Use less paint per dip on the rest of the sheet. A worn crease that stays weak can be trimmed away or positioned on an overlapping seam.
The colors turned into one big smudge.
Leave that section alone. Add clean teal dashes to dry, unpainted areas and place the smudged section on the bottom of the gift. You do not need to paint over the evidence.
The tape won’t stay down.
Move the seam to a bare section if you can. Fold the outer cut edge under slightly for a neater edge, and apply tape to dry, smooth paper without holding the wrap under tension.
The paper is too small.
Wrap the box in plain kraft paper and add your painted piece as a band around the middle. If it won’t reach all the way around, cut a rectangle and tape it onto the top instead.
Three ways to use the same setup
Tiny repeat print
Use one broad stamp and one paint color. Alternate a print with an empty space about the same size. For making the stamp itself, see reusable foam stamps.
Paper bag rescue
Paint the flat front of a plain paper gift bag with a piece of scrap card slipped inside. Leave the folded base unpainted so the bag still opens cleanly.
Save the trimmings
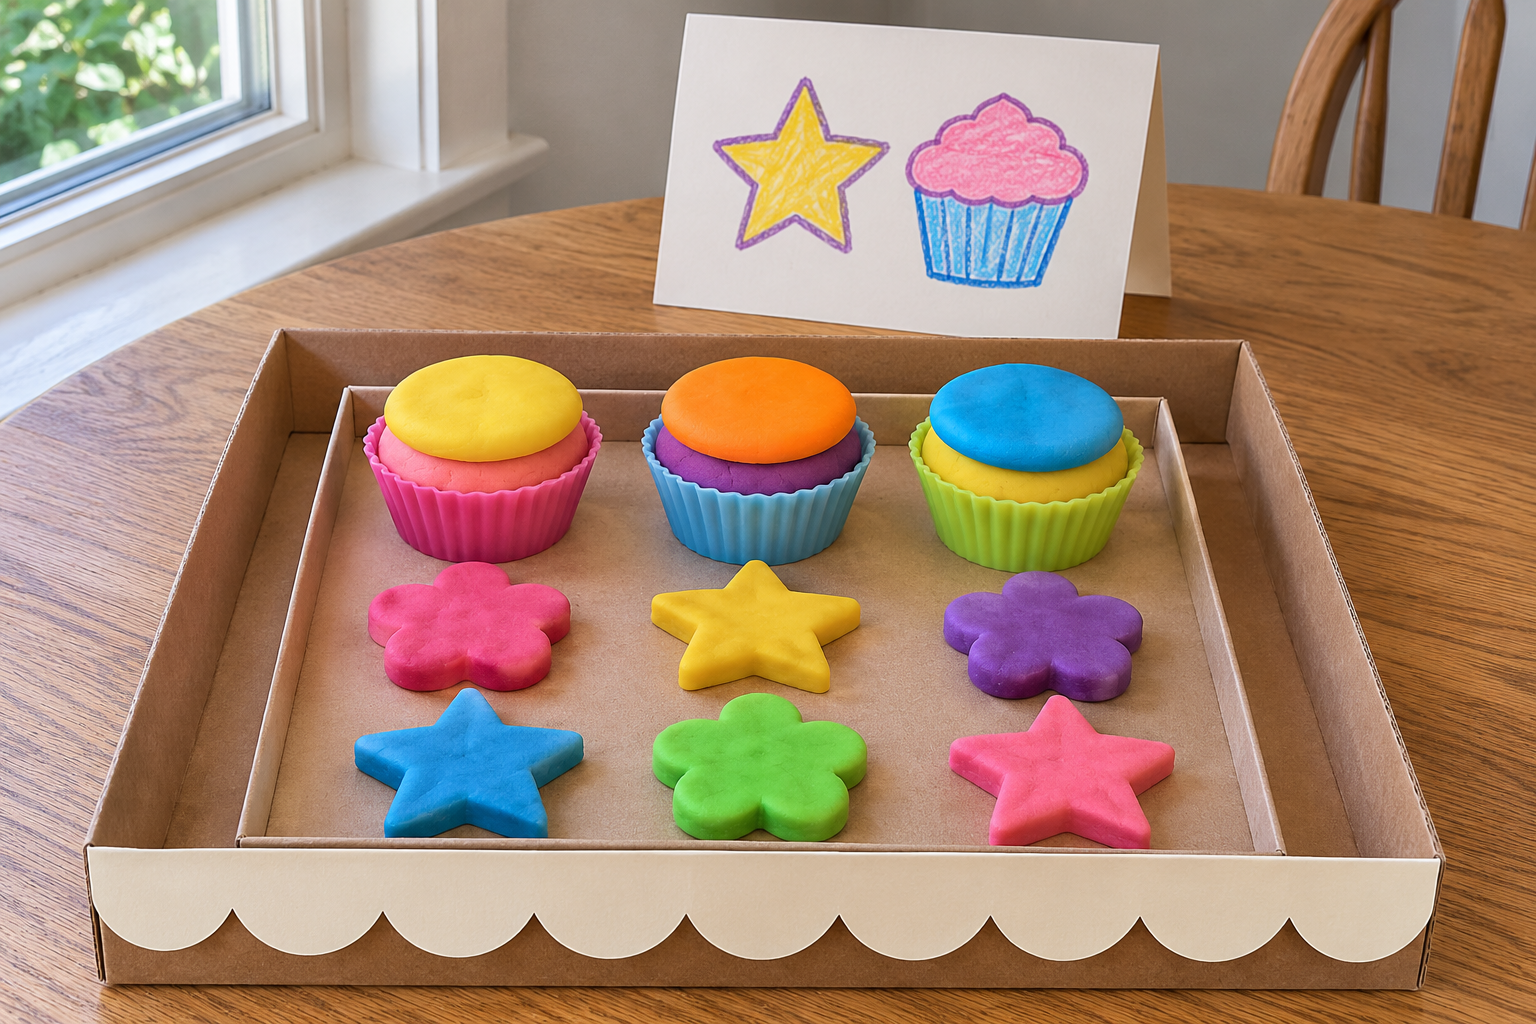
Cut one painted strip for a gift tag and keep a wider one for the menu at your pretend playdough bakery. Bold loops make a cheerful border without your having to draw another cupcake.
FAQs
What paper works best for toddler-painted gift wrap?
Use plain paper thin enough to crease cleanly and strong enough to survive a few brush strokes. Kraft packing paper is a good candidate; do a dry fold and a small paint test on a scrap.
Can I use a brown grocery bag?
Yes, for a small flat gift if you can cut out a usable panel. Open the seams and leave out the bottom, which is usually bulky. The unprinted side makes the cleanest painting surface.
Do I need to water down the paint?
Start with the paint as it comes and put less on the brush. Adding water makes it easier to soak the paper, especially where your child likes to go over the same loop five times.
How long does painted wrapping paper need to dry?
Plan to paint before you need to wrap, with time to leave the sheet flat. Drying depends on how thickly the paint went on and the room conditions; check for cool, damp, or tacky spots before folding.
Can I make it the day before?
Yes. Keep the dry sheet flat or roll it loosely around a wide tube. Avoid putting painted faces against one another until you’ve checked that the paint doesn’t transfer.


Leave a Reply