
Room for the picture and the hands
Craft Trays for Toddlers: Sizes, Materials and Easy Cleanup
Choose a tray that leaves the paper flat, the tools reachable, and enough clear space to actually make something.

Lay out your usual paper and a representative tool before choosing a tray. Compare that footprint with its usable flat inside area, not just the outer dimensions. Pick a rigid tray for a small dry carry kit, or a flexible mat that stays flat on the table.
A tray can contain the paper scraps beautifully and still be completely wrong for painting. If the paper curls up the sides, the brush rolls into the wet picture, and there’s nowhere for a hand to rest, you have bought a very colorful obstacle.
Choose the usable flat area first. Then consider the rim, stiffness, cleaning instructions, and where the tray will live between crafts. A flexible mat protects a working surface; a rigid tray is better suited to moving a small dry setup. Those are different jobs, even when both products have raised edges.
The examples here are size-and-format comparisons, with the current linked listing details checked. I haven’t measured or spill-tested those particular products. Where a listing doesn’t clearly give the inside dimensions, the guide treats that as something to verify before buying.
This post contains affiliate links. If you buy through them, I may earn a commission. As an Amazon Associate I earn from qualifying purchases.
Three tray formats, three different uses
| Format | A useful job | The limitation |
|---|---|---|
| Small rigid tray | Half-sheet paper, a few collage pieces, or a small dry supply kit | A listed outer length doesn’t prove full paper will lie flat inside |
| Larger rigid tray | Paper plus a modest space for a brush, crayon, or glue dish | Needs table and storage space; wet contents still shouldn’t be carried casually |
| Raised-edge silicone mat | A broad work surface kept flat on the table | Flexible sides aren’t a promise that you can lift and transport liquid |
Check the footprint before you order
- One sheet in the size you actually use: US Letter is 8½ × 11 inches; A4 is 210 × 297 mm
- One half-sheet if you usually make small cards or collages
- One representative tool: a chunky brush, crayon, or glue dish
- A ruler or tape measure
- A scrap of paper for noting the usable inside area and the outside footprint
Use those actual objects to plan a setup. A tray that barely accepts the paper may still be too cramped once you add a hand and a tool.

Choose a tray in seven practical checks
- Name one main activity. Write “small paper collage,” “paint on a full sheet,” or “carry dry supplies.” Avoid buying for every possible future craft. The main activity tells you whether you need a carrier, a roomy working area, or only a place for scraps.
- Lay out the paper and tool. On your table, place the paper flat and put the tool where it can rest without touching the work. Leave a little clear area for fingers. Measure the rectangle this arrangement occupies; that’s your working footprint, not a universal minimum for every child.
- Look for usable inside dimensions. Compare the footprint with the tray’s flat bottom, excluding sloping sides, handles, and rim. If only outer dimensions are listed, don’t count the whole rectangle as usable. Check a clear measurement image or ask the seller before relying on a tight fit.
- Check the rim against the task. A high rim may hold dry pieces but get in the way of a forearm during drawing. A shallow edge can be easier to work over. No rim makes a tray spill-proof; keep water and paint portions modest.
- Choose stiffness for carrying. For a portable dry kit, look for a sound rigid base and a grip you can manage with two hands. Keep a flexible silicone mat on the table. Adults should move wet setups, with loose liquid removed first.
- Plan cleaning and drying. Check the exact product’s care directions, including any dishwasher claim. Look for corners and seams you can reach. Reserve craft equipment for crafts rather than assuming a seller’s food-use wording means a paint-covered mat belongs back in the kitchen.
- Measure its home. Check the cupboard, shelf, or tabletop where it will stay. If buying a pack, count how many trays you actually need. A six-pack doesn’t take up the space of one merely because the pieces stack.

What to know about the linked options
The small plastic multipack
The ten-pack of colorful plastic art trays is a multipack, not one budget tray. Its listing gives 8.3 × 11 × 1.2 inches in one section and 8.3 × 8.3 inches in another. Neither identifies a confirmed flat inside area for a full Letter sheet.
Don’t choose it on a promise that full paper will fit. It may suit a small dry kit or half-sheet activity once you’ve confirmed the actual interior. For one child, consider whether a suitable tray already at home covers that smaller job.
The larger plastic pack
The Mifoci six-pack of larger plastic trays lists about 16 × 12 × 1 inches in its title and features, while another specification gives 16.54 × 13.39 inches. Those figures don’t establish the flat inside dimensions either. Confirm the usable area rather than interpreting either number as guaranteed paper clearance.
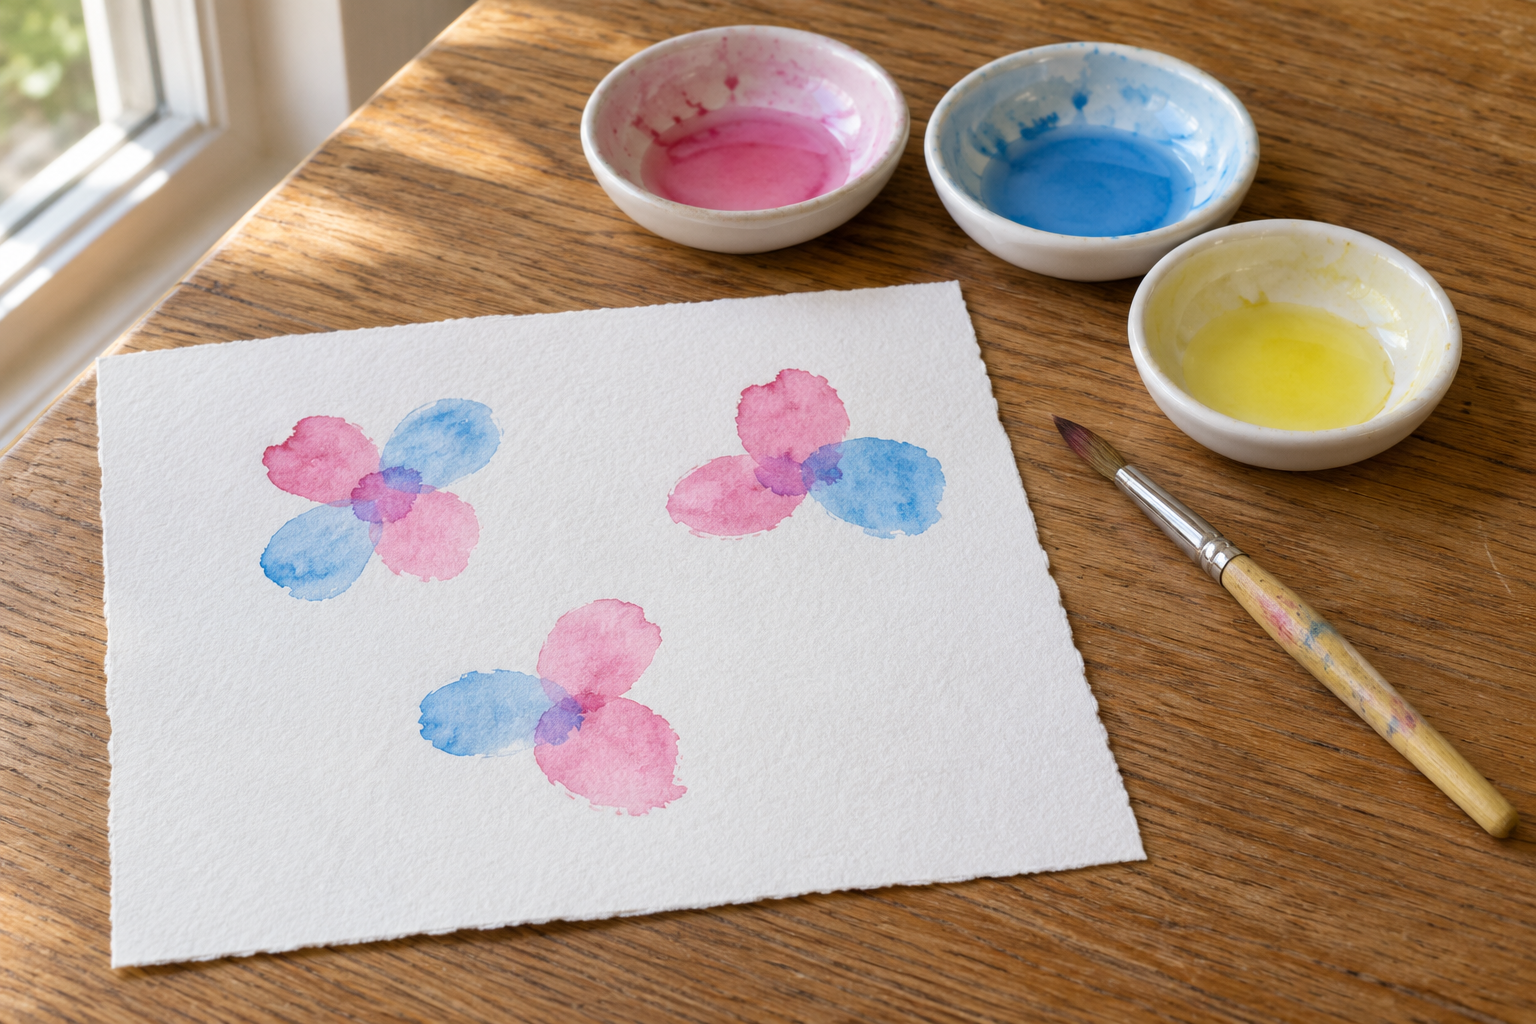
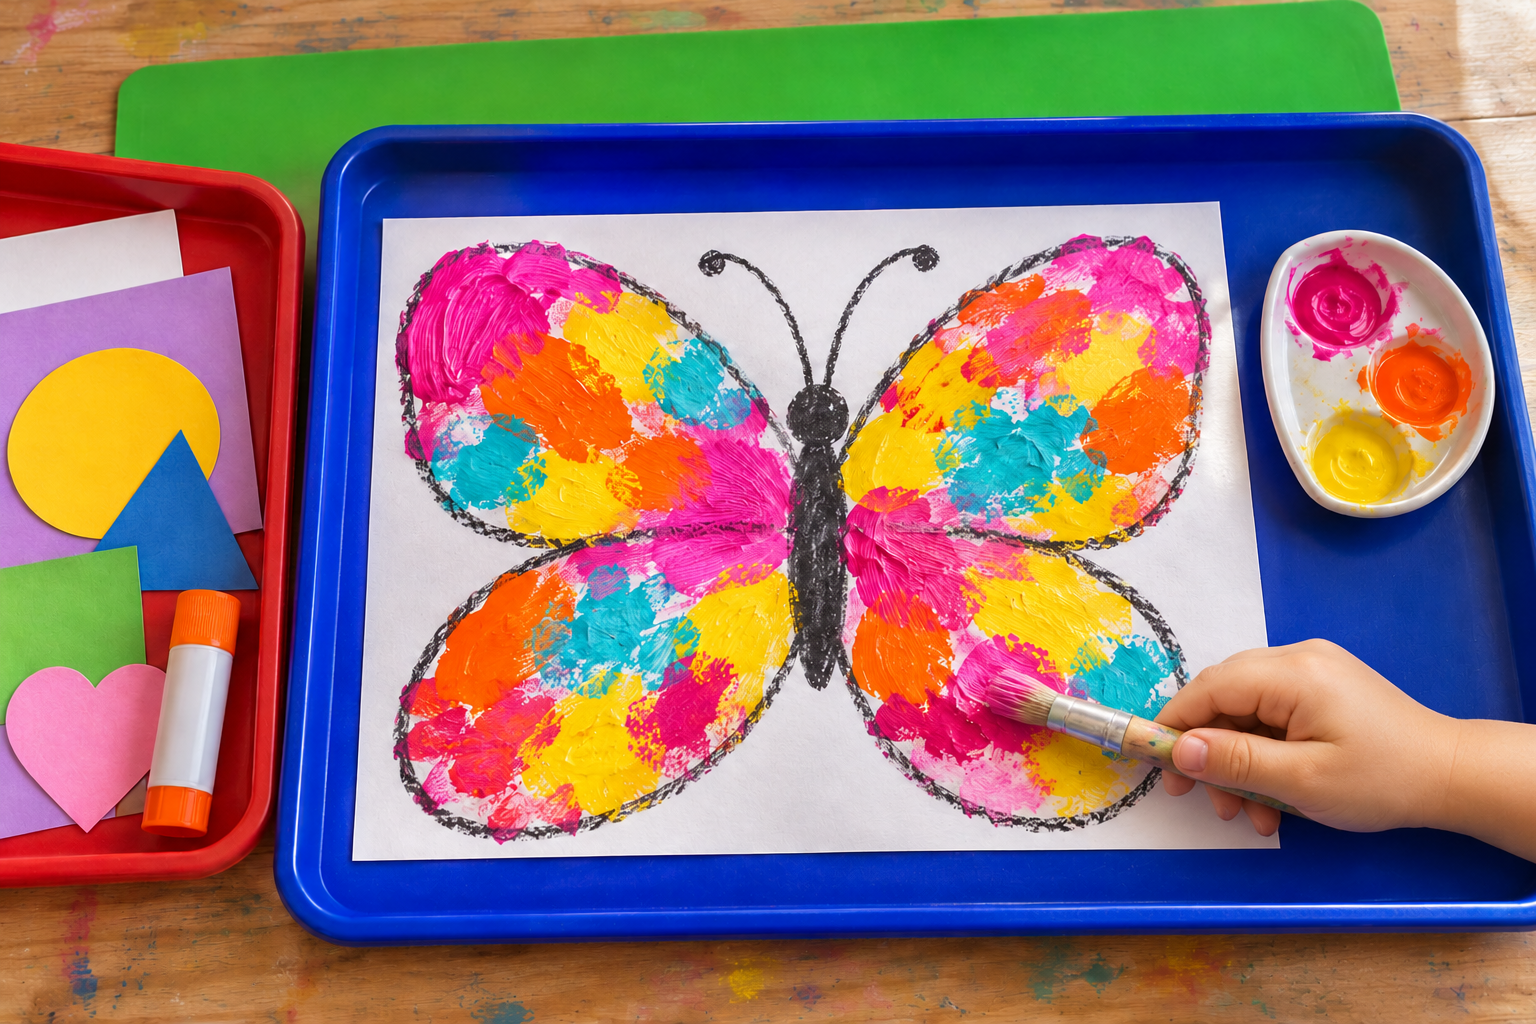
The butterfly painting shown here is a full-sheet example: an adult can draw a broad outline, then offer a few paint colors for filling it. Its important fit detail is the space around the page and a separate resting patch for the brush.
A larger footprint is the direction to consider for full-sheet painting with tools alongside. The kids’ craft-paint guide helps decide what paint and brush will need that space. Keep the quantity of open paint small even when the tray is generous.
The flexible mat
The GQK raised-edge silicone mat currently has a 24 × 16 inch title, and its description also discusses another size. Check the selected variant. Its role here is a work mat laid flat, not a rigid serving tray for a cup of rinse water.
Keep cleanup claims tied to the exact item and craft material. “Non-stick” isn’t a promise about every adhesive. For glue quantities and application, use the glue-stick and school-glue comparison rather than covering the whole mat in a preventable puddle.
Supervise, follow the labels on tools and materials, and keep small loose pieces away from children who mouth them. Keep water portions small and empty them afterward. Move wet setups yourself, and reject trays with cracks, sharp rims, or unstable bases.
When the tray makes the craft harder
The paper curls up the walls
Use a smaller sheet or a roomier flat area. Don’t force the corners down with extra water or glue. Check the paper footprint against the inside floor before the next session.
The rim catches the child’s arm
Bring the work closer or use a shallower suitable surface. Keep supplies off the working edge. A higher rim isn’t automatically the better drawing tray.
The mat sags when lifted
Put it down and remove open liquids. Keep it flat during use, or transfer dry items into a rigid carrier. Don’t try to fix flexible silicone by gripping it harder.
Wet supplies are buried in the stack
Separate the trays and clean and dry them according to their instructions. Stack only when dry. Leave a dedicated drying patch if several children use trays together.
Three setups worth keeping small
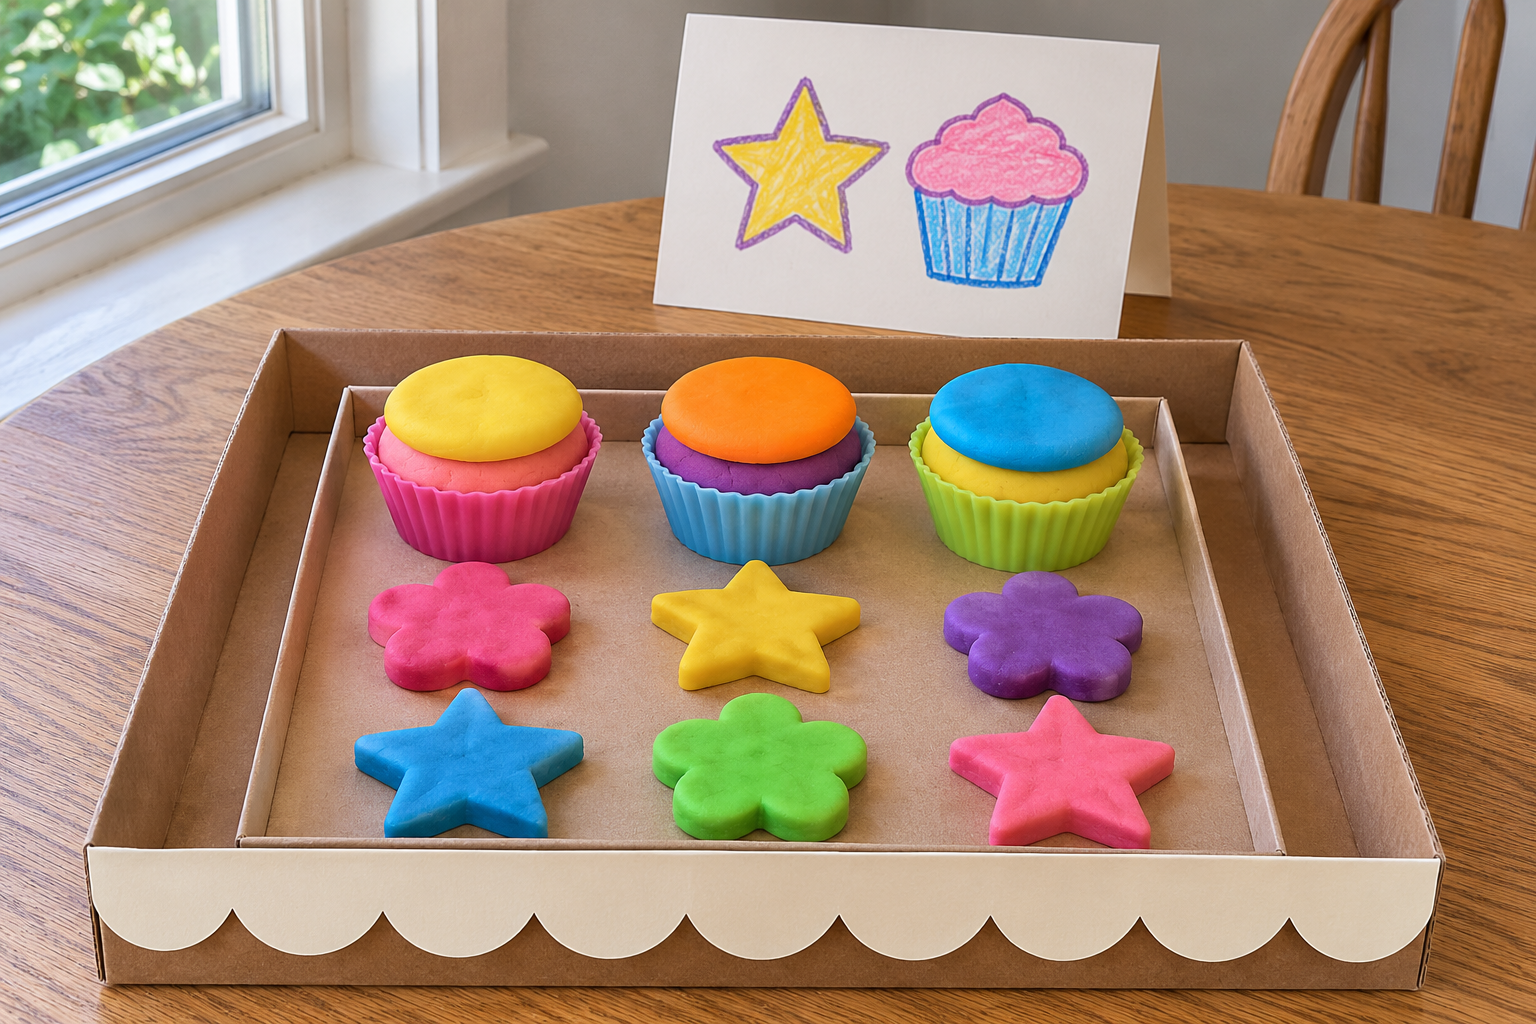
A paper-piece tray
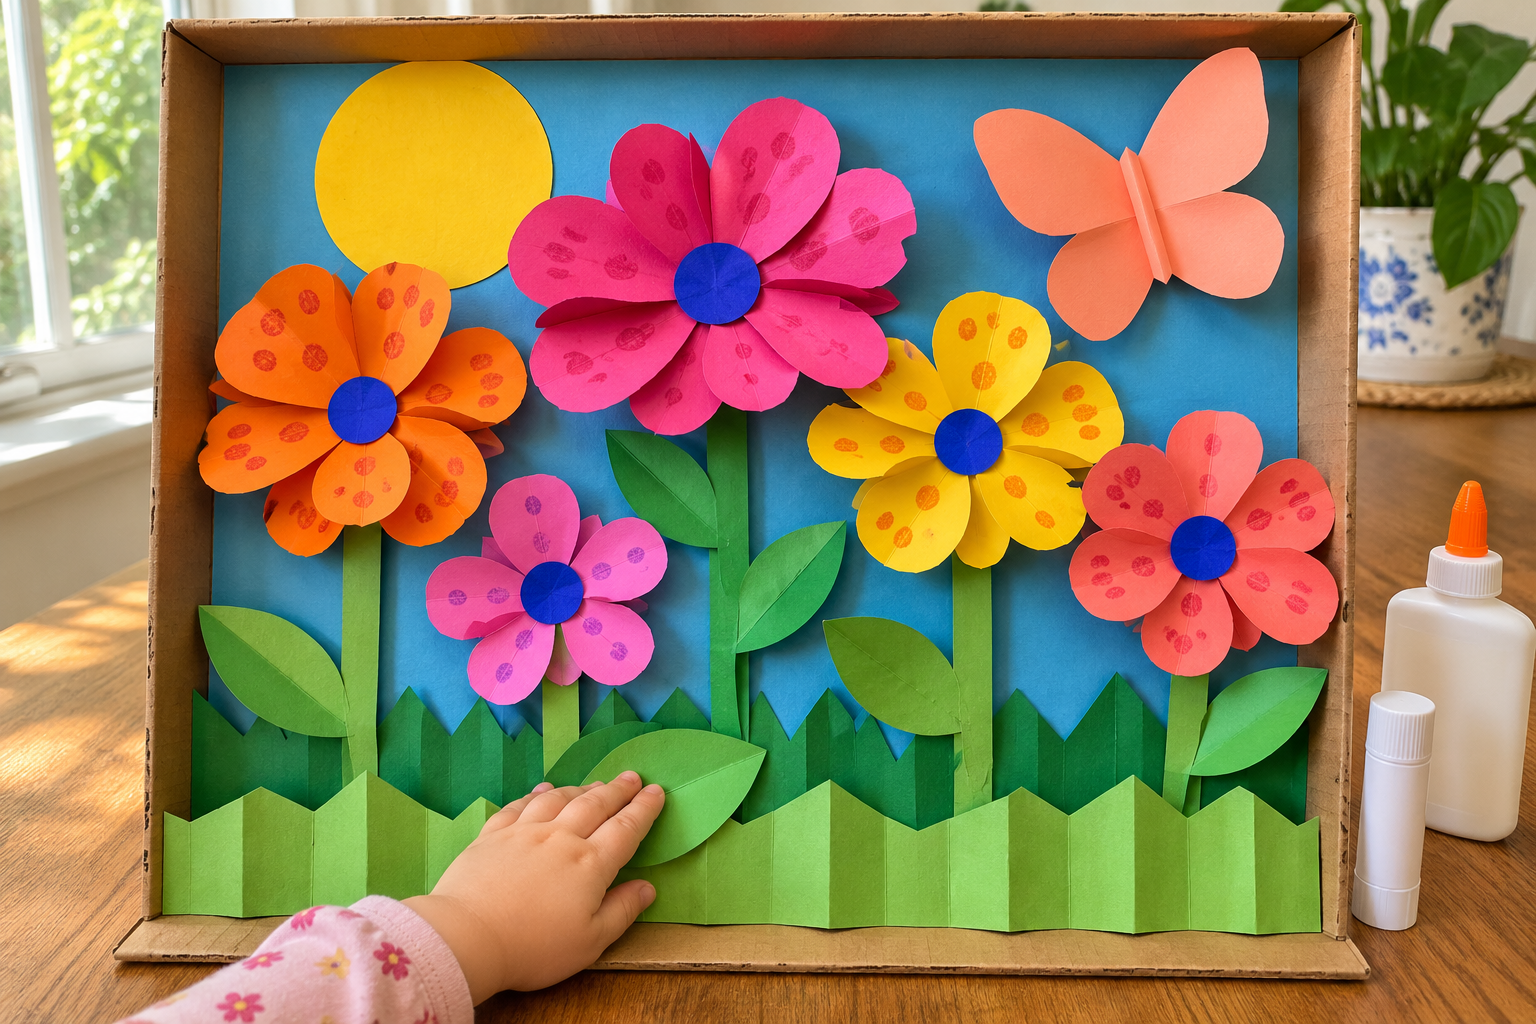
Use a half-sheet base, four to six large paper pieces, and one glue stick. The paper-garden activity has its own picture-making method. Keep spare pieces outside the tray until needed.
A full-sheet painting space
Put the paper flat in the working area and keep a small palette alongside it. If the brush has nowhere to rest, reduce the supplies or use more space. The tray isn’t obliged to contain every paint color you own.
A dry cutting kit
Use a small tray to hold a few strips and collect offcuts, with scissors stored separately afterward. The scissors comparison explains tool fit. For the actual activity, follow the paper-strip setup.

Craft-tray questions
What size craft tray fits a full sheet of paper?
The usable inside floor must exceed the actual paper footprint, with any additional space your tools need. US Letter and A4 aren’t identical sizes. Check interior dimensions rather than assuming a tray’s outside measurement is the working area.
Is a silicone mat better than a plastic tray?
A silicone mat can provide a broad stationary working area. A suitable rigid tray is more useful for carrying a small dry kit. Choose by that job, and don’t lift a flexible mat full of liquid.
Do you need a tray for every child?
Separate trays can give each child a defined small setup, but they aren’t compulsory. Check table room, reach, and storage before buying a multipack. A shared large surface can work with clearly separated materials.
Can a baking tray work for crafts?
A sound tray with smooth edges may cover a simple craft job if its size and rim suit the setup. Check for damage and reserve it for crafts once used with craft materials. Don’t assume any household tray is suitable for carrying a wet activity.
How do you clean craft trays?
Remove loose scraps and excess material first, then follow the tray and craft-product care directions. Dry before stacking. Check the actual model before using a dishwasher or strong cleaner.


Leave a Reply