
A practical preschool table project
Cut-and-Paste Activities for Preschoolers: A Paper Garden

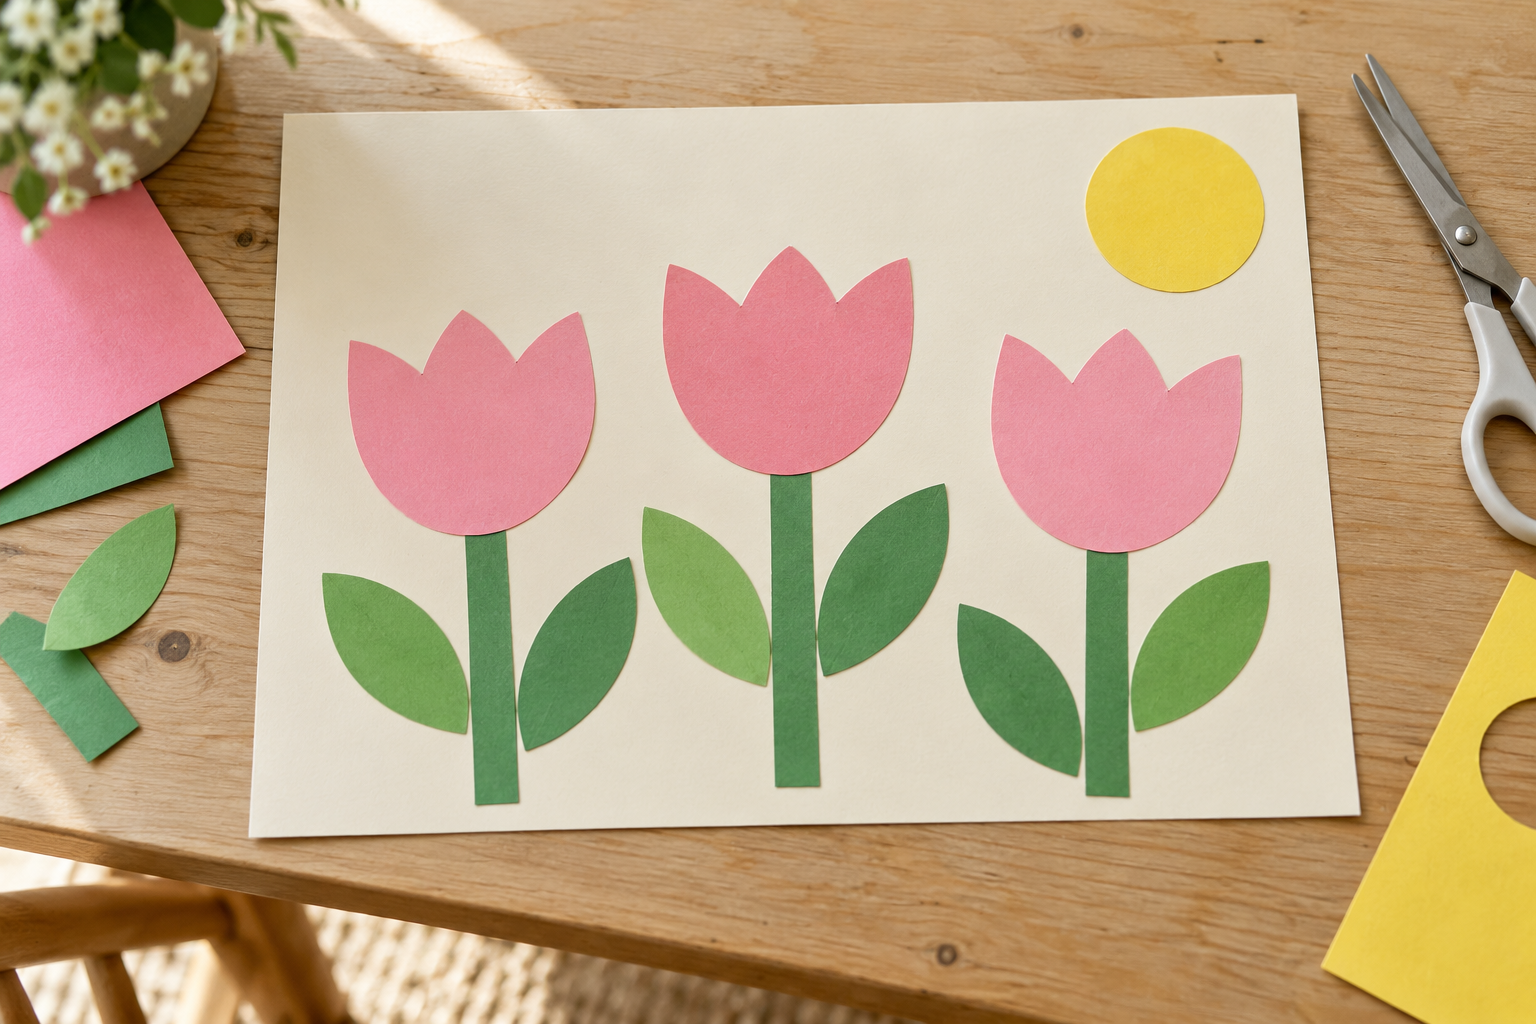
Three pink flowers, a slightly wonky sun and leaves that may all end up on the same stem: this paper garden has room for a child’s decisions. The pieces are large enough to move around before anything gets sticky. You can prepare every shape yourself or leave some easy straight cuts for your preschooler.
The useful trick is to arrange the whole picture before opening the glue. Otherwise the first tulip gets attached near the bottom, its stem runs off the page, and suddenly you are discussing whether flowers can grow sideways. They can in this garden, but it is nice when that is a choice.

Supplies for one paper garden
- One cream US Letter cardstock sheet, 8½ × 11 inches, used landscape
- Pink paper for three tulip heads, each roughly 6 cm wide and 5 cm tall
- Three green stems about 1 × 12 cm
- Six green oval leaves about 5 × 2½ cm
- One yellow circle about 5 cm across
- One age-appropriate glue stick
- Adult scissors and pencil for preparation
- Optional child-sized scissors for suitable straight cuts, with supervision
- A washable mat and a flat place for drying
Allow ten to fifteen minutes to prepare the pieces and around fifteen minutes for arranging and sticking, with breaks whenever needed. This is a low-mess paper project for preschoolers, with adult-precut participation available. Paper and glue from the cupboard usually keep the cost under a few dollars per picture.
Make the flower picture step by step
- Prepare three rounded tulip heads. On pink paper, draw three broad cup shapes with three rounded bumps across the top. Aim for about 6 cm wide and 5 cm tall. An adult cuts them out; skip sharp notches and tiny details that turn a simple flower into a fiddly cutting job.
- Cut stems and leaves. Make three green rectangles about 1 × 12 cm and six large oval leaves. These are adult preparation sizes, not accuracy targets for a child. Keep the leaf shape broad and simple, with no narrow stalk to tear off.
- Add one sun. Trace a cup or draw a circle about 5 cm across on yellow paper, then cut it out. A plain circle is enough. Leave out small rays so you do not add twelve little pieces to what was supposed to be a peaceful afternoon.
- Try the arrangement without glue. Put the cream backing landscape. Lay three stems across its lower part, with enough space between them for flower heads. Set the tulips above the stems, then tuck two leaves beside each stem. Place the sun in a clear upper corner.
- Check the fit together. Move anything that hangs beyond the backing if that bothers your child. Overlap each flower slightly onto its stem so the picture reads as joined pieces. Keep some cream paper visible between flowers; the shapes do not need to fill every inch.
- Attach the stems first. Lift one stem and apply a thin layer of glue to its back over the washable mat. Return it to the backing and press it flat. Repeat with the other stems, checking the loose heads have not wandered into the glue.
- Add flower heads and leaves. Lift and glue one piece at a time. Cover the back lightly, especially the broad edges, then press with clean fingers. Keep the glue stick capped between longer pauses so it does not become the table’s newest purple sculpture.
- Finish with the sun and dry flat. Glue the circle in its chosen corner. Inspect for lifting edges and add a little glue only where needed. Move the picture to a flat drying spot and follow the glue label before stacking, displaying or slipping it into a folder.
Let the arrangement belong to your child
You can show a possible layout without making it the only acceptable picture. Lay out one flower on your own scrap paper, then let your child place the pieces on their backing. Three tulips in a straight row, a crowded bunch and a single enormous-looking flower are all reasonable paper-garden outcomes.
Keep the optional choices limited. You might offer the yellow sun on the left or right, or let your child choose whether the leaves point up or down. Bringing out ten extra colors halfway through is how a tidy selection turns into every sheet of paper you own.
If your child wants to do some cutting, the long straight edges of adult-prepared stem blanks are a simpler invitation than the curved flower heads. For a separate short cutting session, use the plain paper strip tray. Its small offcuts make a different collage; you do not need to call them tulip petals.
DIY pieces or a cut-and-paste worksheet?
This tutorial uses ordinary paper shapes, so no printable is required. The actual animal cut-and-paste page in your worksheet bundle is a sorting chart with eight animal pictures and four labeled spaces. That is a different activity from building a garden picture, and this tutorial does not pretend that it includes flower templates.
If you prefer a page with all its pieces supplied, choose one you can see clearly before printing. Check the number and size of the pieces, the instructions and whether an adult will need to separate them first. The workbook guide can help with broader resource choices; today’s project can stay entirely homemade.
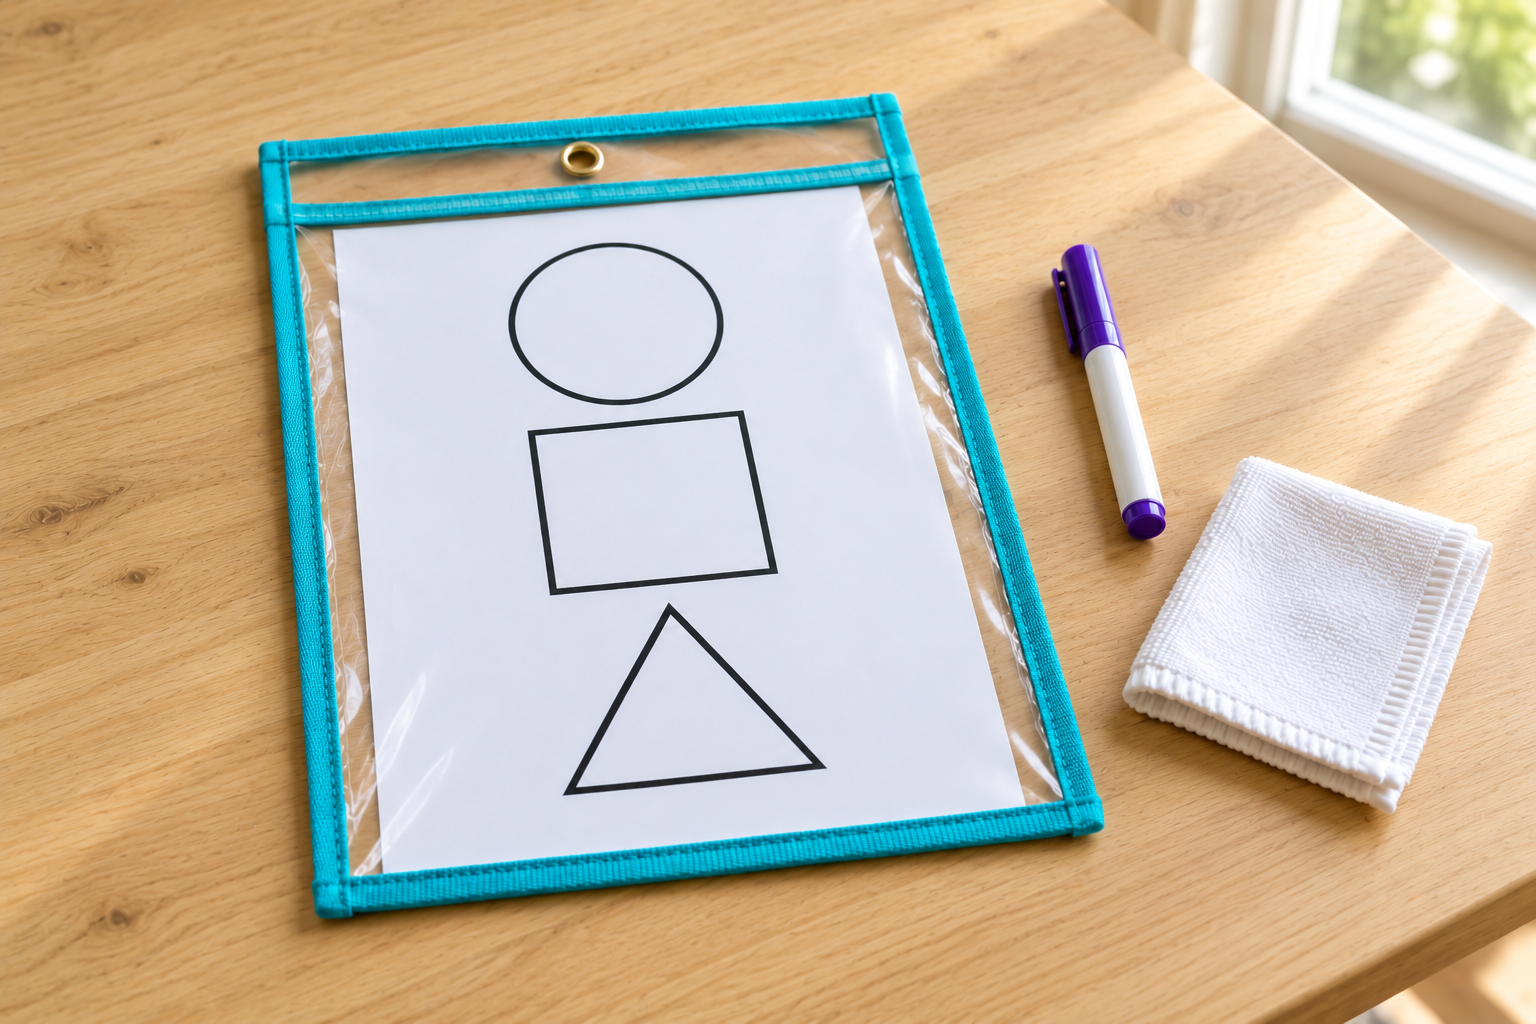
Do the making on exposed cardstock. You can use a mat underneath, but do not slide the backing into the wipe-clean worksheet pocket: glue belongs on the paper, and the finished garden is meant to stay assembled.

Real fixes for sticky paper problems
The flowers will not fit
Dry-fit everything before gluing and move the stems closer together. If you have already attached them, overlap the heads slightly or use two flowers and save one. You do not have to cut the backing bigger after the glue comes out.
The paper curls
Use less glue and choose a firmer backing. Press each piece gently, then let the picture dry flat. Avoid adding a puddle of liquid glue to rescue a curled corner; that usually gives it more moisture.
The glue stick catches the stem
Put the stem on scrap paper and support it flat while gluing. Adults can help apply glue to narrow pieces or attach the stems in advance. Change the scrap underneath when it gets sticky so the next piece does not collect dried glue.
Your child wants to move a glued leaf
If the glue is still workable, help lift it gently without pulling the backing. If it is firmly attached, offer a spare leaf or leave the unusual placement. A torn picture is not a necessary lesson in following your first arrangement.
Three gardens from the same basic pieces
A fully precut invitation
Prepare all thirteen loose pieces beforehand: three heads, three stems, six leaves and one sun. Let your child concentrate on placing and sticking. Count the pieces during preparation if you want to make several matching kits.
A flower card
Use a larger folded card and only one flower, one stem and two leaves on the front. Keep a clear space inside for a message. For another card design with a different finish, see the paper-heart thank-you bouquet.
A shared garden
Give each child a separate backing and their own pieces, then display the dried pictures together. This avoids two people reaching across one wet-glue project. Use different flower colors if you want each kit easy to recognize.
Put spare clean pieces in an envelope for repairs or another picture. The portable paperwork station has room-saving ideas for storing that envelope without starting a permanent craft pile.

Frequently asked questions
Do I need a flower printable?
No. An adult can draw three simple rounded flower heads and cut the remaining shapes from ordinary paper. The measurements help the pieces fit one backing, but they do not need to be exact.
Can I prepare every piece in advance?
Yes. Put thirteen loose shapes in an envelope for each child and keep the backing separate. Store them flat so the stems do not become accordion strips before the activity starts.
Is this suitable for toddlers?
A toddler can arrange large adult-precut pieces with close supervision if the materials suit them. Leave out independent scissors and manage the glue as needed. Stop if paper or glue goes into the mouth.
What is the best glue for paper collage?
An age-appropriate glue stick is convenient for this light paper project. Check the label and use a thin layer. Heavy decorations would need a different adhesive and are not part of this tutorial.
Can I use printer paper for the backing?
Yes, but it may wrinkle or bend more than cardstock. Use a light touch with glue and let it dry flat. Avoid soaking a thin backing with liquid glue.




Leave a Reply