
Make room for the wet paper before anyone opens the glue
How to Run a Christmas Craft Table for Preschoolers

Choose one main craft, prepare and test each set, and separate the working places from the drying area and adult assembly spot. For four standing paper trees, keep five matching pairs ready, including a spare, and decorate the pieces flat before joining them.
The first thing a Christmas craft table needs is somewhere for an unfinished craft to go. Otherwise you get four small people holding wet paper while you clear the fruit bowl with your elbow. Set up the working places, a drying area and a clear spot for adult assembly before anyone opens the glue.
This is a small-group plan for four preschoolers making standing paper Christmas trees. You prepare the cutouts and test their joints; the children decorate them flat. The finished trees are assembled only when the decorations have set. One project is plenty for the table.
Decide which jobs are yours before the crayons come out. Running a craft table is different from sitting down to make one tree together: you need matching sets, somewhere for each child’s pieces and a way to help without losing track of three other projects.
Choose a project with a clear adult job
The standing paper Christmas tree tutorial explains the two matching silhouettes and opposite slots. Read that method and make one test pair before cutting a group set. This guide is the hosting plan, so the individual craft’s measurements and joint fixes stay in that tutorial.
For the table, prepare five tested pairs: four children’s sets and one spare. Keep both pieces of a pair together. They may look interchangeable until you discover that two children have received pieces with the same slot direction.
Offer crayons as the base decoration. Flat paper ornaments and a little glue can be an optional second stage. If you have one adult and children who all need hands-on help, use the crayon-only version; the result still stands up, and nobody waits for a wet bauble.
A layered paper plate wreath is another possible group project, but choose it instead of the tree. Its ring, leaves and drying needs are different. Two projects offered together would double the loose pieces without adding another pair of adult hands.
Christmas tree craft table for four children
Prepare five matching pairs, including one spare.
- 10 green cardstock sheets for 5 pairs of adult-cut tree silhouettes
- 4 project envelopes or folders, plus 1 for the spare pair
- 4 working mats and 4 small crayon cups with 4 crayons each
- Optional: 40 flat paper ornaments, about 2 cm across, divided into 5 sets of 8
- Optional: 4 glue sticks, one per working place
- 4 cardboard drying boards, roughly 16 × 12 inches, covered with clean scrap paper
- 1 pencil for names, adult scissors and a ruler kept at the adult station
- 1 small scrap container, wipe cloth and rubbish bag
Allow around 45–60 minutes for adult cutting, fit checks and setup, then a flexible 25–40-minute gathering. Glue adds drying time according to the product and amount used. Expect roughly $5–12 in consumables for four if you own the tools.

Give three places different jobs
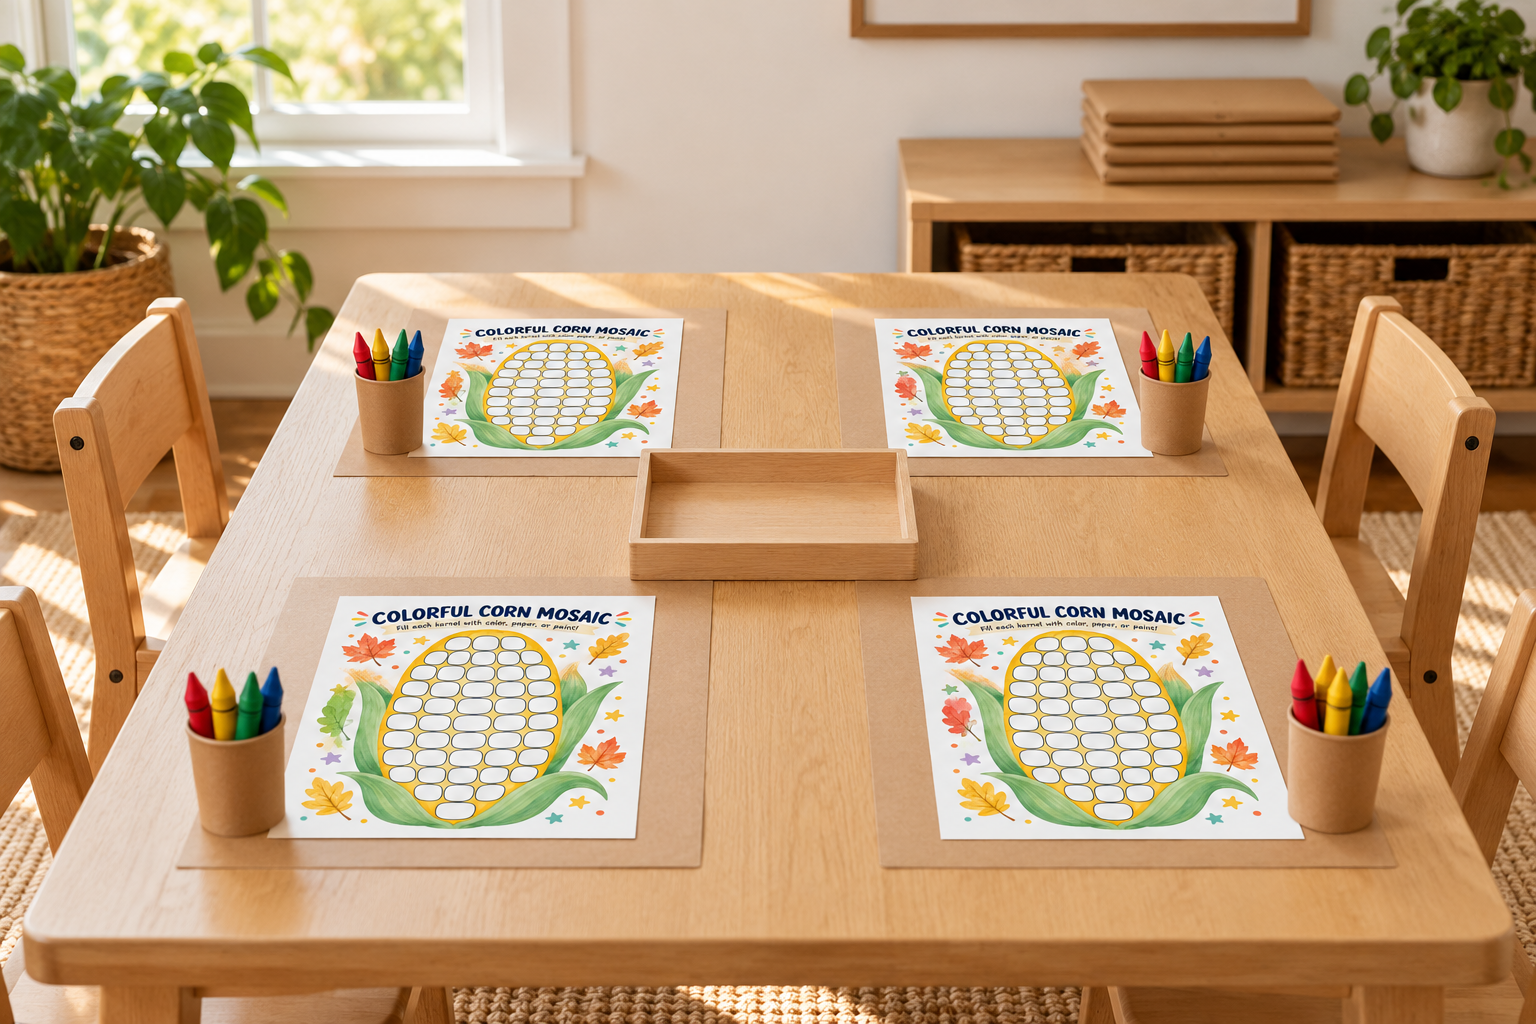
The working table: each child gets a mat, one matching tree pair and a small crayon cup. Keep the cutouts flat. Two silhouettes about 18 cm tall fit side by side on a 16 × 12-inch board, but check your actual mats and pieces before the group arrives.
The drying shelf: put the four named boards on a stable, cleared surface nearby. They need to lie flat and remain easy for an adult to reach. Keep the boards in one layer.
The adult assembly spot: leave a clear section of counter or a separate small table for joining the trees. Keep scissors and the spare pair here. This avoids making precision adjustments between a glue stick and somebody’s moving elbow.
The Thanksgiving activity table layout is useful if you also need to plan chairs and arrival places. For this Christmas session, the extra requirement is keeping each pair together through decoration, drying and assembly.
Run the craft table without a pile-up
- Test and sort every pair. An adult slides each tree pair together, checks that it stands and separates it again. Put a matching pencil mark near the bottom of both pieces. Keep the spare pair in its own envelope rather than mixing spare shapes into the children’s sets.
- Assign the adults’ jobs. Have an adult stay beside the working table throughout. A second helper can manage drying boards and assembly if available. Without a helper, keep the first version simple and assemble one finished pair at a time while the other children color.
- Show a brief example. Demonstrate coloring one flat shape and keeping its central slot clear. Show that a pair eventually stands, then put the example aside. Let the children choose their own decoration.
- Decorate on one side, then turn. Begin with crayons on the flat cutouts. If a child wants decorations on the reverse, flip the piece while it is still dry. Keep the pair on its own mat so another child’s piece does not become its new partner.
- Offer glue only when wanted. Bring out up to eight paper ornaments for that child’s tree. Use a light application of glue and keep the slots and base edges clear. Spread ornaments across the faces; unused circles can stay aside.
- Move a complete pair to its board. Let the child choose where their two pieces sit while an adult carries the board to the shelf. Keep it horizontal. Leave glued decorations until they no longer shift when lightly checked by the adult; do not hurry assembly because the next child is ready.
- Assemble and pack each finished tree. Join the tested pair at the adult spot, then check it on a flat surface. For the journey home, separate the tree gently and place both dry shapes in its named folder or envelope. Tell the caregiver how the two slots meet.

Offer something flat while the glue settles
Some children finish first and others are still choosing a crayon. Keep a few blank drawing sheets available rather than introducing a second wet craft. A child can draw the tree’s presents or a house beside it, with no need for the whole group to restart.
If you prefer a printed arrival page, the Christmas activity book guide shows how to select from the actual holiday pack. Use a loose chosen page for this session, not a book underneath glue. The tree itself does not require a printable purchase.
Fix the bottleneck, not the child’s design
Four children need assembly at once
Keep completed pairs on their boards and help one at a time. Hand out blank drawing paper while they wait. Let each child finish in their own time.
Two pieces no longer fit together
Check the pencil pair marks and look for ornaments or glue covering a slot. Use the tree tutorial’s joint fixes at the adult spot; do not deepen cuts while the child holds the tree near your scissors.
The drying shelf fills up
Clear enough flat spaces before offering more glue. If you cannot make space, switch the remaining decoration to crayons. Do not put fresh work into a bag to free a board.
There are ornaments everywhere
Bring out one child’s small portion at a time and collect unused circles before packing. Keep the master supply box with the adult instead of in the middle of the table.
Two easier versions of the same gathering
The entirely dry Christmas tree table
Offer crayons only, then assemble as soon as the child finishes. You still prepare and test every pair, but you can use the boards as carrying boards rather than drying stations. This version needs fewer supplies and is easier to finish before guests leave.
A two-child family session
Prepare three pairs, two for the children and one spare. Use two mats and two boards, with supplies between you where you can reach them. Keep the same separate place for adult cutting adjustments.
An adult prepares and adjusts the slots. Keep scissors, small decorations and offcuts away from children who mouth objects; use supplies suitable for the ages present. Keep the paper trees and working table away from candles, heaters and hot drinks.

Pack pairs before sweeping scraps
Count two shapes into every envelope before clearing the table. Add unused ornaments only if the caregiver wants them and they can be stored appropriately. Keep the spare tested pair with your own craft supplies for replacing a torn piece later.
Paper cutouts belong in a folder, not loose among everyday activity pages. The mixed preschool activity binder uses a separate pocket for loose sheets and keeps cutting or gluing work outside the rings. If a wearable project suits your next gathering better, use the Christmas paper hat tutorial and plan time for individual fitting.
Christmas craft table questions
How many Christmas crafts should I offer preschoolers at one table?
One main project is enough for this small-group plan. Offer blank drawing paper for early finishers instead of starting another glue activity while others are still making the first.
What should an adult prepare before a Christmas craft session?
Cut and test the tree pairs, sort matching sets and clear the drying area. Keep adult tools and spare pieces at a separate reachable spot before children sit down.
Can I run the craft table without glue?
Yes, decorate the tree pieces with crayons and assemble the dry pairs. You can skip the paper ornaments and still use the same standing-tree method.
How do children take the standing paper trees home?
Separate each dry tree gently into its two flat shapes and put the matching pair in a named envelope or folder. Explain the slot joint to the caregiver so they can stand it up again.
Do I need to buy a Christmas printable for this table?
No, the linked tree tutorial uses your own cardstock and supplies. A verified holiday printable can be an optional arrival activity, but it is not needed to make the trees.




Leave a Reply