
Two flat shapes, one tiny tree
3D Paper Christmas Tree Craft for Kids

Cut two matching cardstock tree silhouettes, give one a top-to-middle slot and the other a bottom-to-middle slot, then slide them together at right angles. Decorate them flat before final assembly.
The standing-tree moment is the bit worth waiting for. Two flat paper shapes slide together, your preschooler lets go, and suddenly there is an actual little tree sitting on the table. Then someone adds one enormous ornament and you discover why buildings need balance.
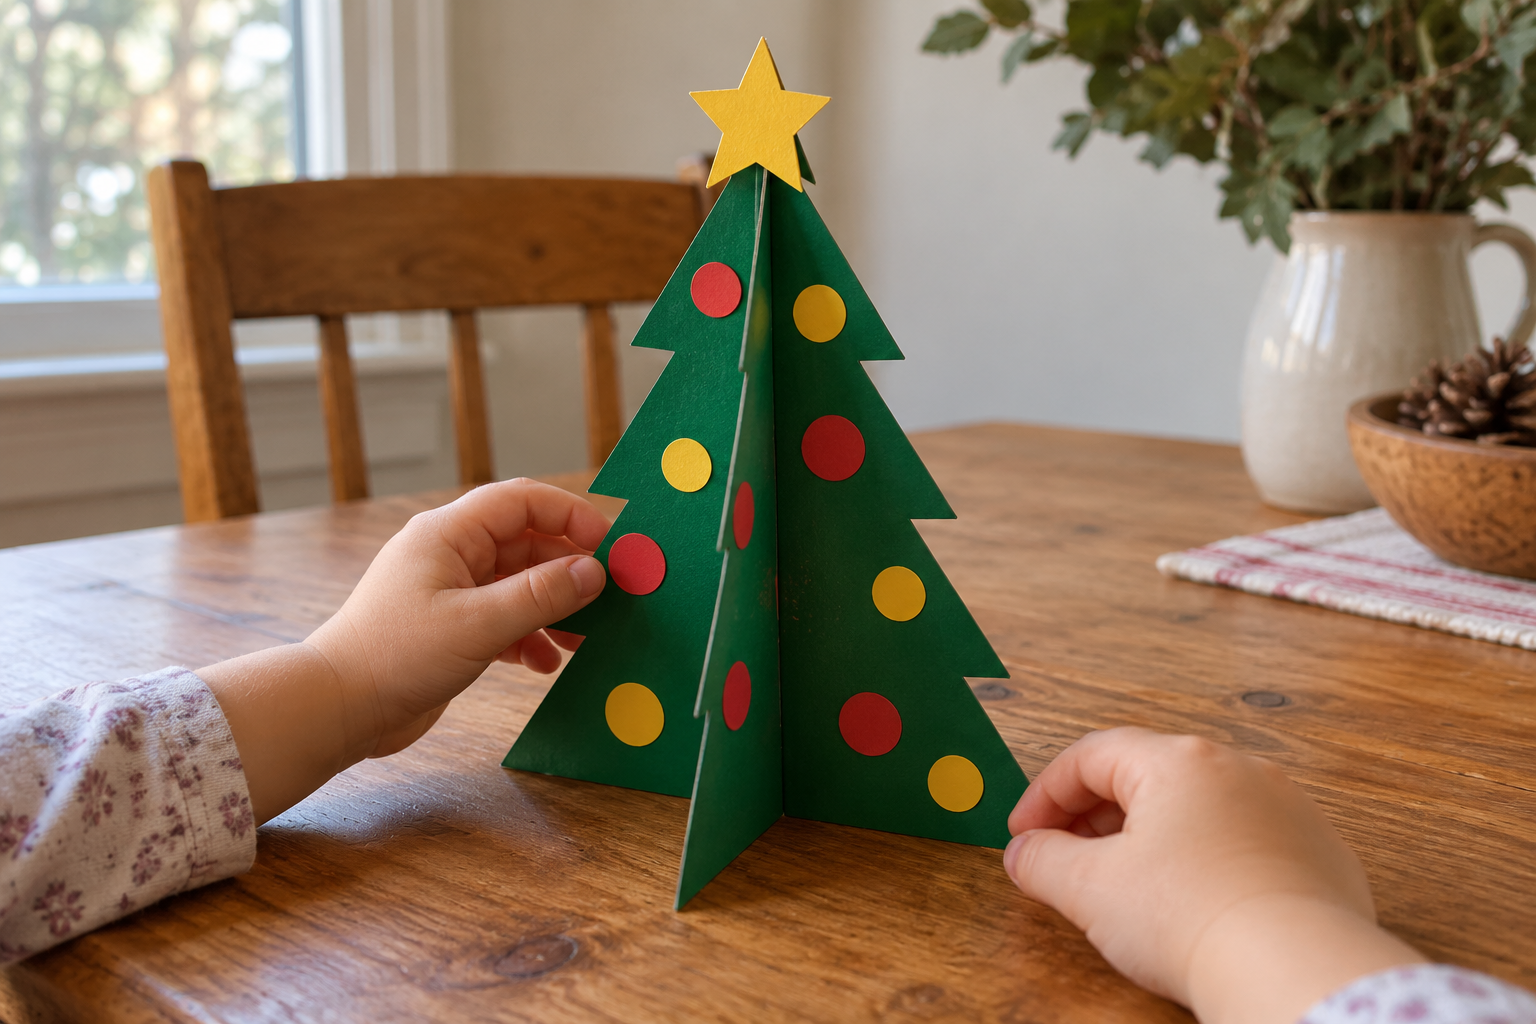
This 3D paper Christmas tree craft uses two matching cardstock silhouettes with opposite slots. You do the precise cutting; your child colours, glues on flat decorations and helps slide the pieces together. There is no cone to wrestle into shape and no mysterious extra tab left over at the end.
Make the first tree about 18 cm tall. That is big enough for preschool hands and small enough for ordinary cardstock. Save the ambitious forest until you have checked that one tree stands; Christmas crafting does not need a forestry management problem.
What you need for one craft
Prepare the fiddly cuts, then let your child take over the decorating.
- 2 green cardstock sheets, around 180–220 gsm
- 1 scrap-paper pattern: triangle 18 cm high and 12 cm wide
- 12–20 flat paper ornaments, 1–2 cm across
- 1 lightweight paper star, about 3 cm wide, optional
- 1 pencil, ruler, glue stick and crayons
- 1 pair adult scissors and tape for a loose joint if needed

Draw two identical trees
For the simplest outline, draw a triangle 18 cm tall and 12 cm wide on scrap paper, keeping the bottom edge straight. Round off the tip slightly. For the broad branch outline shown in the photos, add two shallow inward notches on each sloping side, about 6 and 12 cm below the tip. Make each notch about 1 cm deep; keep the bottom edge flat.
Cut out this adult-made pattern and trace it twice onto green cardstock. Both trees need the same height, centred tip, branches and flat baseline. A plain triangle works too if you prefer fewer cuts. Place the pattern so both cutouts fit on your sheet before tracing. On a standard letter-size sheet, you may need two sheets depending on orientation and margins.
Measure 9 cm up from each base and mark a tiny pencil dot on the centre line. One piece gets a slot from the tip down to that dot; the other gets a slot from the base up to its dot. The slots meet at the halfway point when the trees cross.
Ordinary thin construction paper tends to fold at the slot. Use cardstock around 180–220 gsm if your scissors can cut it comfortably. The cardboard weaving loom also relies on a sturdy base and prepared cuts, but this tree needs paper light enough to slide neatly.
Build the standing paper tree
- Cut the matching outlines. An adult cuts both trees along the traced pattern. Lay them together and check that the tips and bottom edges match. Trim mismatched edges now; once the decorations arrive, nobody is interested in a geometry meeting.
- Cut the opposite centre slots. Start with a single narrow cut from the top to the midpoint on tree A, and from the bottom to the midpoint on tree B. An adult handles these cuts. Widen them only if the thickness of your cardstock prevents the pieces from sliding together.
- Try the fit before decorating. Turn the pieces perpendicular to each other. Bring A’s downward slot over B’s upward slot and slide them together until their bases align. Both pieces should touch the table, forming a cross when viewed from above. Separate them gently after the test.
- Decorate each side on the table. Use crayons first, then glue on 1–2 cm paper circles or broad paper strips. Work on one side, allow the glue to set, and turn the cutout over. Keep glue, stickers and ornaments away from the slots so the joint stays clear.
- Keep the weight spread out. Offer a few decorations for each face rather than loading one side. Flatten glued shapes with a palm. Skip beads, buttons and dangling decorations; the tree is meant to stand on its own paper edges.
- Assemble again when dry. Guide the slots together without pushing on the tip. Your child can hold the lower edges while you line up the cuts. Slide slowly; if the joint sticks, stop and check for glue or a slot that needs a tiny adjustment.
- Check it from every side. Set the tree on a flat table and rotate it a quarter turn. The cross should have four evenly spaced fins and four base edges touching the surface. A small star can be glued to one face near the top without bridging the centre joint.

Decoration choices that keep it upright
Your child may want the biggest star on the tiniest tree. Cut a lightweight star around 3 cm across and overlap its lower half with the tip on one face, rather than balancing a separate topper above the tree. A tall topper changes the balance and is the first part to bend when someone moves the display.
Draw garlands with crayon if you want fewer pieces to cut. Flat paper ornaments look colourful without dragging down a branch. Place the pieces well inside the edges so nothing interferes with the base, especially the two corners that act as feet.
For translucent decoration rather than a standing structure, our tissue-paper suncatcher gives little tissue scraps a different job. Do not substitute sticky contact paper for the tree’s cardstock; the slot needs stiffness, not stickiness.
Set your finished tree beside a paper bag gingerbread cottage. The tree supplies the garden, while the bag house gives your child a reason to choose where the tree goes. Leave enough space around both that lifting one does not flatten the other.
Why won’t my paper tree stand?
One piece floats above the table
Check that both slots reach the halfway marks and both silhouettes have equal height. Extend the shorter slot a millimetre at a time until the bases align. Do not deepen both cuts automatically.
The joint is loose
The slots may be wider than the cardstock. Add a short piece of tape across the joint on an inside corner after assembly. For the next tree, start with a single scissor cut and widen only as needed.
The tree folds sideways
Use stiffer cardstock or make a shorter tree with the same broad base. Let wet glue dry fully before assembly. A crease already bent through the centre is difficult to undo; retrace that piece if needed.
The tip tears during assembly
Hold near the centre joint, not by the point, and remove any dried glue in the slot. Make the replacement tip slightly rounded. Do not force the two pieces past resistance.
Change the look, keep the joint
A crayon-only tree for age three
Prepare both pieces and slots ahead of time. Let your child cover the faces with drawn baubles and zigzag garlands, then assemble together. You still get the standing reveal without waiting for glue.
A snowy tabletop forest
Make trees at 12, 15 and 18 cm high, marking each midpoint separately. Draw white snow along the edges. Keep the base broad on each size instead of shrinking the width more than the height.
A coordinated Christmas display
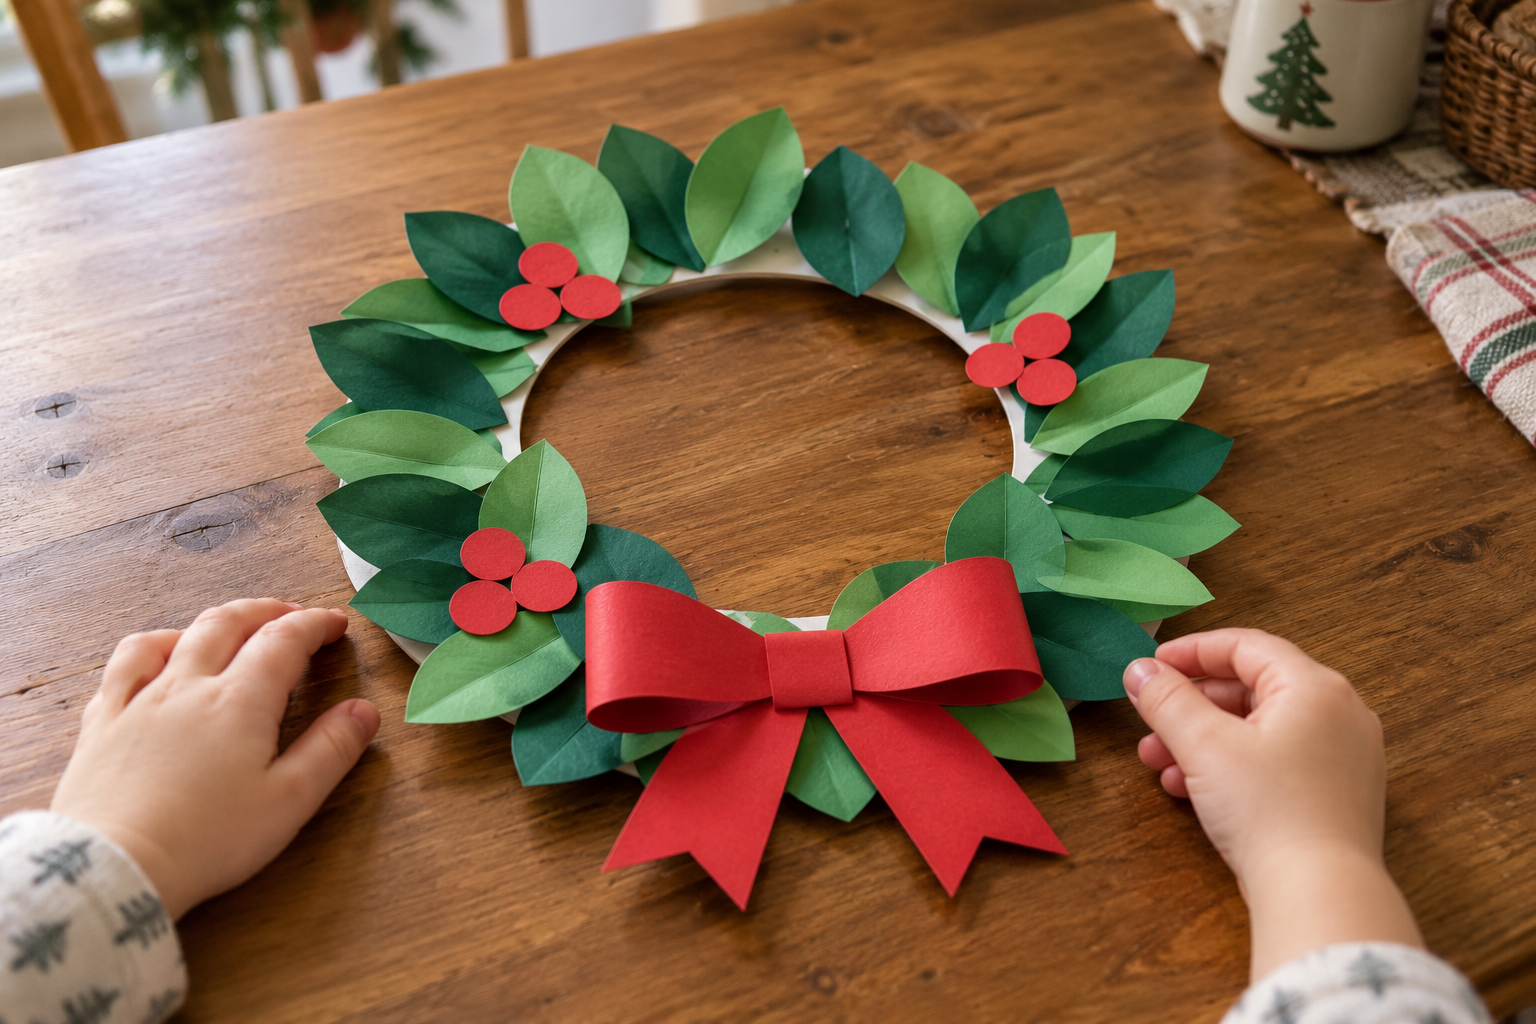
Save a few of the same paper colours for a layered paper plate wreath. Repeating the colours makes a cheerful display, while the wreath can hang above the trees without adding anything heavy to their branches.

Taking the tree apart and storing it
Lift from the lower centre and ease the pieces apart along the slots. Store them flat in a folder with their matching partner. If you added tape at the joint, peel it slowly rather than pulling until the paper separates.
A small envelope catches leftover ornaments. If cutting preparation is taking over your evening, these low-mess toddler crafts include flatter projects for days when you want a shorter setup.
Standing paper Christmas tree questions
How do you make a paper Christmas tree stand up?
Cut two identical cardstock trees and give them opposite slots that reach the midpoint. Slide them together at right angles so both bases touch the table; the crossed shapes provide the support.
Can I use construction paper?
Thin construction paper can sag at the centre cut, especially after glue is added. Cardstock is more reliable, or you can glue construction paper to cardstock and let it dry before tracing and cutting.
Which tree piece needs the top slot?
Either piece can have it, provided the other has the bottom slot. Mark them A and B in pencil before cutting so you do not accidentally give both pieces the same opening.
Can preschoolers cut the tree themselves?
A child comfortable with scissors can help with the broad outside edges under supervision. Keep the centre slots as an adult job because a small overcut can spoil the fit.
Can I use stickers instead of paper ornaments?
Yes, lightweight stickers work well on the flat faces. Keep them clear of the slots and bottom edges so assembly and standing are not affected.




Leave a Reply