
A little cottage, minus the icing collapse
Paper Bag Gingerbread House Craft for Kids

Decorate a flat-bottom lunch bag while it is flat, lightly fill it with scrap paper, tape the top closed and attach a folded cardstock roof. Flat paper sweets keep the finished house light.
A paper bag gingerbread house has one enormous advantage over the biscuit version: nobody needs to persuade the roof to stay on with icing while a small person eats the structural supports. Your preschooler can pile on paper sweets, draw wildly ambitious windows, and keep the finished house on a shelf.
This version stands up on the bag’s own base. You decorate it flat, add a little crumpled paper, and fit a folded cardstock roof over the closed top. The adult jobs are cutting and checking the roof fit; your child gets the important job of deciding whether the house needs seventeen peppermint circles.
Keep the door drawn or glued on rather than cutting it open. This is a little Christmas display house, not a miniature room. For furniture, opening doors and a house your child can actually arrange inside, use the shoebox dollhouse tutorial.
What you need for one craft
Prepare the fiddly cuts, then let your child take over the decorating.
- 1 flat-bottom kraft lunch bag, about 13 × 25 cm
- 1 red cardstock rectangle, 17 × 18 cm
- 1 brown paper door, 4 × 7 cm
- 2 yellow paper windows, each 3 × 3 cm
- 12–20 red and white paper circles, 2–3 cm across
- 2–3 sheets scrap paper for loose filling
- 1 glue stick, tape, crayons, an opaque white craft marker or white paper strips
- 1 ruler and adult scissors

Start with a bag that can stand
Choose a rectangular lunch bag with a flat bottom, around 13 cm wide and 25 cm tall. Open it once and set it down empty. If its corners sit unevenly, press the base creases into place before adding decorations. A sandwich sleeve without a bottom gusset will make a flat picture rather than a standing house.
Now flatten the bag again with the nicest side facing up. Leave the top 5 cm undecorated because that section will close under the roof. A pencil line across this boundary saves the discovery that your child’s favourite window has disappeared into the attic.
Set out a door rectangle, two windows and a small dish of paper circles. Start with those few shapes and refill the dish if your child wants more. There is no need to cut an entire confectionery aisle before anyone has picked up a glue stick.
Make the gingerbread house
- Make a dry layout. Place a 4 × 7 cm brown door and two 3 × 3 cm yellow windows on the flat bag, keeping everything below the pencil line. Let your child move them around before gluing. A window beside the door is easier to recognise than three shapes buried under one another, but wonky placement is part of the house.
- Glue the large pieces first. Rub glue on the back of each shape right out to its edges, then press it onto the bag. Lay the bag on a firm table rather than holding it in the air. Your preschooler can press with a flat hand while you keep the paper from sliding.
- Add the icing and sweets. Draw white wavy lines using an opaque white craft marker, or glue on narrow white paper strips. Make peppermint decorations from 2–3 cm white circles with red crayon segments. Use paper throughout; real sweets add weight and invite a snack investigation.
- Prepare the roof separately. Cut a red cardstock rectangle about 17 × 18 cm for a 13 cm bag. Fold the 18 cm dimension in half so you have two roof slopes, each 9 cm deep. The 17 cm ridge runs across the bag’s width, leaving a little overhang at both sides. Decorate the roof while it is flat.
- Open and lightly fill the bag. Once the glued pieces stay put, open the base carefully. Push in two or three loosely crumpled sheets of scrap paper. Stop when the body holds its shape; packing it hard makes the top difficult to close and can bulge the decorated front.
- Close the top into a narrow ridge. Bring the bag’s front and back top edges together, keeping the side gussets tucked inward. Fold the top edge down about 2 cm and tape it shut. Keep this closure narrow enough that the roof can straddle it rather than lying on a broad flat ledge.
- Fit, then attach the roof. Rest the folded cardstock over the closed top. Both slopes should cover the closure without hiding the windows. Use short loops of tape beneath the slopes to hold them against the bag. Press gently with the bag supported, then put the house upright and check all four base corners.

Little details that make it look like a house
Window bars can be drawn with crayon or made from two thin paper strips. Add a round paper doorknob, then stop and let your child inspect the building. This is usually the moment the construction brief changes and a second door becomes urgently necessary.
If your child wants colour on every surface, use crayons rather than soaking the bag in paint. For a separate painting session with a crisp reveal at the end, tape-resist watercolor art uses paper designed to get wet. Here, a dry bag is a happier bag.
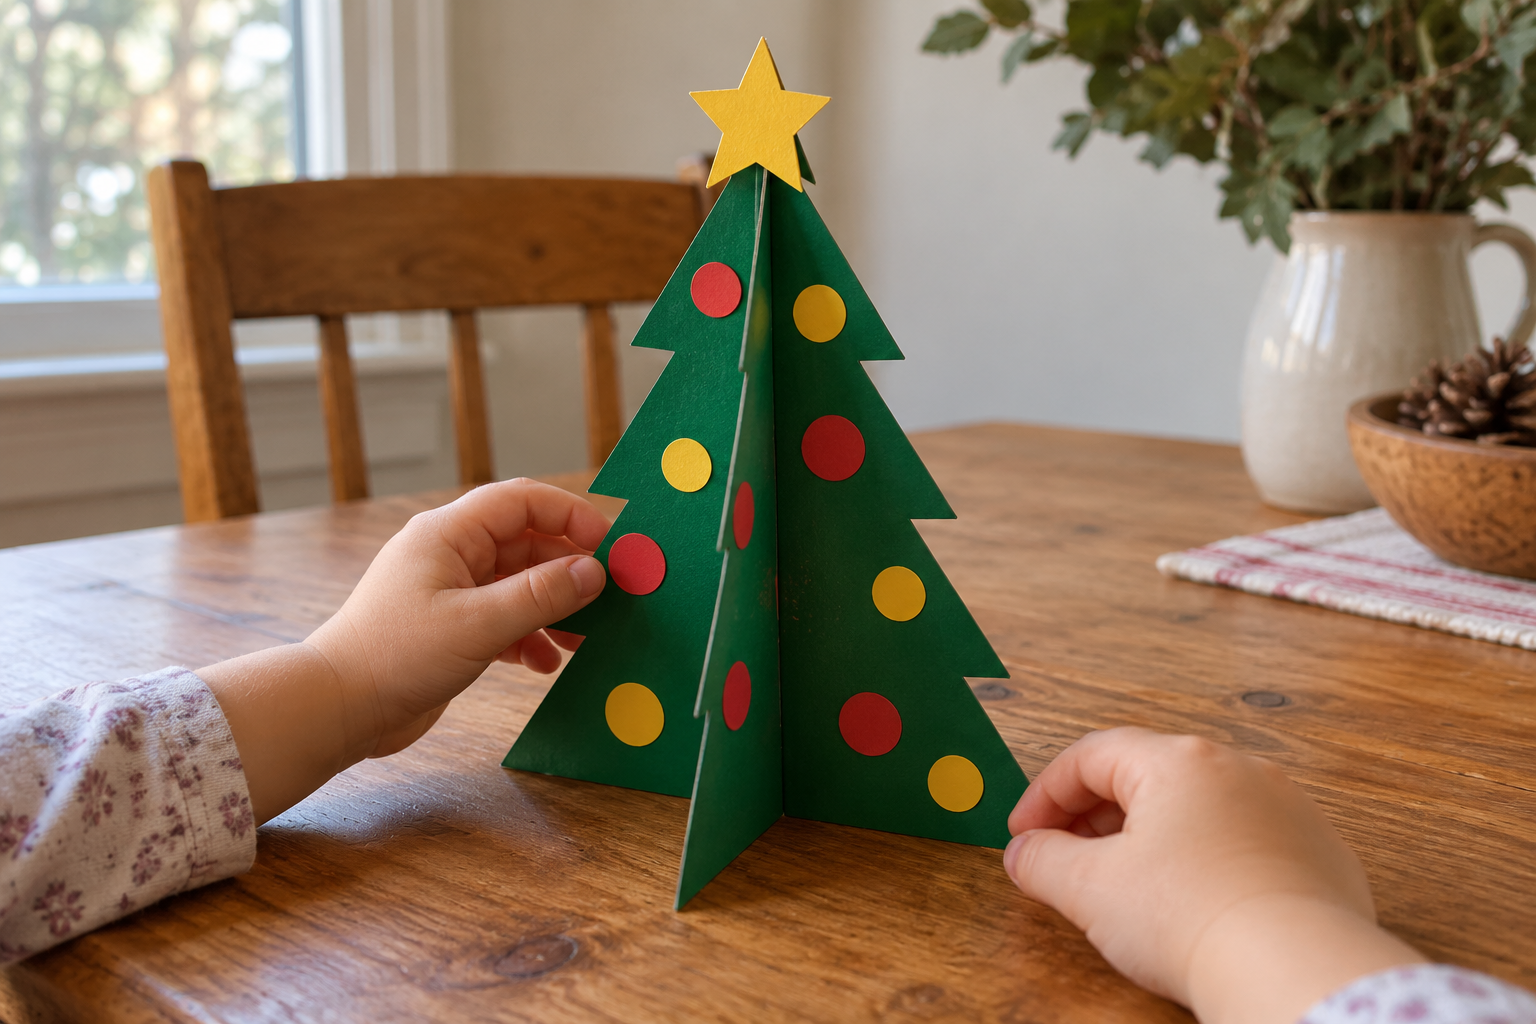
A house also gives you a useful reason to make the small standing paper Christmas tree: put one beside the front door for a village scene. Its flat paper decorations can use the same red and yellow scraps without turning the two projects into the same tutorial.
When the house goes a bit wonky
The house tips forward
Open the base fully and move crumpled paper into the lower corners. Check that the roof is centred. Replace heavy embellishments with flat paper rather than adding a heavy object inside the bag.
The roof keeps sliding
The ridge may be too wide or the tape may not touch both surfaces. Narrow the bag’s folded closure, add fresh tape loops beneath each slope, and press where the roof actually meets the bag.
The paper sweets curl up
Rub glue across the whole back, especially the edges, and press them flat before opening the bag. If you used wet glue, allow it to dry with the bag flat instead of continually adding more.
The white lines barely show
Test the marker on a spare bag first. If it is translucent, switch to white paper strips. Ordinary pale crayons may look faint on kraft paper; pressing harder can dent the bag without solving that.
Three ways to decorate your building
A colouring-only cottage
Draw the door, windows and sweets directly on the flat bag using chunky crayons. Keep the separate cardstock roof and the same standing assembly. This suits a child who enjoys colouring but has already declared glue their enemy.
A pastel candy shop
Swap red circles for pink, blue and yellow paper shapes. Draw a shop sign before the bag is filled. Two preschoolers can decorate different shops without anyone needing matching roofs or symmetrical windows.
A puppet-sized village backdrop
Make two houses and leave a clear space between them for a reindeer paper bag puppet to visit. Keep the houses stationary while the puppet does the talking; grabbing a roof is an efficient demolition technique.

Save the house without flattening it
Display the house somewhere dry, away from the sink and from Christmas lights. It does not need any lights inside it. To store it, remove the tape attaching the roof, take out the scrap paper and flatten the bag along its original folds. Store the roof folded beside it.
Put unused decorations into an envelope for another session. Broader ideas in our low-mess toddler craft collection are handy when the paper scraps are plentiful but the bag supply has run out.
Paper bag gingerbread house questions
What size paper bag should I use?
A flat-bottom lunch bag around 13 cm wide works well for this version. Adjust the roof to be about 4 cm wider than the bag, then test it before decorating; bags sold as the same size can have different folds.
Can a three-year-old make this gingerbread house?
Your three-year-old can place shapes, draw icing and press decorations down. Cut the roof and smaller shapes yourself, then help with opening, filling and closing the bag so their decoration stays intact.
Do I need to stuff the paper bag?
A little loose scrap paper helps the house stay upright and gives the front some support. Do not fill it tightly; the top needs enough empty space to close beneath the roof.
Can I use a glue stick instead of liquid glue?
Yes, a glue stick is useful for the lightweight door, windows and paper sweets. Use tape for the roof and bag closure, where two folded surfaces need a firmer hold.
Can I make these ahead for a Christmas craft group?
Cut roofs and put each child’s large shapes in a small envelope. Keep the bags flat until the children finish decorating, and assemble one demonstration house so you know the roof fits the bags you bought.




Leave a Reply