
A paper plate earns its place on the wall
Paper Plate Christmas Wreath Craft for Preschoolers

Cut the centre from a paper plate, then overlap folded green paper leaves around the ring. Glue only the leaf bases, add flat paper berries and a bow, and let the wreath dry flat before hanging.
A paper plate Christmas wreath gives your preschooler a proper decoration to hang up, while giving you somewhere to put the mountain of green paper pieces. Everyone wins until the child decides the bow belongs on the back. Fortunately, a paper wreath is not bound by interior-design regulations.
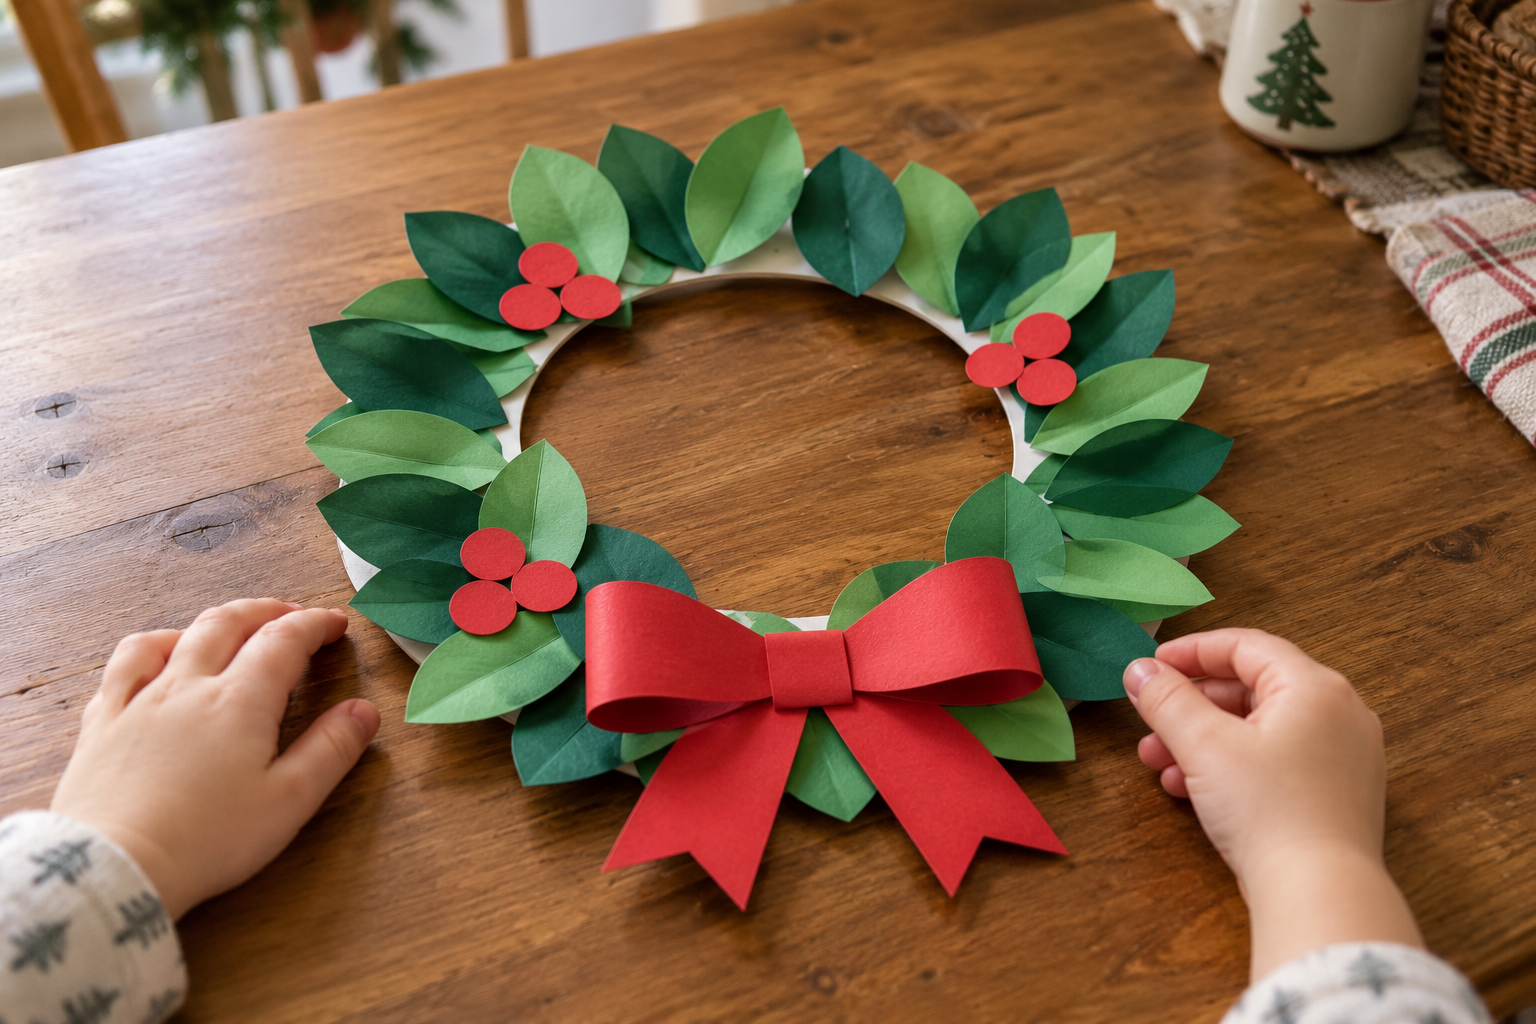
This version uses a cut-out plate ring, overlapping folded paper leaves and a lightweight paper bow. The adult cuts the centre and prepares the first leaves. Your child chooses the greens, presses pieces down and adds the finishing decorations.
The folds and overlaps are what make this feel more like a little wreath than a flat green circle. You only glue the base of each leaf, leaving the tip raised. There is no need for real holly, wire, tiny bells or a hot glue gun.
What you need for one craft
Prepare the fiddly cuts, then let your child take over the decorating.
- 1 plain uncoated paper plate, about 23 cm across; a second if reinforcement is needed
- 24 green paper leaves, around 6 × 3 cm, in two shades
- 9–12 red paper berry circles, around 2 cm across
- 1 red paper bow silhouette, about 10 cm wide; or red strips 15 × 4 cm and 2 × 6 cm plus two 4 × 6 cm tails for a looped bow
- 1 short ribbon piece, about 15 cm, for a compact hanging loop
- Washable craft glue, 1 short brush and tape
- 1 pencil, adult scissors and adult hole punch

Prepare a ring that can hold the leaves
Choose a plain paper plate about 23 cm across. Draw an inner circle about 15 cm across, leaving a ring roughly 4 cm wide. An adult makes the starter cut and removes the centre. Smooth off sharp paper corners; preschoolers do not need to do the awkward cutting inside a circle.
If your plate is thin and floppy, tape or glue two matching rings together and let them dry flat. A deep, glossy party plate can be awkward for glue to grip. A plain uncoated plate with a shallow rim is easier to decorate.
For a first wreath, prepare about 24 green paper leaves, each around 6 × 3 cm. Fold a green rectangle lengthwise, draw half a broad oval against the fold, and cut it out. Open the leaf and leave the centre crease slightly raised. Keep the ends blunt rather than making tiny holly spikes.
That preparation is similar in spirit to cutting the broad mane pieces for our paper plate lion: large shapes are easier to position than piles of fiddly scraps. The wreath uses a hollow ring and layered leaves, so the finished pieces do different jobs.
Layer your paper plate Christmas wreath
- Make a hanging point before decorating. An adult punches a hole through the ring near its outer top edge. Leave enough paper around it that it will not tear immediately. Keep that spot clear of glue and remember where it is; a pencil arrow on the back helps.
- Plan one small section. Lay three leaves along the ring without glue, pointing roughly in the same direction. Overlap each new leaf’s base with the previous leaf’s end. Your child can choose the colour order while you check that the centre opening stays open.
- Glue the bases, not the tips. Put a small dab of craft glue on the lower 1–2 cm of a leaf and press that area onto the plate. Keep the raised middle and tip free. Repeat around the ring, moving the plate rather than reaching across wet leaves.
- Fill visible gaps. When the first circuit is done, look for exposed white plate between the leaves. Add a second row toward the inner or outer edge where needed. Leaves can point slightly outward, but do not hang so far over the opening that they turn the wreath into a solid disc.
- Add flat paper decorations. Glue three or four clusters of red paper berries onto leaf bases. Use circles around 2 cm across. Paper ornaments or yellow bell silhouettes can go in the same places; choose a few accents rather than weighing down every tip.
- Make and attach the bow. Cut a simple red bow silhouette about 10 cm wide, with a broad centre and two tails. Glue its centre to the bottom of the ring, over the leaf bases. Keep the tails short enough that they do not catch whenever someone picks up the wreath. For the looped bow shown, an adult bends both ends of a 15 × 4 cm red strip into the centre and tapes them. Wrap a 2 × 6 cm strip around that join, then tape two 4 × 6 cm paper tails behind it. Your child glues the centre to the ring.
- Dry it flat, then hang it. Leave the wreath on a clear surface until the glued pieces stop moving. Thread a short ribbon through the prepared hole and tie a compact loop. An adult hangs it beyond small children’s reach, or displays it on a shelf if hanging is not practical.

How much help does an age-three child need?
Prepare the ring and leaves, then offer six leaves at a time. Your child can apply glue with a short brush or press the bases where you have placed small dots. A full tray of two dozen leaves can be rather distracting when they were already planning to glue one to the chair.
Show one overlap and let the rest vary. Leaves pointing in different directions still look cheerful. The useful adult check is whether the plate ring remains visible enough to hold things together, not whether your child has followed a clockwise design scheme.
For a glue-free paper session, the contact-paper suncatcher lets tissue pieces stick directly to a backing. That is a different project for a different mood; sticky film is not a good substitute for the raised leaves in this wreath.
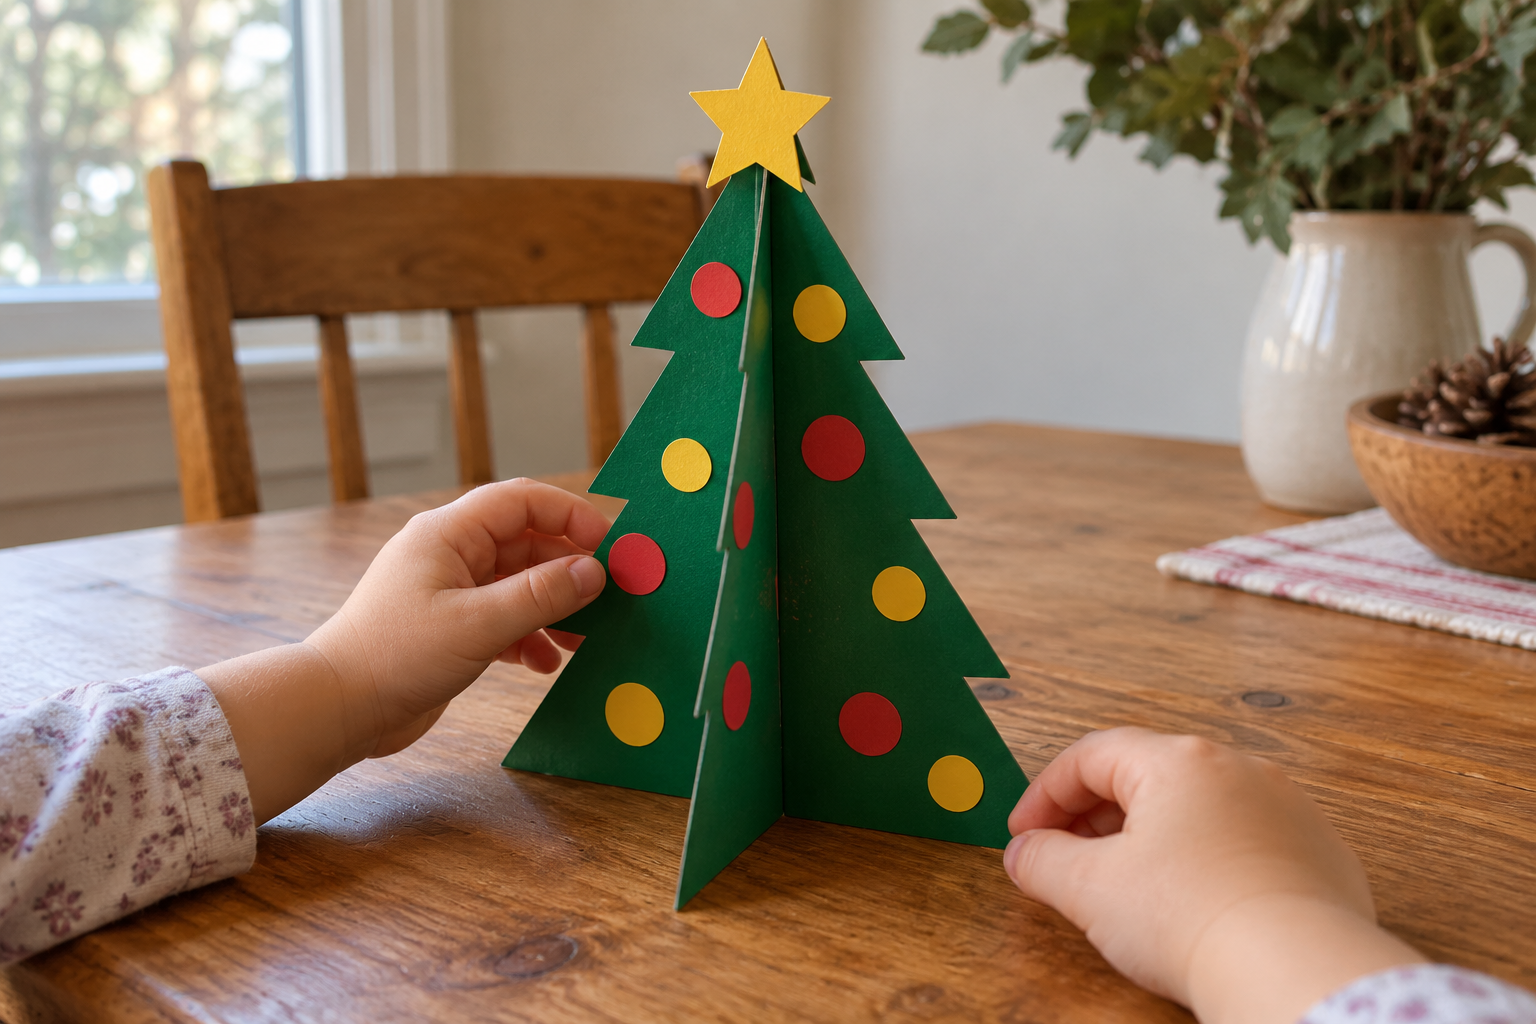
Once your child likes folding paper leaves, the standing Christmas tree craft introduces a slot joint using some of the same greens. Keep those tree cutouts flat and sturdy; they should not be folded like these wreath leaves.
Troubleshooting a droopy wreath
The plate ring bends
Add a second matching ring behind it and tape the two together at several points. Use flat paper decorations rather than heavy ornaments. Next time, make a wider ring or choose a sturdier plate.
The leaves fall off
Check whether the plate has a slick coating. Switch to an uncoated plate or use short tape loops beneath the leaf bases. Press the bases down and let them set before lifting the wreath.
The centre has vanished
Lift and reposition a few inward-pointing leaves while the glue is still workable. Aim their tips along the ring. You can also shorten overhanging tips once dry without dismantling the wreath.
The hanging hole tears
Reinforce the back with two small pieces of tape, then punch a new hole through the reinforced area. Keep the loop short and avoid hanging the wreath by a glued-on leaf or bow.
Three versions for different craft moods
Torn-paper evergreen
Let your child tear broad pieces from green paper and overlap them on the ring. The texture is less leaf-like but still layered. This is a good option when the prepared leaves run out faster than your preschooler’s enthusiasm.
A gingerbread-colour wreath
Use cream and pale brown leaves with red paper circles. Display it above your paper bag gingerbread houses so the colours tie the decorations together. Use paper candy shapes rather than actual sweets.
A winter wreath after Christmas
Replace the bow with a broad blue paper strip and add white circles as snow. Keep the same ring and leaf method. You can store extra leaf shapes in an envelope instead of cutting them all again.

Display it without squashing the leaves
Lift the finished wreath by its plate backing with two hands. Put it in a shallow box if you need to transport it, leaving space above the raised leaves. A plastic bag tends to flatten the tips and catch on the bow.
Keep the decoration indoors and dry. If you want a project that deliberately starts with paper scraps becoming wet pulp, making recycled paper with kids uses that mess on purpose. This wreath relies on its paper keeping its shape.
Paper plate wreath questions
How do I cut the middle out of a paper plate?
An adult draws the inner circle, makes a starter cut and cuts around the line. Leave a broad ring around 4 cm wide, then tidy any sharp paper corners before children begin decorating.
What glue works for paper leaves on a plate?
Small amounts of washable craft glue work on a plain uncoated paper plate. A glue stick may work for thin flat leaves, but raised folded leaves usually benefit from a little liquid glue at their bases.
Can a toddler make the wreath without scissors?
Yes, prepare the plate ring yourself and offer torn green paper pieces. Your child can tear, choose colours and press the pieces onto glue while you manage the cutting.
How do I make the leaves look three-dimensional?
Fold each broad leaf gently along its centre and glue only the base. Leave the tip and middle lifted rather than covering the entire back with glue and flattening it.
Can I use real holly or berries?
Keep this version entirely paper, including the berries. Paper is light, predictable to attach and easy to replace; real plant pieces change the materials and handling involved.




Leave a Reply