
Eight activities, four sections, no paper avalanche
How to Make a Preschool Activity Binder

Choose eight mixed activity pages, add four labeled dividers to a matching binder and punch only pages with enough blank margin. Keep cutting and gluing sheets loose in a pocket, and have an adult manage the rings and remove pages when needed.
A preschool activity binder should open without a small avalanche. Give the pages a few clear sections, keep the cutting sheets loose and leave enough room to turn things over.
This binder holds a mix of coloring, marking, comparing and making pages. It is a place to choose the next activity and keep the materials together, not a requirement to finish every sheet. Keep each child’s current pages in their own slim collection. Combining every download into one enormous family brick makes it harder to find the page somebody actually wants.
The practical work is choosing the right paper size, setting up sections, punching only suitable pages and giving loose activities somewhere to live.

From the Feral Toddler Etsy shop
Choose a small mix from the preschool workbook
The Preschool Curriculum Workbook is available in the Feral Toddler Etsy shop. Select a few coloring, marking, comparing and making pages from the collection; your first binder can stay small instead of holding the whole download.
Buy the workbook on EtsyChoose different kinds of pages
Start with four sections: Color, Mark, Look and Make. These are simple DIY labels for your binder, not the names of a separate printable product. One divider per section is enough.
For the example, choose two coloring pages, one letter-marking page, three looking or number pages, and two making sheets. The workbook includes Vegetables Coloring, Farm Animals, Letter Writing Practice, Tall or Short, Which is different?, number tracing, Scissor Skills and an animal cut-and-paste chart. Look at the actual pages before selecting yours; you can swap anything your child does not want.
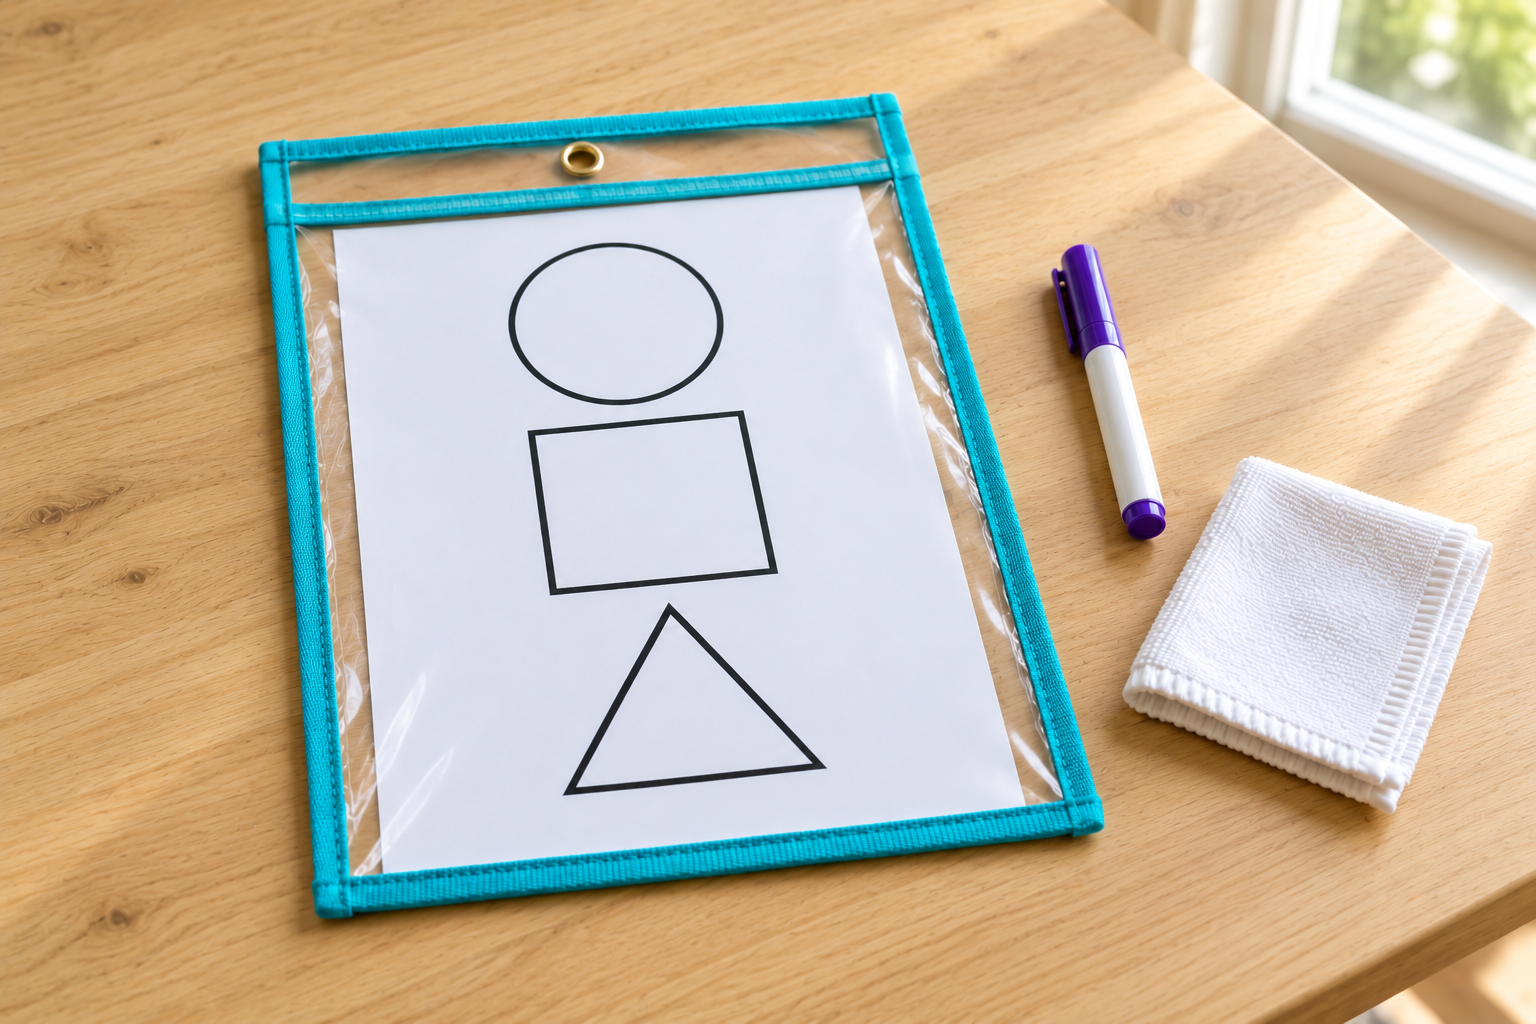
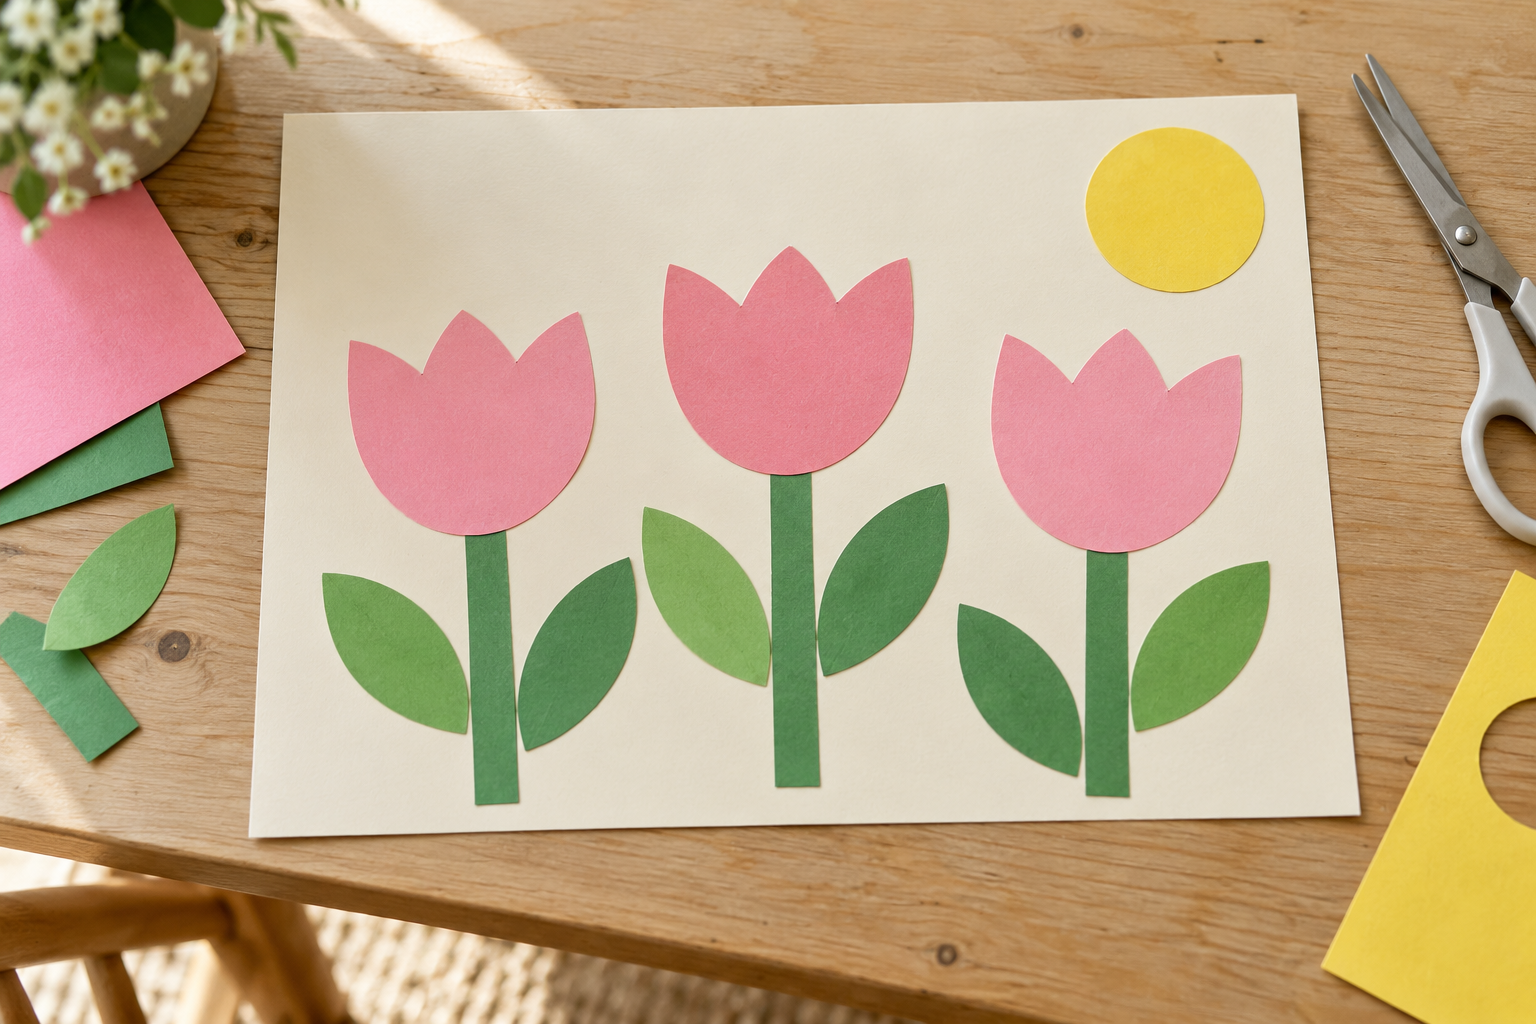
Keep the animal chart and scissor sheet loose in the Make pocket. The other six pages can go behind their section dividers if their blank margins allow hole punching. This gives the binder different activities without filling it with several versions of the same tracing page.
For help choosing among workbook types, our preschool workbook guide already covers that broader decision. This tutorial is about assembling a workable collection after you have chosen the pages.
What you need for one mixed activity binder
Begin with eight activities and four sections.
- 1 US Letter three-ring binder with approximately 1-inch rings
- 4 tabbed dividers that fit the binder
- 8 selected single-sided activity sheets, including 2 kept loose
- 1 three-hole pocket divider or slim punched folder for the Make section
- 1 plain scrap sheet for a hole-spacing test
- 1 three-hole punch for adult use and a pencil
- Optional: hole reinforcement labels for pages that need them
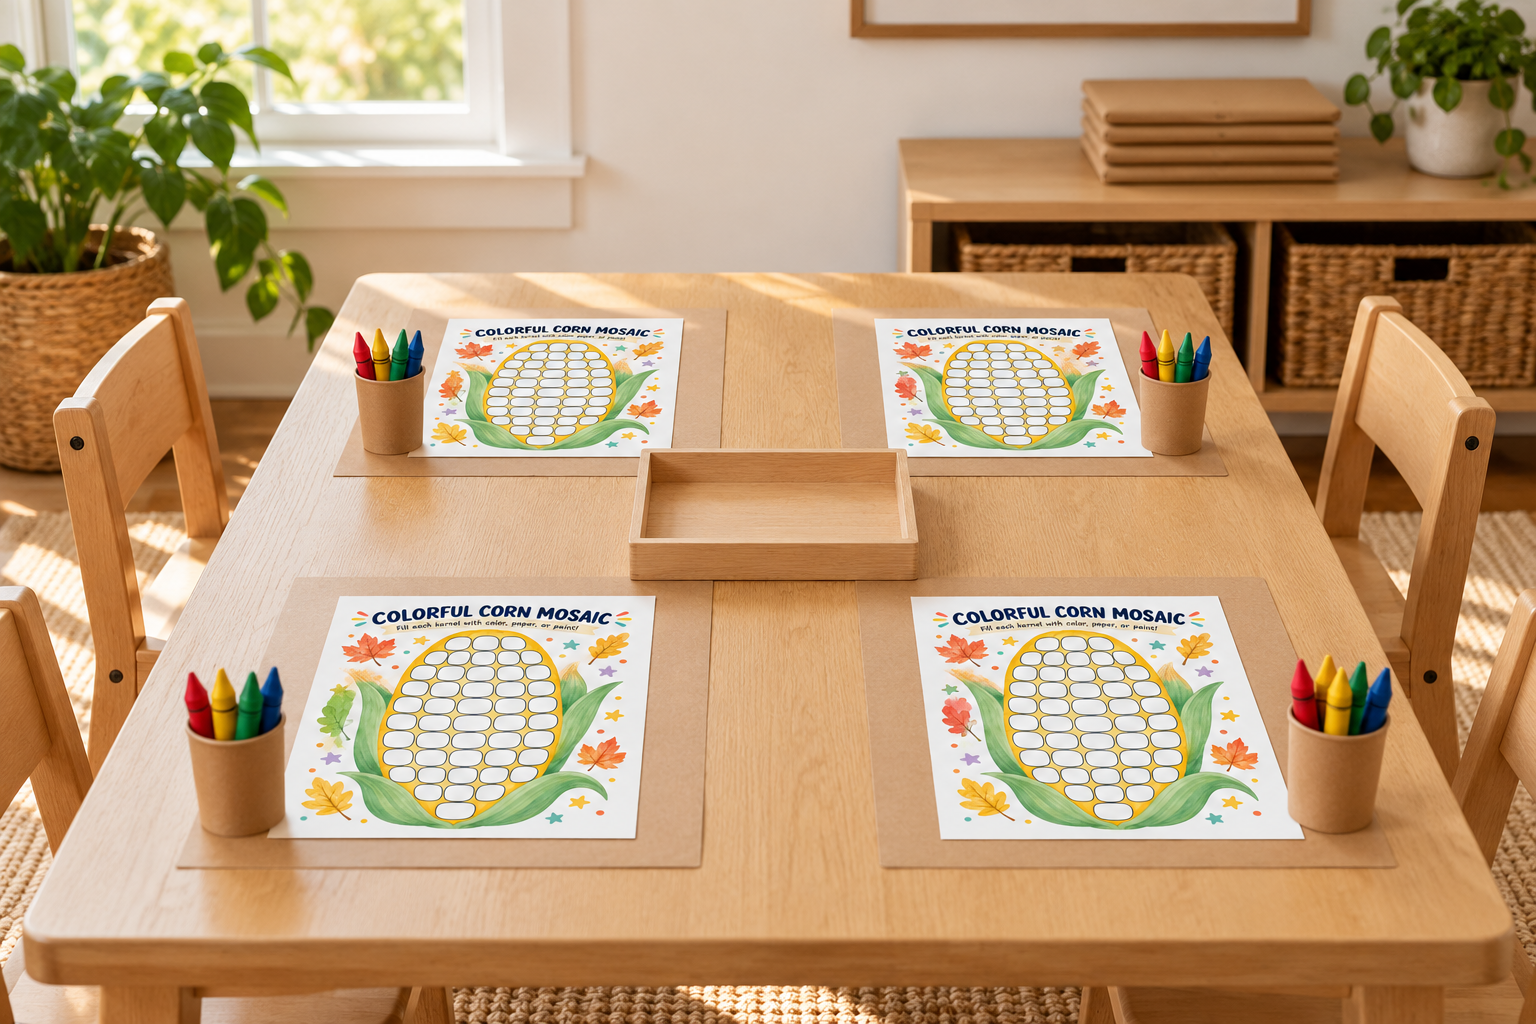
- 1 separate shallow tray for crayons or pencils
Allow about 25–35 minutes for choosing, printing and assembly. A basic binder, dividers and pocket may cost around $5–12, plus printing and the printable purchase; reuse supplies you already have before shopping.

Match the binder, paper and dividers before printing
For US Letter pages, use a binder and dividers labeled for 8½ × 11-inch paper. A4 pages are a different size, and ring spacing can vary between binder systems. Buy matching components or test your existing setup with blank paper rather than assuming any three holes will line up.
Close the binder with a test page and the tabbed dividers inside. The cover should protect the paper, and the tabs should remain easy to see. A zip pouch, thick folder or oversized pocket can protrude even when the worksheets themselves fit.
Check the printed left margin. If a punch would remove part of a picture or instruction, keep that page loose in the pocket or use a suitable punched holder. Do not punch through the activity to make the binder look complete.
You do not need to laminate everything for this version. Start with ordinary writable paper.
Build the binder one small section at a time
- Print the selected activities. Use single-sided pages and check the print preview for clipped edges. Print one sample before the rest. Keep the two Make sheets separate so they do not accidentally go through the hole punch with everything else.
- Label four dividers. Write Color, Mark, Look and Make, or use equally short labels that suit your collection. Add one plain cover sheet if you want your child’s name on the front; a hand-drawn cover is enough.
- Test the punch on scrap. An adult aligns the punch guide, makes the three holes in blank paper and checks them against the closed rings. Adjust the guide before punching an activity. Empty the punch’s small paper circles into the rubbish away from children.
- Punch only the six suitable pages. Keep the printed side facing the same way and use the blank left margin. Work in small batches within the punch’s stated capacity. Check that no hole is so close to the edge that it tears when you turn the sheet.
- Load the sections. An adult opens the rings and adds the dividers and pages in order. Put the two coloring pages in Color, the marking page in Mark and the three comparing or number pages in Look. Add the pocket in Make and slide the two loose sheets inside.
- Close and inspect the rings. An adult uses the binder’s opening and closing mechanism, keeping fingers clear of the joins. Check that every ring meets neatly without a gap or overlap. Turn each divider and page slowly to catch a snag before handing over the binder.
- Try one actual activity. Open to a page your child chooses. If the rings lift the paper or get in the way, an adult removes that sheet and puts it on the table. Keep the binder nearby for choosing, then return dry unfinished work to its section and completed work to a separate folder.

Keep making pages out of the ring mechanism
A cutting sheet needs to turn freely. Take it out of the pocket and close the binder before scissors come out. The same applies to gluing: work on a separate surface, let the result dry and decide afterward whether it belongs in a folder or on display.
The Christmas craft table guide uses separate boards for pieces that are being decorated or drying. A binder is a poor substitute for that working space, particularly when glue can travel through a punched hole.
Our existing letter activities guide includes a smaller letter-focused binder idea. This version keeps a broader mix together, so you can choose a coloring page one day and a comparison picture another without adding every alphabet worksheet.
Fix a binder that is annoying to use
The tabs disappear
Check whether a pocket or holder is wider than the dividers. Use components designed to work together, move the oversized piece to the back or keep it separately rather than attaching longer homemade tabs.
Pages tear at the holes
Use reinforcement labels on a dry, intact margin or move the sheet to the pocket. Check the punch alignment and ring joins before replacing every page with thicker paper.
The binder will not close comfortably
Remove spare copies, bulky tools and old work first. Keep only the current selection inside; advertised ring capacity is not a target you need to reach.
Your child cannot use a page beside the rings
Have an adult remove it and lay it flat on the table. Return it only when dry and ready to store. The binder can be a useful organizer even when the activity happens outside it.
Two ways to tailor the collection
A binder for each child
Use the same four sections with different chosen pages. You do not need identical quantities or activities, and your younger child’s version can contain mostly coloring and looking pages. Keep shared tools in a separate tray.
A short seasonal section
Swap one or two current sheets for holiday pages rather than adding a whole new stack. When you set out a Thanksgiving kids’ activity table, take selected pages out and leave the binder away from glue and drinks.
Keep fingers away from closing rings and let an adult operate the hole punch. Collect its small paper circles immediately. Store scissors separately, supervise making activities and use tools and art materials suitable for the child’s age.

Put it back with space for next time
Return dry unfinished pages, empty the Make pocket of scraps and keep finished work elsewhere. Our small-space homeschool paperwork guide covers that wider storage problem.
Leave the front of the binder simple and keep it flat or upright on a shelf where an adult can help retrieve it. If you want a smaller holiday booklet rather than an expandable ring system, the Christmas activity book uses only three selected pages and a paper cover.
Preschool activity binder questions
What do you put in a preschool activity binder?
Use a small mix of coloring, marking, looking or number pages, plus loose making sheets in a pocket. Start with activities your child wants rather than printing every available page.
How many pages should I start with?
Eight activities are enough for this example, with six punched pages and two loose sheets. Add or swap pages later if the current selection is being used.
Do I have to laminate activity binder pages?
No, this version uses ordinary single-sided paper. You can choose holders for particular pages, but cutting sheets should remain loose and unlaminated.
Can I use A4 paper in a US Letter binder?
Check the cover size, hole spacing and dividers before buying or printing. Matching A4 components are a simpler choice if you use A4 throughout; do not force pages onto rings that do not align.
Does my child have to work inside the binder?
No, an adult can remove a chosen sheet and put it flat on the table. Keep cutting and gluing outside the binder, then store only dry pages afterward.




Leave a Reply