
A practical preschool table project
Preschool Cutting Practice: Simple Paper Strips to Start With

A full sheet of paper can be a surprisingly awkward thing to cut. It flaps, folds over the scissors and eventually gets held approximately six inches from anywhere useful. Narrow paper strips give you a much smaller setup: one strip, one pair of scissors and a bowl for the pieces.
You are not aiming for a pile of identical rectangles. You are offering a short, supervised invitation to cut across paper, with enough room to hold it comfortably. With two young kids around, a bowl also gives the offcuts a destination other than the space between the sofa cushions. Some will still make it there. Paper has ambitions.

Prepare a small cutting tray
Supplies for one child
- Six strips of ordinary colored paper, each about 2 × 15 cm
- One pair of age-appropriate children’s scissors that can cut that paper
- One shallow bowl or tray for offcuts
- One washable mat, optional
- Adult scissors and a ruler for preparation, put away before the activity
Preparation takes about five minutes. Offer five to ten minutes at the table, with no need to fill the time. Ages three and up is a starting guide for materials, not a requirement to use scissors; an adult can cut while a child chooses the paper. Using supplies you already own keeps the cost close to nothing.
Set up paper strips step by step
- Choose paper that cuts cleanly. Start with ordinary printer-weight colored paper, roughly 80–100 gsm. Tissue can collapse between the blades; thick cardstock may demand more force than the scissors can provide. Avoid coated scraps, staples, tape and sticky labels.
- Make six strips. An adult measures and cuts rectangles about 2 cm wide and 15 cm long. These are convenient starting dimensions, not a universal rule. Check whether your child’s scissors can cut across that width in a comfortable closing motion.
- Check the scissors yourself. Open and close them and make a test cut in the same paper. Blunt tips describe the ends, not an inability to cut fingers or clothing. If you need unusual force, change the tool or material rather than passing the struggle along.
- Clear the working area. Sit at a stable table with enough elbow room. Put away adult cutting tools, loose bags, drinks and anything else likely to drift into the blades. Place the bowl beside the mat rather than directly in the cutting path.
- Show one cut. Demonstrate with your own strip, holding it so your fingers stay well away from the intended cut. Keep the scissor hand’s thumb uppermost and point the blades away from bodies. Close across the narrow width, then stop the demonstration there.
- Offer one strip. Let your child use the scissors with close adult supervision. If the paper bends or they cannot manage the tool comfortably, stop and adjust. Do not move their hands around while blades are closing, and do not ask a sibling to hold the strip.
- Collect pieces between cuts. Put the scissors down closed before gathering scattered rectangles. Offer another strip if your child wants it. A few cuts can be the whole activity; the remaining strips will still be paper tomorrow.
- End with a tool count. Take back the scissors and put them away out of reach. Collect usable paper in a labeled envelope or discard it appropriately. Sweep the floor before younger siblings or pets arrive to investigate the new confetti situation.
Decide whether to draw cutting lines
You do not need a line across every strip. A blank strip makes the invitation simply “cut across here,” without asking for a particular finish. It also avoids drawing twenty marks while your child waits with the scissors already open.
If a clear target helps, draw two or three broad crosswise lines on a strip, spaced several centimeters apart. Put them where there is still a long section to hold safely. Stop when the remaining piece becomes too short to hold with fingers comfortably clear.
The actual Scissor Skills page in the worksheet bundle has long straight, curved and zigzag paths. Those are different cutting routes, rather than the same thing as these short crosswise snips. Use a fresh printed page when your child wants a longer route; you do not have to turn every strip into a miniature zigzag challenge.
For a seasonal version of a longer cutting sheet, the Santa beard paper haircut is already available. Keep this plain-strip setup for days when you want a few cuts without preparing a whole character.

When the paper or scissors will not cooperate
The paper folds between the blades
First test the scissors yourself on the same strip. Try firmer ordinary paper and check that the blades meet correctly. If the tool fails an adult’s test too, replace it; repeated instructions will not repair a pair of scissors.
The strip is too wide
Put the scissors away while an adult prepares narrower strips. Try 1–1½ cm if that suits the actual tool, keeping the strip long enough to hold safely. Do not turn a width adjustment into lots of tiny loose paper scraps at the starting tray.
Your child pulls instead of closing
Pause and demonstrate once more on your own paper. Try a fresh strip with a clear edge, then offer the scissors back only if your child wants another attempt. Tearing paper is also an acceptable change of activity.
Everything becomes confetti
Reduce the supply to one or two strips and put the rest out of sight. Stop to empty the bowl before continuing. If collecting scraps has become the entire job, finish the cutting and save the remainder for another day.
Three ways to use the same little tray
Two-color pieces
Prepare three blue strips and three yellow strips. Cut whichever color your child chooses, then collect the pieces together. You can save a handful for a collage without asking for a color-sorting exercise as well.
Adult cuts, child directs
Your child chooses the next strip and tells you where they would like a cut. You do the cutting with their hands outside the working area. This keeps the shared paper project available when independent scissor use is not the right fit.
Save pieces for a picture
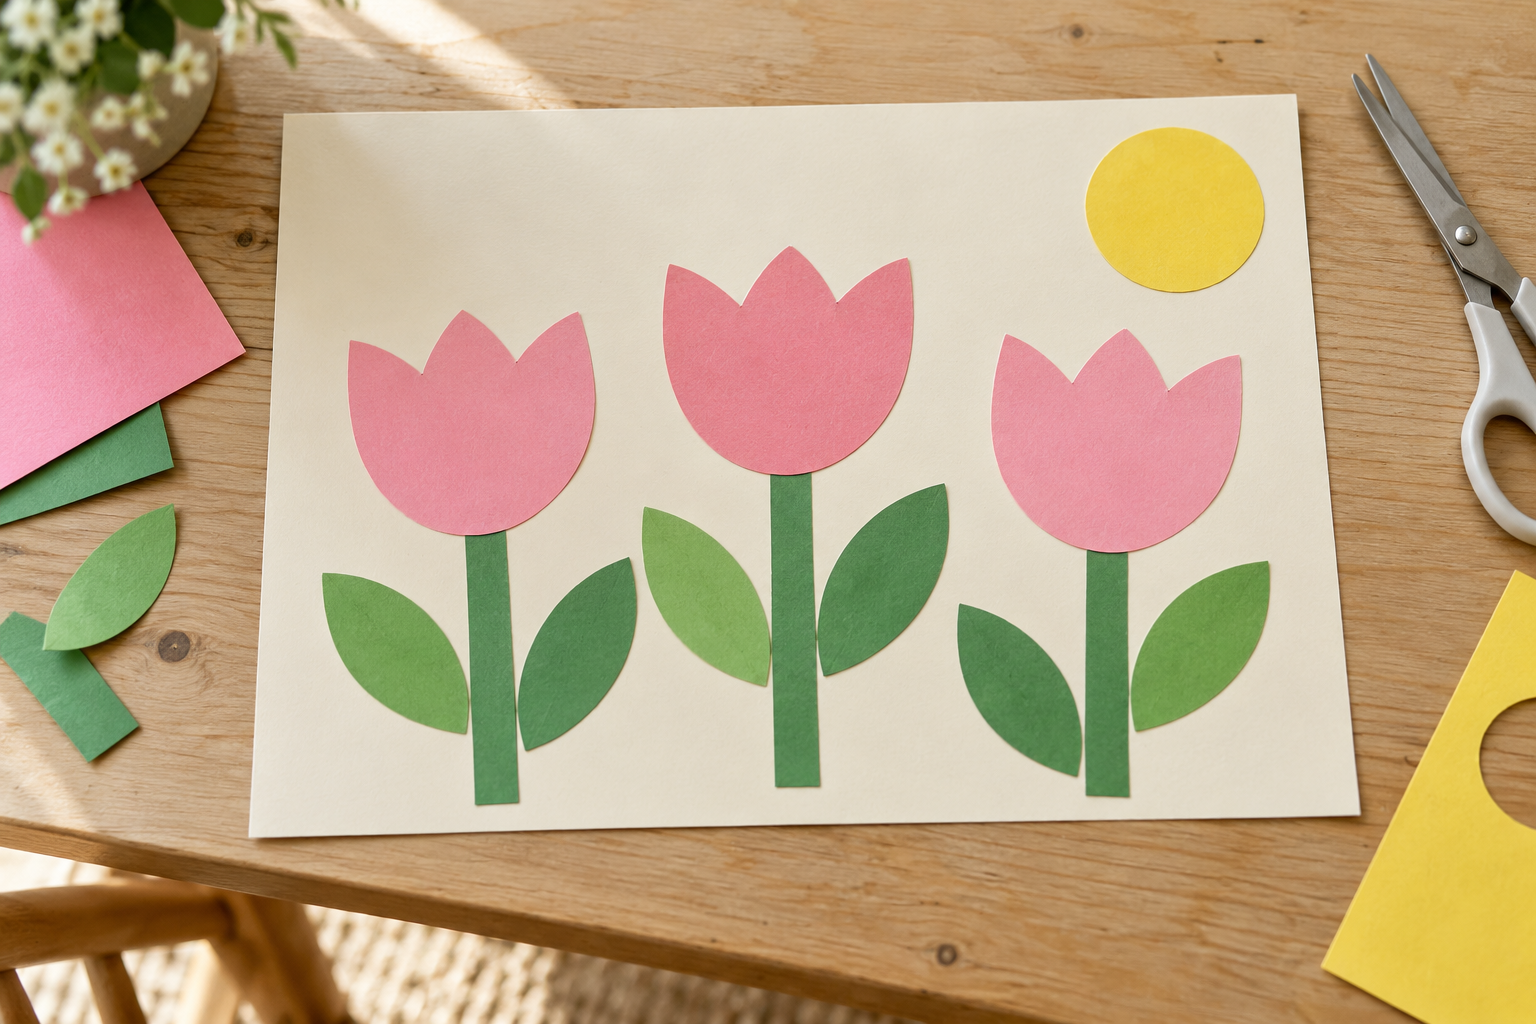
Use larger pieces from adult-prepared paper when you want a recognizable result. The paper garden picture has big stems, leaves and flower heads to arrange. Small snipped rectangles can become a separate collage, rather than pretending they will turn into those shapes.
Keep this separate from a worksheet station
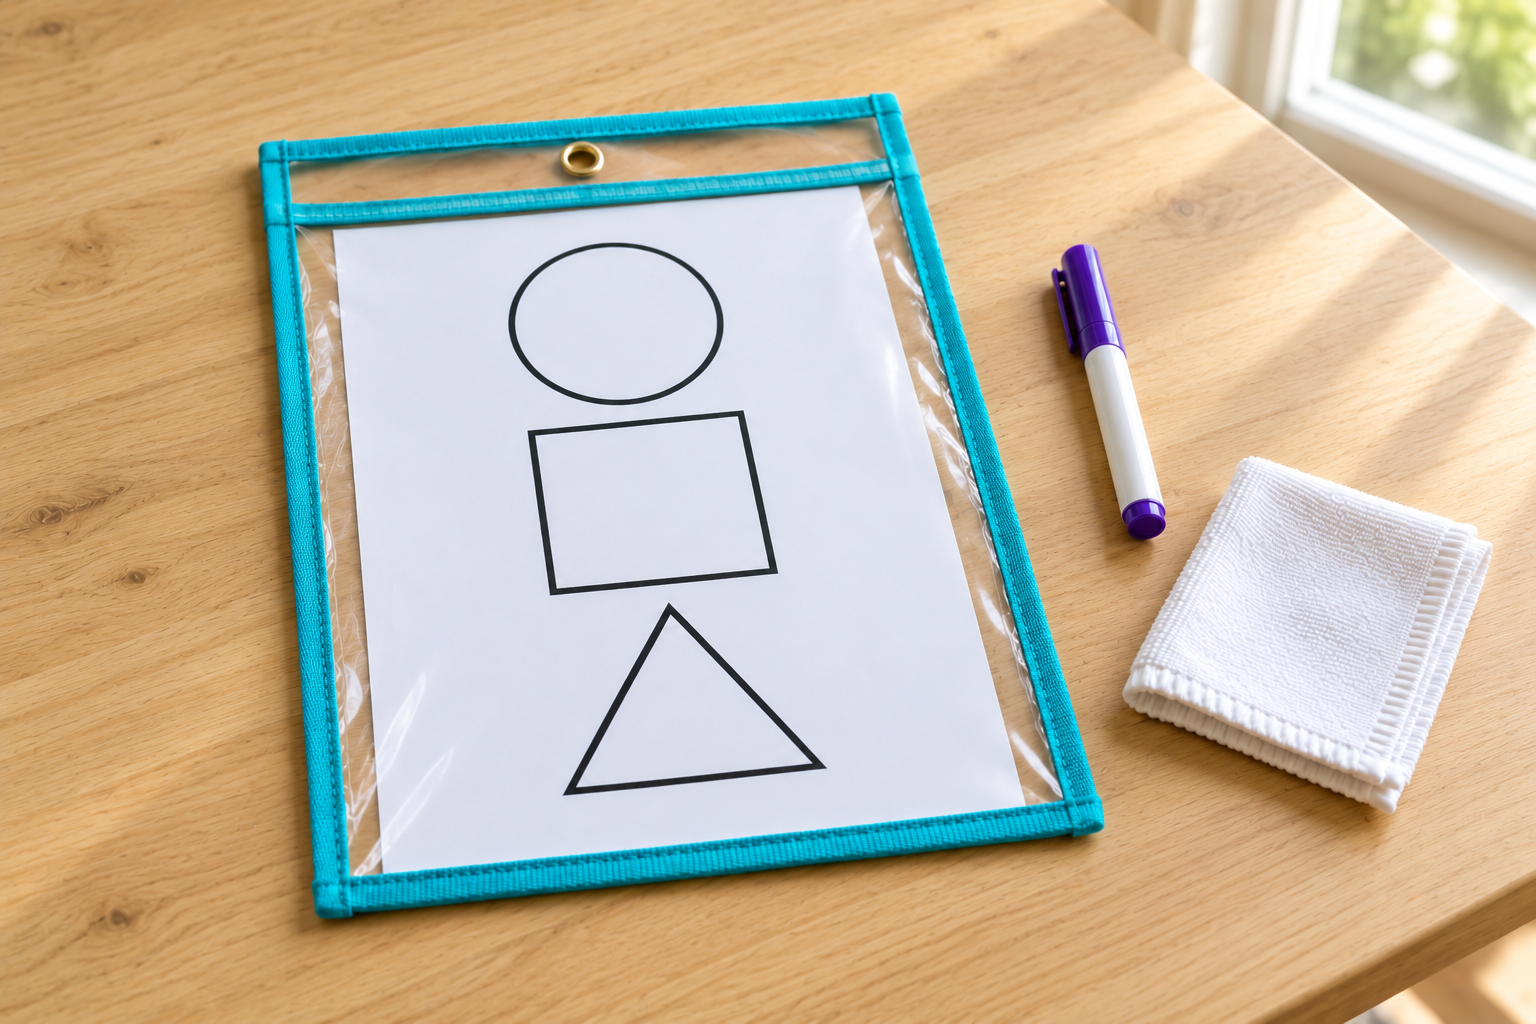
Scissors need exposed paper. Put any plastic sleeves away before you begin, and avoid leaving a pile of wipe-clean pockets next to inviting cutting tools. The reusable worksheet setup is useful for marking activities, but plastic is not part of this cutting tray.
For another project made with everyday paper, the heart-bouquet thank-you card gives you a finished card to keep or send. An adult can prepare its shapes; today’s cutting strips do not need to be rehearsal for a particular craft.
Afterward, keep six fresh strips in a flat envelope if you want an easy repeat. The small-space paperwork guide has storage ideas if loose paper is already claiming the dining table.

Frequently asked questions
How wide should preschool cutting strips be?
About 2 cm is a useful starting point, but check the actual scissors before setting up. The width should suit a comfortable cut across the strip. Keep enough length for a safe hold and stop before the remaining piece gets too short.
Do I need printable cutting strips?
No. Plain paper strips work for this invitation, with optional crosswise lines drawn by an adult. A printable is useful when you specifically want its illustrated route or project.
Can a three-year-old do this?
Some three-year-olds will enjoy supervised cutting, while others would rather tear paper or direct an adult. Follow the scissors’ age guidance and your child’s ability to use them safely. Age alone does not decide whether to hand over a cutting tool.
Should I use thick cardstock?
Only if the scissors cut it easily and your child can manage it comfortably. Ordinary colored paper is a simpler place to start. Very thick card can turn a short invitation into a battle with the tool.
What can I do with all the pieces?
Save clean pieces in an envelope for a supervised collage or put them in the appropriate waste stream. Keep only what you reasonably expect to use. You are allowed to finish a paper activity without preserving every rectangle.




Leave a Reply