
Homemade craft recipe
How to Make Baking Soda Air-Dry Clay Ornaments
This clay starts as three boring white ingredients in a saucepan and ends as little matte ornaments that look far more polished than I feel on a Tuesday. The catch is the middle stage: take it off the heat when it gathers into a soft dough, and let it cool before inviting any tiny hands to the table. The stove part is yours; the stars belong to them.

What you need
Use what you have; the quantities are for one small setup.
Supplies and quantities
- 1 cup baking soda
- 1/2 cup cornstarch
- 3/4 cup plain water
- 1 small nonstick saucepan and 1 sturdy spoon for adult use
- 1 rolling pin or smooth bottle
- Parchment paper and a flat tray
- 1 large simple cookie cutter, about 3 inches across
- Optional: a drinking straw for a hanging hole and ribbon after full drying

Before you begin
Measure the dry ingredients before turning on the stove. This batch makes several palm-sized shapes, depending on thickness and how often your preschooler rerolls scraps. The white powder is extremely good at finding a dark shirt, so I lay parchment across the work surface ahead of time.
Keep children away from the saucepan while you cook and while the dough cools. The mixture turns from thin and milky to suddenly thick; this is not the moment to pause and answer a text. Have a plate or parchment ready to receive it.
Decide whether you want ornaments to hang or little flat decorations for a shelf. If hanging, have the straw ready before shaping. A hole made after drying tends to crack the piece.
How to make it
- Combine and cookAn adult stirs the baking soda, cornstarch, and water in the saucepan until smooth. Heat over medium-low, stirring continuously and scraping the sides. In a few minutes it thickens into a soft mashed-potato-like mass that pulls away from the pan. Stop heating then; cooking longer makes it crumbly.
- Cool the doughSpoon the dough onto parchment, flatten it slightly, and let it cool until it is comfortable to handle all the way through. The outside cools before the center. Test it yourself before bringing your preschooler over.
- Knead and rollKnead gently until smooth. Roll between two sheets of parchment to roughly 1/4 inch thick. Thin pieces break easily and thick ones take much longer to dry. If the dough feels tacky, give it a few minutes to cool further before adding more powder.
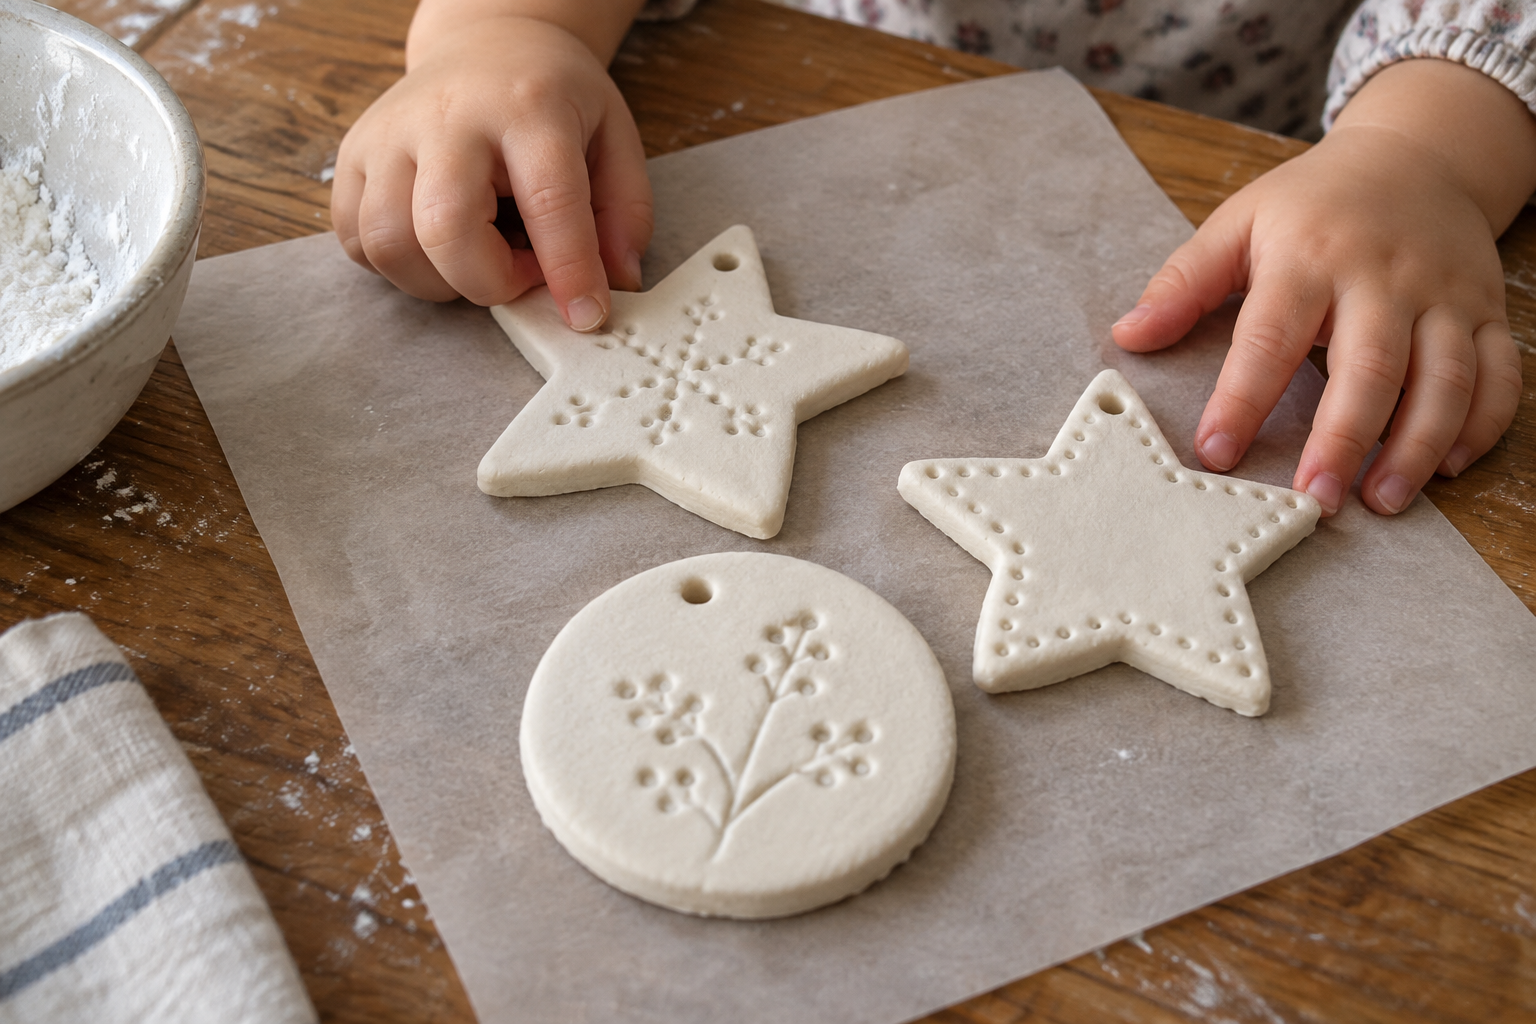
- Cut and mark shapesPress a large cookie cutter straight down, then lift the scrap dough from around the shape. For a hanging ornament, an adult makes a hole near the top with a straw, leaving enough clay between the hole and edge. Small fingerprints and gentle dot impressions are lovely; deep gouges invite cracks.
- Dry slowly on a traySlide the parchment onto a flat tray and leave the pieces undisturbed at room temperature. Turn them gently after the top has firmed up, then let the other side dry. Plan for 24–48 hours or longer for thicker shapes. When both sides feel hard and dry, add ribbon or a light paint coat if you like.
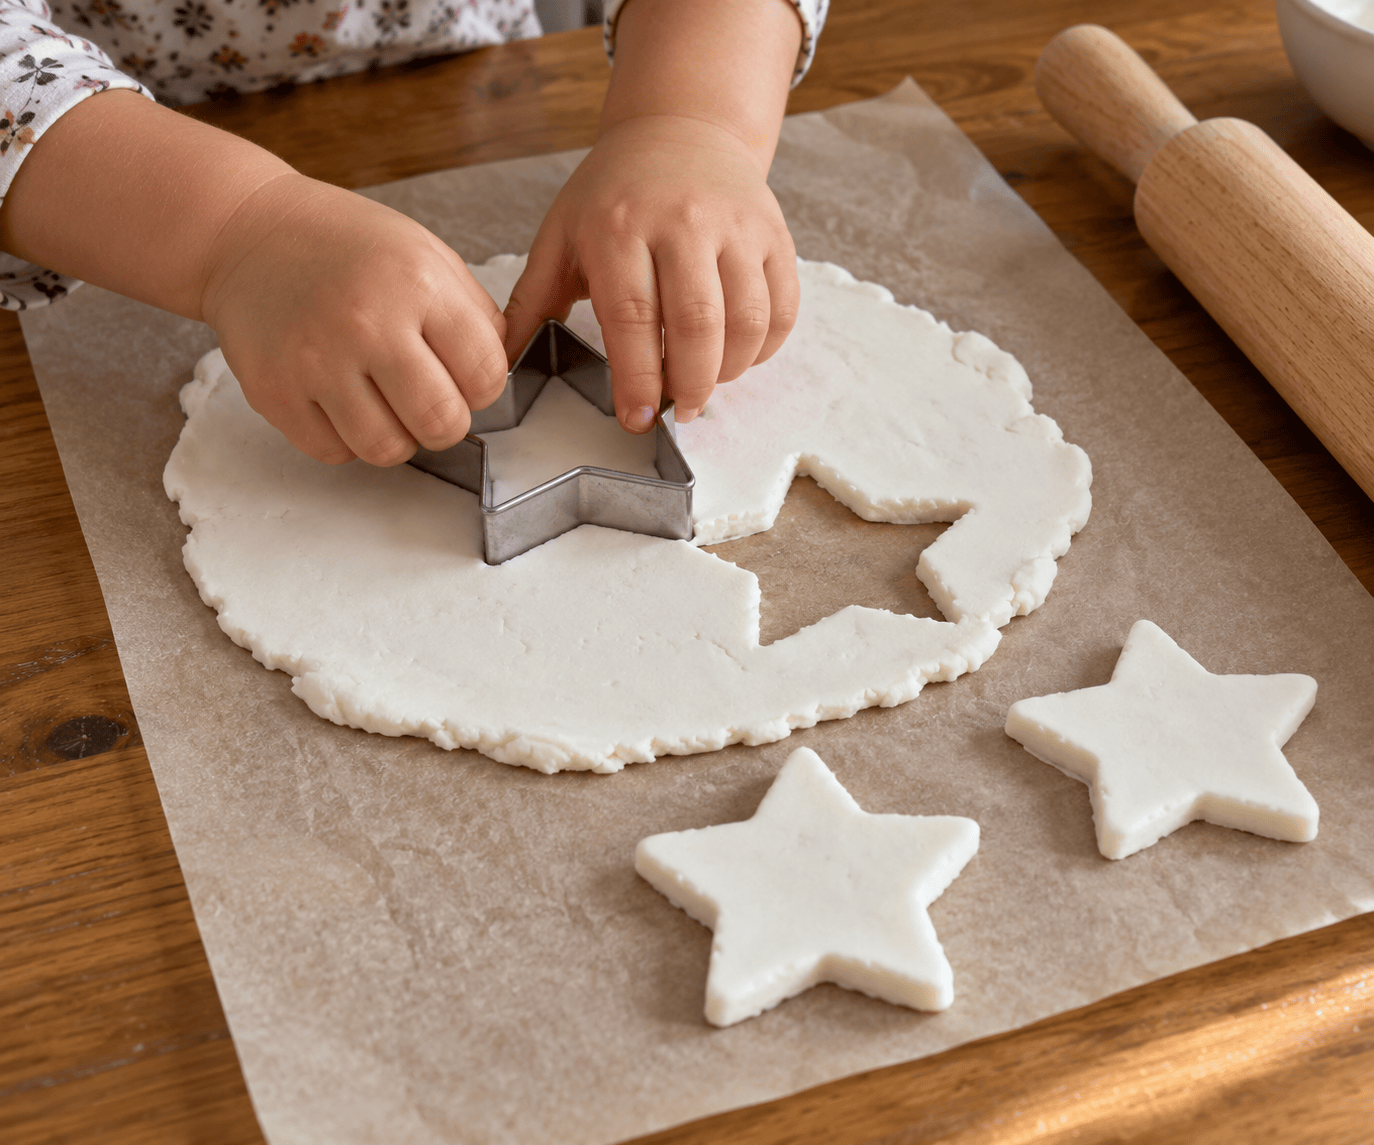
My favorite job for a preschooler here is choosing the cutter and pressing it down with both hands. A perfect outline is irrelevant; the dough can be gathered and rolled once more. If you want a baked keepsake with a different texture, our salt dough recipe uses flour and a different drying method. This clay uses cornstarch and dries in the air.
What to do next
Store finished pieces somewhere dry. They are decorative rather than waterproof, and they are absolutely not cookies even when your child made a convincing star. If you paint them, use a light coat only after they are dry and let that paint dry before packing them away. I write the year on the back because otherwise all the handmade white stars become a charming but mysterious collection.
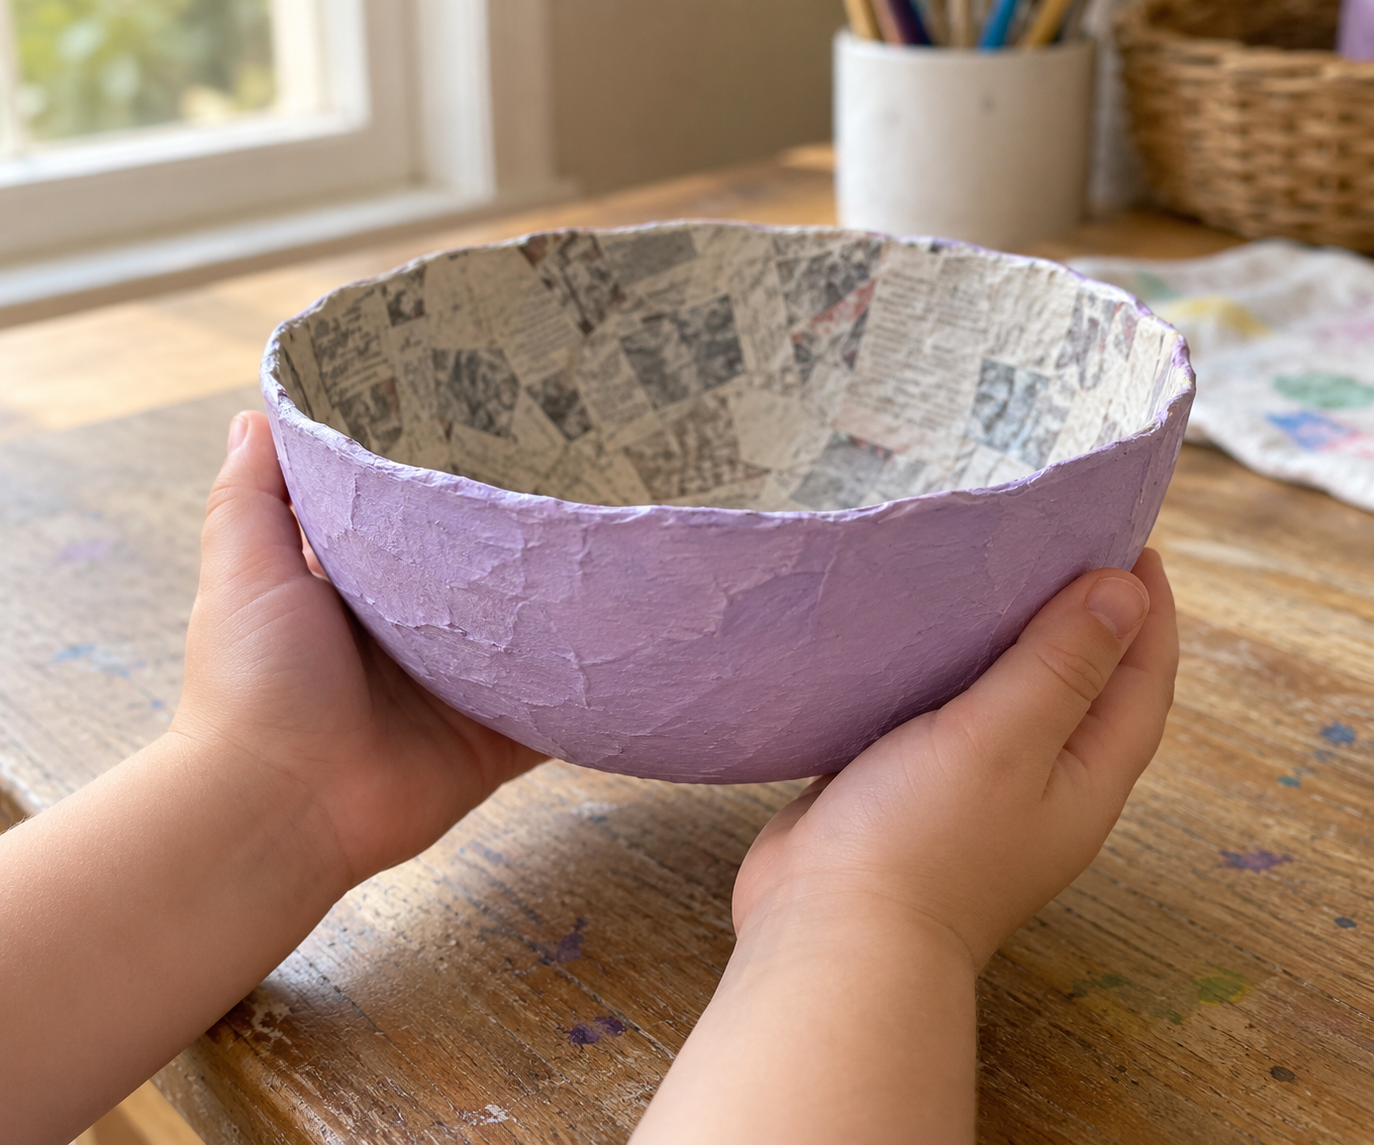
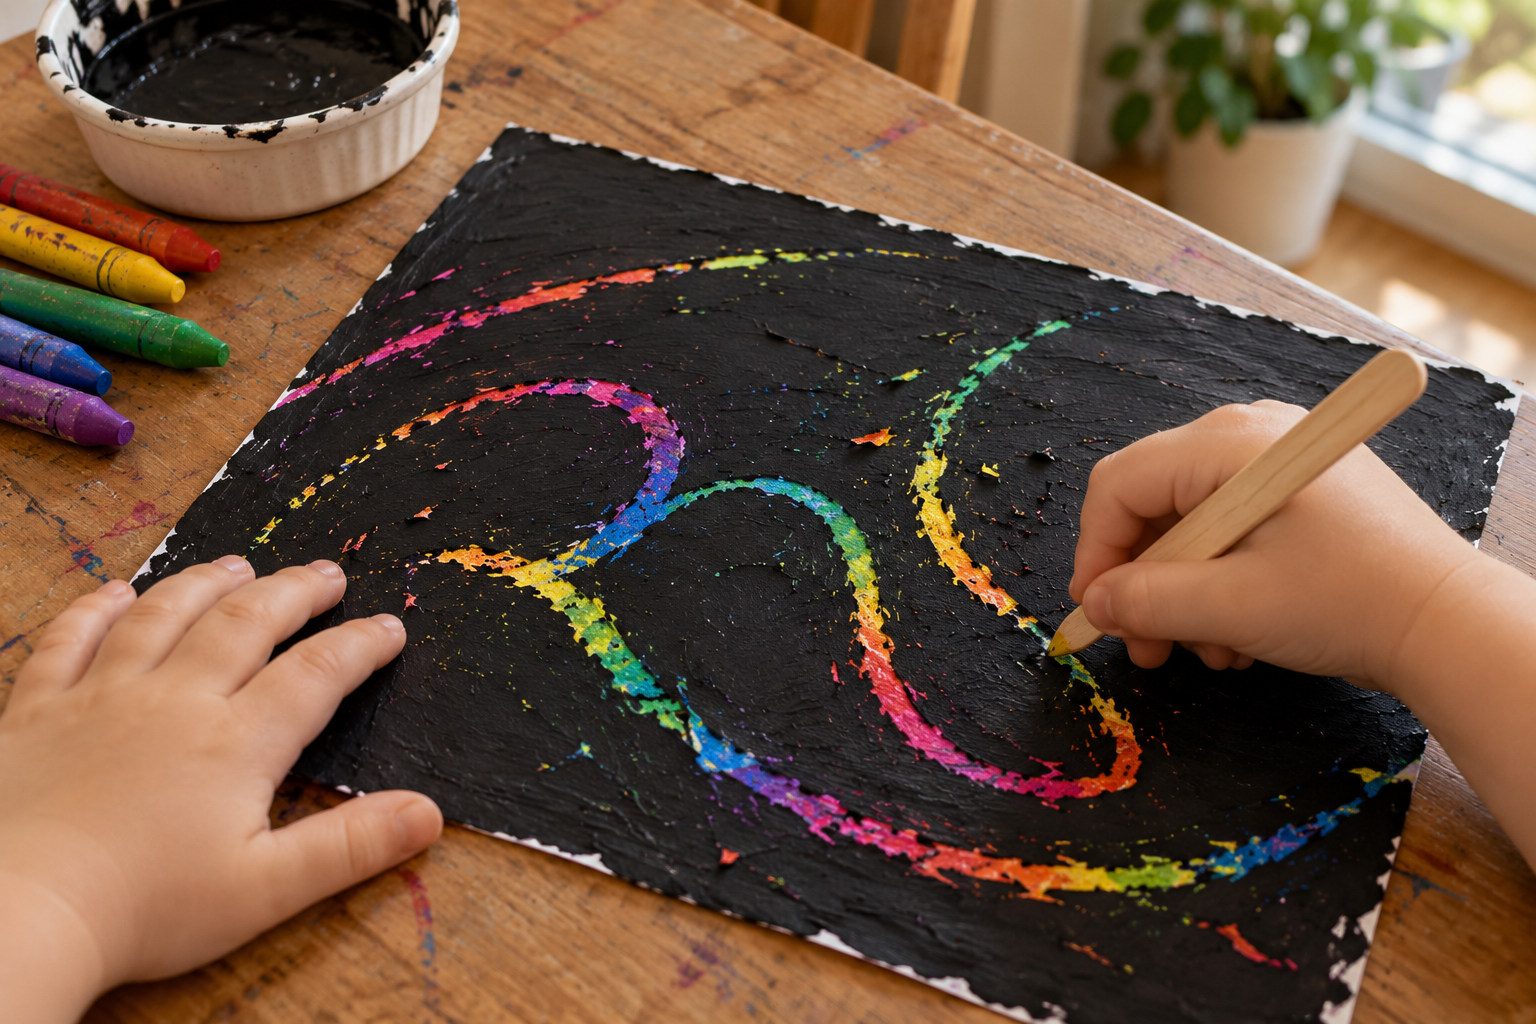
If you’d like another messy-ish kitchen activity next, try Paper mâché bowl without flour, and for a complete change of scene, save Homemade scratch-art paper for another day.
Small setup details that help
This dough can fool you when the outside of the lump cools while the middle is still hot. Tear a little piece from the center with your own hands and check before a child begins. I put the saucepan in the sink as soon as I empty it so it does not become part of the craft table. If your child cuts an ornament with one point much skinnier than the rest, gently nudge that point wider while the clay is soft. It is easier than repairing a broken star later. Save scraps under a damp cloth during the cutting session so the last reroll is not all dry edges.
Troubleshooting: real fixes
The dough is soupy
Return the pan to medium-low heat and stir continuously. It should gather into a dough before coming off the stove; cooling a watery mixture will not fix it.
The clay is crumbly
It may have cooked too long or dried out while sitting. Knead in a few drops of water at a time until it holds together. Add gradually; a splash can turn it sticky.
It sticks to the rolling pin
Wait until the center cools, then roll between parchment sheets. If still tacky, dust the parchment lightly with cornstarch rather than tipping a whole scoop into the dough.
An ornament cracks while drying
Roll a little thicker next time, avoid deep impressions, and let it dry evenly on a flat surface. A small edge crack can sometimes be smoothed with a damp fingertip before it is completely hard.
Three ways to change it up
Simple winter stars
Use one star cutter and leave them plain white. Add holes before drying if you want to thread ribbon later.
Fingerprint dots
Let your preschooler press small shallow dots into a round shape. Keep the back flat so it dries evenly.
Soft color after drying
Brush on one thin coat of washable craft paint only after the clay feels dry on both sides. A little color over matte white shows up quickly.

A quick safety note
Frequently asked questions
Does baking soda clay need to be baked?
No. These shapes dry at room temperature on a flat tray. Turning them after one side firms up helps the underside dry; thick pieces may need longer than two days.
Why is my baking soda clay sticky?
It may be undercooked or still warm in the center. Stir a soupy batch a little longer in the pan; let a cooked batch cool before kneading. Use parchment for rolling and only a light cornstarch dusting if needed.
How thick should air-dry clay ornaments be?
About 1/4 inch is a useful target for simple shapes. Much thinner edges chip easily, while thick shapes dry slowly and can stay damp underneath. Try to keep the sheet even.
Can I make these without cornstarch?
This particular recipe relies on cornstarch with baking soda and water for its smooth texture. Swapping in flour changes the dough and drying behavior. If you only have flour, use a separate salt dough recipe instead.
How do I keep air-dry clay from cracking?
Avoid overcooking, roll evenly, and let the shapes dry flat. Deep imprints and very thin points are the first spots to crack. If a piece still feels cool or damp underneath, give it more time before painting.

Leave a Reply