
Draw the rain, then let the paint find it
Toddler Rain Craft with White Crayon and Watercolor
White-crayon rain marks appear under a blue wash, then a folded paper cloud lifts to reveal a hidden sun. Your toddler does the scribbling and painting; you handle the cloud hinge.

The first bit looks suspiciously like drawing nothing. Your toddler is rubbing a white crayon on white paper, and you are asking them to trust that there is a picture in there. Fortunately, the blue paint gets to make the announcement.
This toddler craft rain project combines a simple wax-resist painting with a lift-up paper cloud. The painting can be happily scribbly. The hinge is the part you make deliberately, because a cloud that falls off immediately is a fairly short weather story.
Draw firm white-crayon rain marks on watercolor paper, brush a thin blue watercolor wash over them, and dry the sheet. Add a yellow paper sun near the top, then cover it with a white paper cloud attached by a folded tab so the cloud lifts.
Supplies for one rainy picture
A small water cup and one paint color keep this manageable.
- One nine-by-12-inch sheet of watercolor paper
- One ordinary white wax crayon
- One blue pan of children’s watercolor paint
- One broad, soft paintbrush
- About a quarter cup of water in a sturdy cup
- One six-by-four-inch piece of white cardstock for the cloud
- One two-inch yellow paper circle for the sun
- One glue stick
- Scissors and pencil for adult cloud preparation
- One shallow tray and a cloth for drips
- A scrap of watercolor paper for testing
Use paper intended for watercolor if you have it. Lightweight printer paper can wrinkle and tear when a toddler enthusiastically paints the same puddle. A broad brush spreads the wash with fewer passes than a tiny detail brush.

A tiny test saves the main picture
Draw three firm white-crayon lines on the scrap. Wet the brush, pick up a little blue, and paint once across them. You want pale blue paper with noticeably lighter marks, rather than thick blue paint sitting over everything.
If the test marks disappear, press the crayon more firmly and dilute the paint. A dry wax crayon is different from a washable marker, even if both happen to be white. Keep the crayon wrapper on unless removing it helps your child hold it comfortably.
Our painter’s-tape watercolor tutorial makes pale shapes with a removable barrier. Here the wax stays on the page. You will not need to peel anything from the wet painting, which is handy if peeling usually becomes the entire activity.
How to make the rain picture and lifting cloud
- Set the sheet in the tray.
Turn the paper sideways so it is 12 inches wide. Leave the upper middle fairly clear for the cloud and sun. Put the small water cup beside the tray rather than balancing it on the artwork.
- Draw rain with the white crayon.
Make short diagonal strokes, big teardrop loops, and a few puddle swirls across the lower two-thirds. Ask your toddler to go over each mark firmly. You can tilt the paper toward the window to spot the wax sheen without demanding neat rows.
- Make a thin blue wash.
Wet the brush, touch it to the blue pan, and try a stroke on the scrap. If it looks heavy or opaque, rinse some color from the brush. You should still see the paper texture through the blue.
- Brush across the rain.
Use broad strokes across the sheet. The paint colors the spaces between the wax marks and may bead on the wax itself. Let your toddler pause to look at the emerging lines rather than immediately scrubbing them again.
- Stop and dry the picture flat.
Tip a big puddle gently toward the tray edge and dab that edge with the cloth. Leave the sheet flat until it is dry to the touch throughout. The cloud belongs on dry paper, even if somebody is already asking where it went.
- Cut the cloud with an attached tab.
An adult draws a broad cloud approximately five inches wide and two and a half inches tall on the white cardstock. Add a centered rectangle along its top edge, two inches wide and half an inch tall. Cut around the cloud and rectangle as one piece.
- Hide a paper sun.
Glue the yellow circle near the upper center of the dry painting. Try placing the cloud over it before attaching anything. The circle should disappear completely when the cloud rests down.
- Fold and glue the hinge.
Fold the rectangular tab backward at the line where it meets the cloud. Glue only the back of that tab to the painting, just above the sun. Leave the cloud body unglued. Hold the tab flat, let it set, then lift the lower cloud edge to reveal the sun.

Let the rain look like your toddler drew it
Your child may make one enormous storm cloud’s worth of scribbles, or three very considered dots. Either can work. The wax needs firm contact with the paper; it does not need to resemble weather from a children’s book.
Give them the painting stage without adding the scissors, cloud, sun, and glue to the tray all at once. Those pieces have a tendency to become wet passengers. Make the hinge while the painting dries, or leave assembly for after lunch.
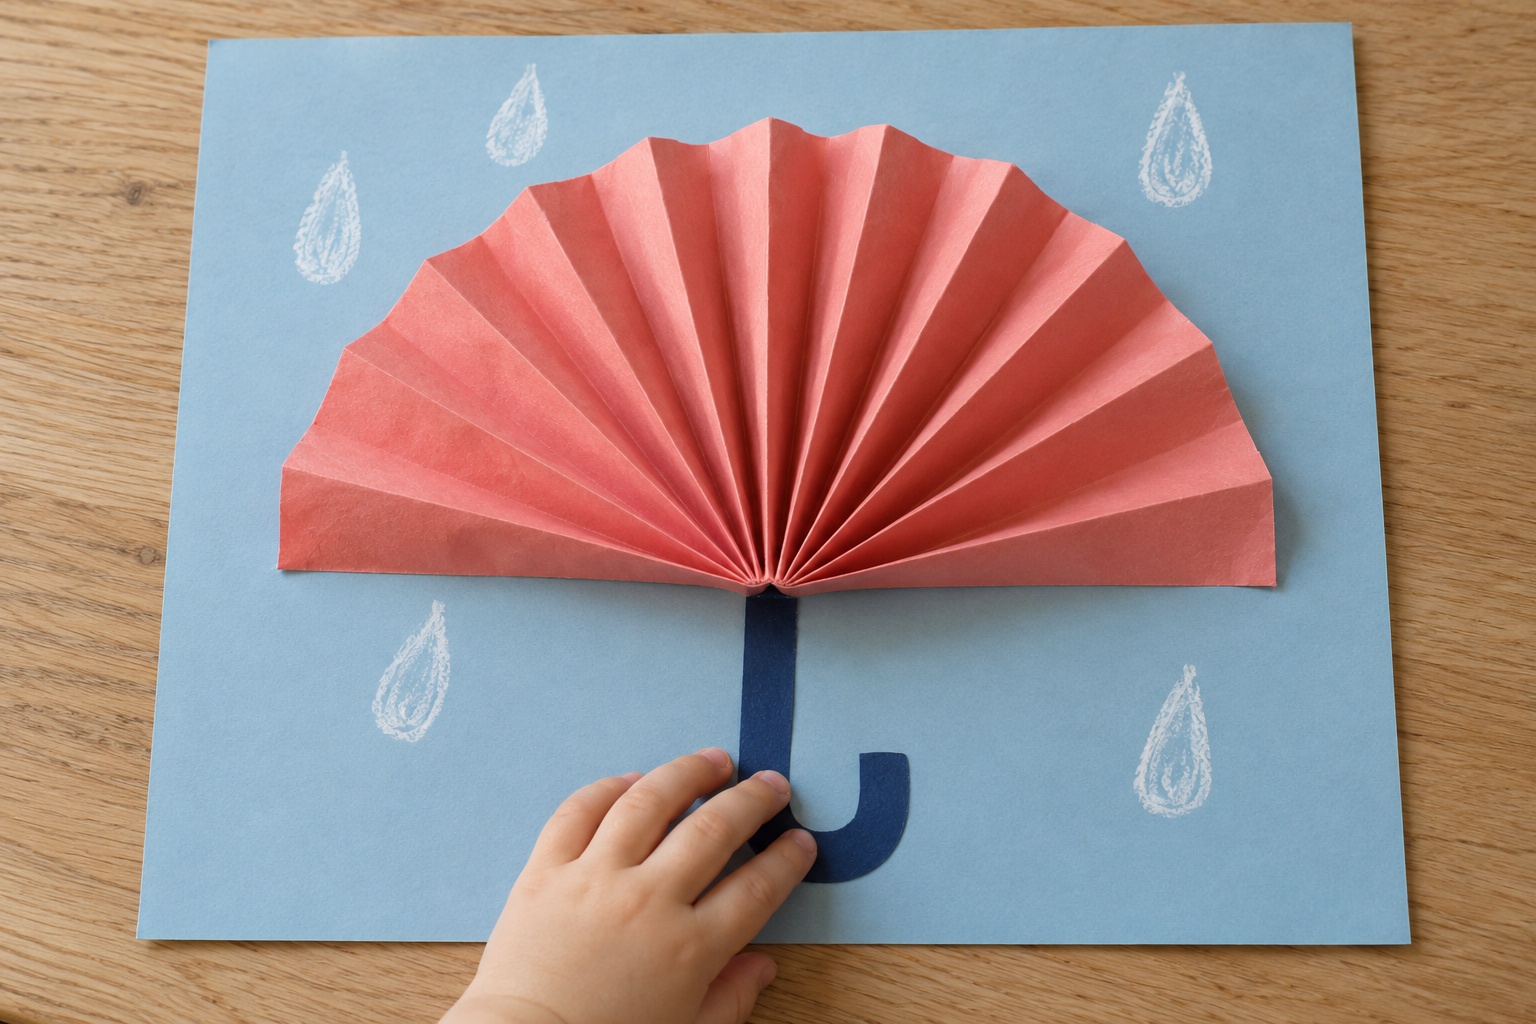
A dry-paper alternative is the raised accordion umbrella card. It lets your toddler draw rain on blue cardstock and help press folds, with no wash to dilute or drying sheet to protect.
When the reveal is not revealing much
The white marks barely show
Check your scrap with firmer crayon pressure and a paler wash. Weak wax marks cannot be fixed by adding darker paint repeatedly. Let this picture dry and draw extra white crayon rain on top, or try a new sheet with heavier wax.
Paint coats the crayon
Use transparent watercolor instead of thick poster paint. On a fresh test, rinse the brush and pick up less color. Some crayons resist better than others, so testing the actual supplies matters more than finding a dramatic paint shade.
The paper curls
Use less water on the next sheet. Dry this one flat, then place it between clean dry papers under a book before adding the cloud. Never press damp paint against another sheet.
The surface starts pilling
Stop brushing that area and let it dry. Repeated rubbing loosens the paper surface, especially on thin paper. Finish the rest with gentle strokes or leave the worn patch as a very enthusiastic puddle.
The cloud will not lift
Check whether glue reached the cloud body. Ease away an unglued edge carefully; if it is firmly stuck, make a new cloud. Only the folded tab gets attached, leaving the large cloud shape free to move.
The sun peeks out
Position the loose cloud over the circle before gluing its tab. Use a smaller sun or wider cloud if necessary. A little offset is fine, but the hinge fold needs to sit above the circle.
Three changes that keep the same technique
A lavender shower
Replace blue with a pale purple watercolor wash. Keep the white wax and yellow sun so the reveal stays visible. Use a single color first; a muddy mix can hide lightly drawn rain.
Just the rain, for a shorter session
Skip the cloud and sun when your child is done after painting. The wax-resist picture is a complete project by itself. You can add the moving cloud another day without restarting the painting.
A snowy window
Draw large white wax circles instead of diagonal rain, then use a pale blue wash. Replace the hidden sun with a broad paper star if you like. Avoid adding loose glitter to wet paint; the wax marks already provide the texture.

Display the picture without flattening the hinge
Keep it low enough for your child to lift the cloud, or leave it in a shallow tray for tabletop play. Attach the picture by its paper corners. Tape crossing the cloud turns the reveal into a sealed envelope.
A tissue-paper suncatcher can go beside it on the window, while the rain picture stays on a solid surface. That pairing uses the light without pretending a painted sheet will become transparent.
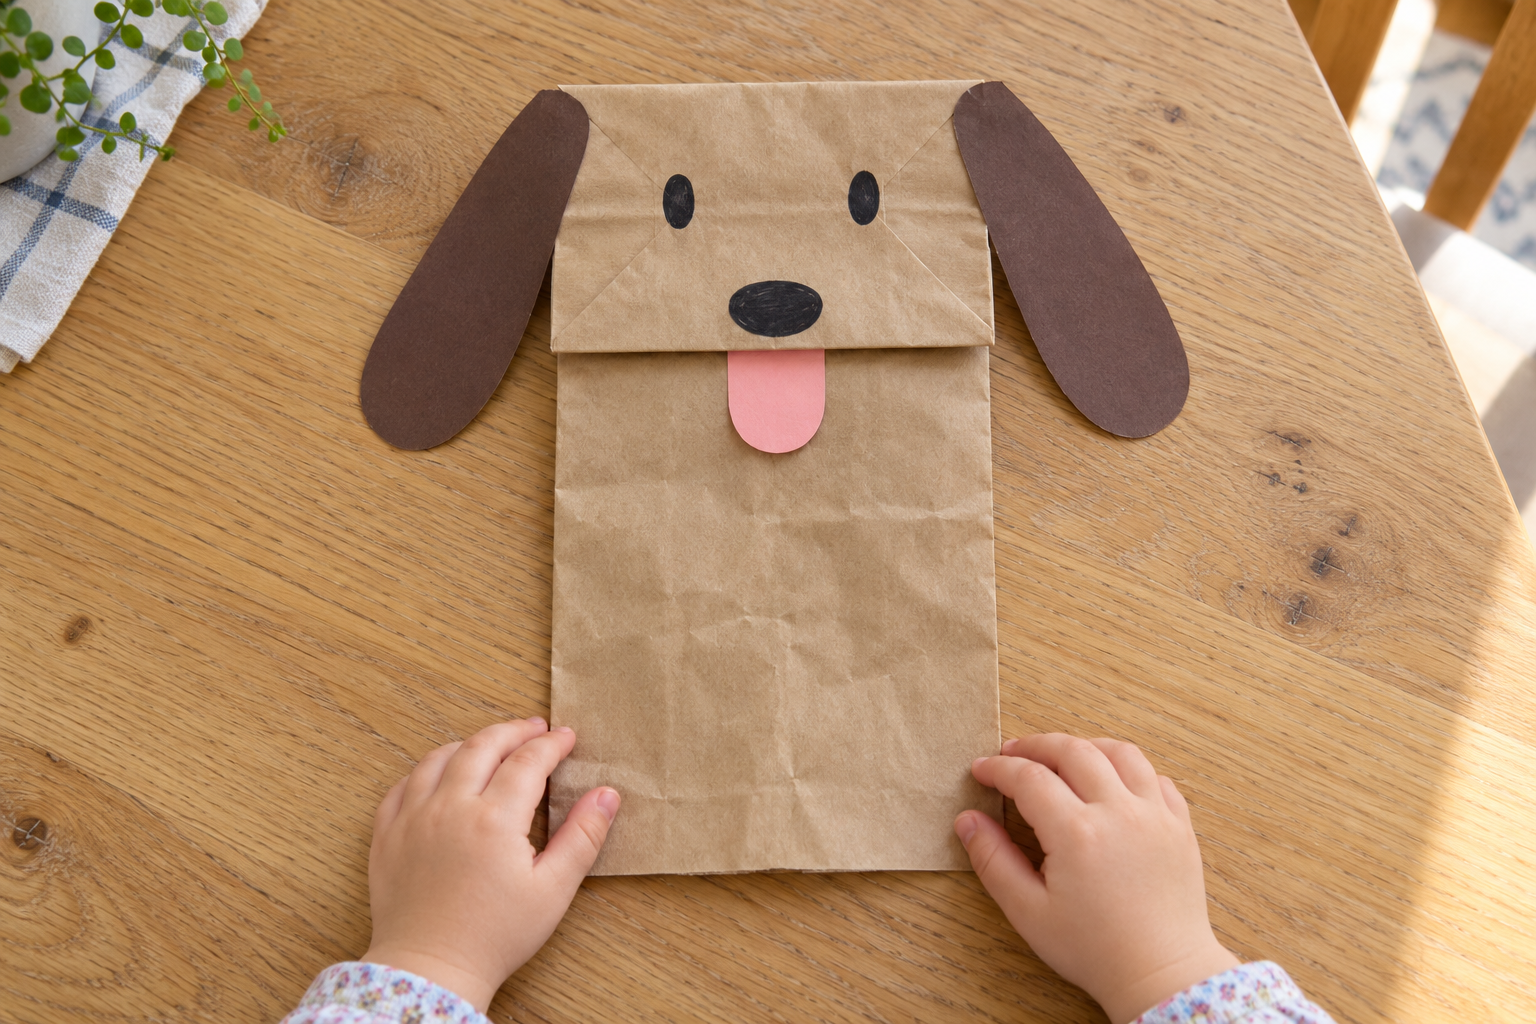
When you want to make something for real outdoor weather, save our paper-bag wind toy instructions. Keep that bag away from this water cup: it needs air in its opening, not a surprise blue rinse.
Rain craft questions parents ask
Why use white crayon for a rain painting?
White wax blends into the white paper at first, then stands out when the spaces around it turn blue. Colored crayons also resist the wash, but they will be visible from the beginning. The reveal works best with firm wax marks and pale paint.
Can I use washable markers instead?
Washable marker ink does not provide the same wax barrier. It may spread into the wash instead of leaving pale raindrops. Use a wax crayon for this method and keep markers for a separate drawing.
Can a three-year-old do the watercolor part?
Your toddler can draw and brush while you manage the water and test the paint strength. Offer one broad brush and one color. You can prepare the cloud separately so the painting stays the main job.
Do I need to paint the cloud?
No, the white cardstock cloud stays dry and gets attached after the painting dries. That makes a clean contrast against the blue background. If your child wants to decorate it, use crayons before folding the tab.
Can this be made without a printable?
Yes; an adult draws a simple cloud with an attached rectangular tab and cuts a small yellow circle. The measurements matter more than a fancy outline. A wobbly cloud still hides the sun if it is broad enough.


Leave a Reply