
Next week, without the planner panic
How to Plan a Homeschool Week Around Your Curriculum
Choose the next activities from your existing resources, prepare what you need, and leave room for the week to change. Here is a practical planning process with a completed example.

Check where you stopped, mark real commitments, choose specific upcoming activities, and note the preparation. Keep optional extras separate and record completion after it happens.
Your planner has five empty columns. Your curriculum has approximately a million suggestions. Your child wants to know if breakfast can be crackers. This is the point where a weekly plan needs to get smaller, not more impressive.
I’m Anya, a mom of two, and I like a plan that tells you what to pull out next without requiring a second plan to explain it. This homeschool lesson planning guide is about choosing upcoming work from resources you already use. It is not a curriculum recommendation, a timetable, or a record of what your child has completed.

Feral Toddler printables
Make next week easier to plan
To make this really easy, buy the ready-made bundle on Etsy. Print the weekly and daily planning pages you need, add your chosen activities, and skip designing your own forms. Attendance and record-keeping pages plus a cover are included too.
Buy the bundle on Etsy →A small lesson-planning setup
Use the resources you have chosen. This is the organizing bit.
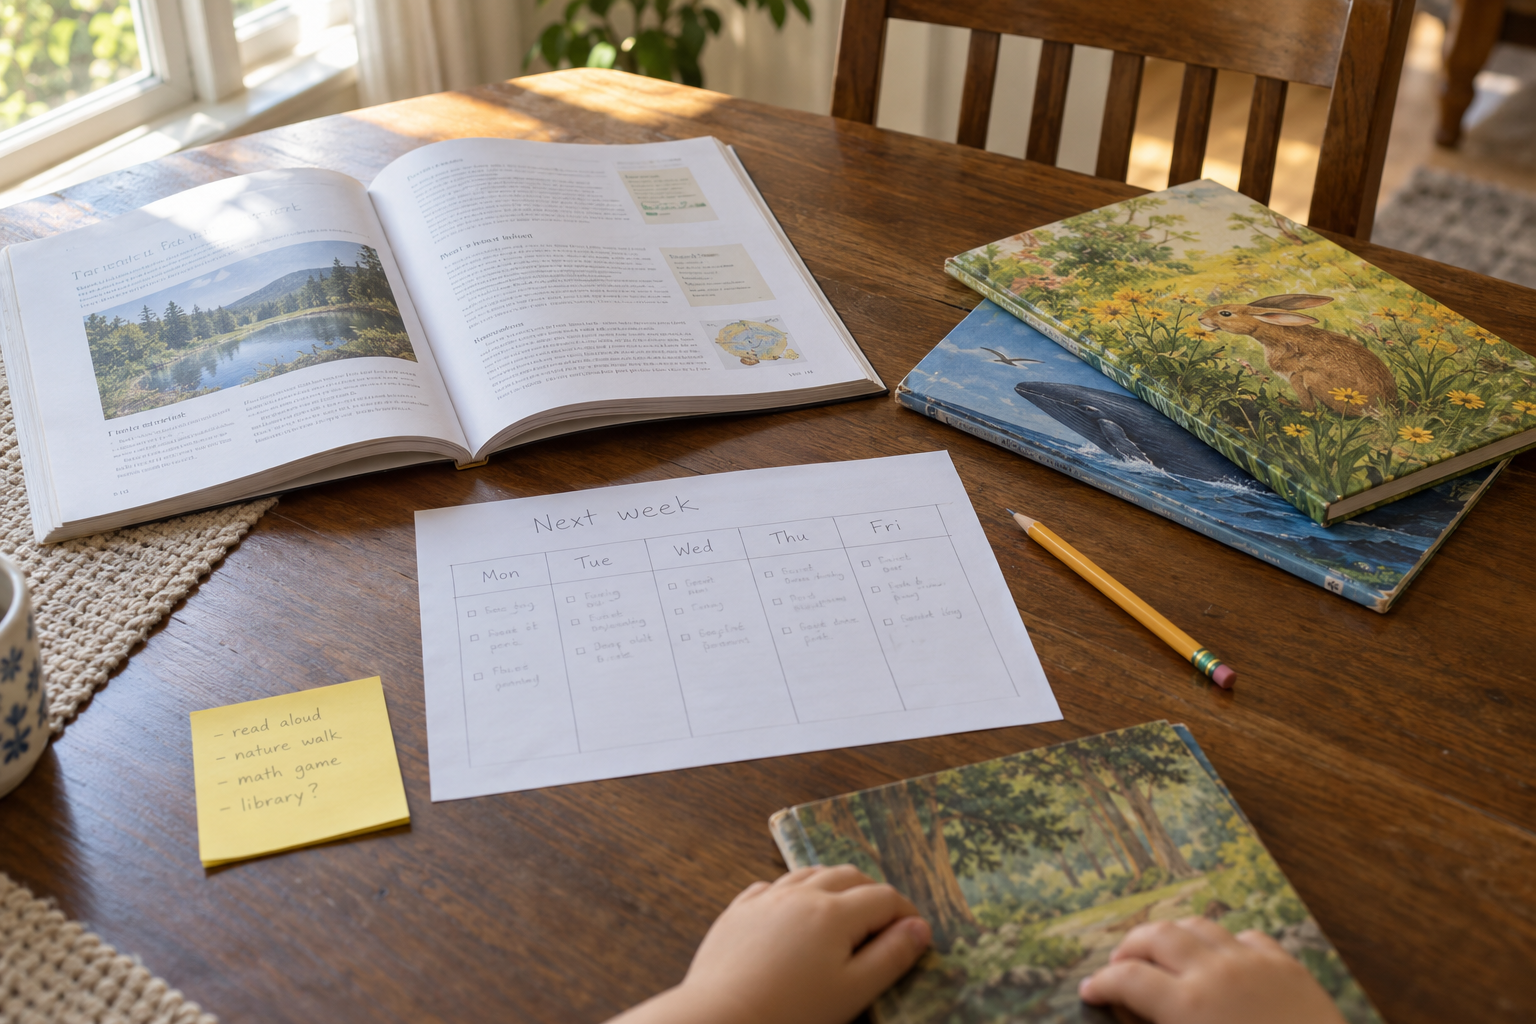
- 1 weekly planning page or sheet of plain paper
- 1 pencil and 3–5 sticky notes
- Your current curriculum guide or resource list
- 1 calendar showing commitments for the coming week
- 1 folder for next week’s loose pages
- 1 short note showing where you stopped last time
Keep the active resources within reach. Leave the entire shelf of “possibly someday” books where it is. We are planning a week, not auditioning every activity you have ever saved.

How to plan a homeschool week around your curriculum
- Find the actual starting point.
Open each resource to the next unused section. Check your last completion note rather than assuming you reached Friday’s planned page. If something was skipped, decide whether it still belongs next; copying it forward automatically is how planners collect unpaid debts.
- Look at the week you actually have.
Mark appointments, outings, visitors, and other commitments before adding lessons. A day with a morning appointment may need a smaller selection than a day at home. These are planning decisions, not instructions about what legally counts as a school day.
- Choose the next specific actions.
Use the resource’s directions to pick a manageable starting selection. Write “Read the next picture book and talk about the ending” rather than “Literacy.” Write the page or activity reference when there is one. Future-you should not need to reopen six tabs to decode Tuesday.
- Separate your first choices from optional extras.
Put your intended activities in the main boxes. Keep an optional activity on a sticky note or in a clearly marked extra list. An idea being lovely does not mean it belongs in every available square.
- Spread preparation across the week.
Check which choices need printing, materials, or advance setup. Place a more involved project on a day when you can do its adult preparation. Avoid stacking several glue-and-drying projects into one afternoon unless you really want the kitchen counter to become an exhibition.
- Add one practical note per activity.
Include the detail that would otherwise trip you up: “Use washable paint,” “Bring the library book,” or “Adult cuts the cardboard first.” Keep longer instructions in the original resource. Your weekly page is a signpost, not a photocopied manual.
- Leave room to revise.
Use pencil, a spare column, or a movable note. When plans change, cross out the original clearly and write the new choice. A changed plan is useful information; it does not need to be disguised as a pristine first draft.
What a filled-in weekly plan can look like
This fictional example is a way to see the planning process. It is not a prescribed preschool curriculum or a promise about what your child should manage. Adjust the choices to your resources, household, and child.
| Day | First choice | Preparation or limit |
|---|---|---|
| Monday | Read the selected book; draw a favorite part | Book and crayons already on shelf |
| Tuesday | One selected page from the current resource | Print that page only; appointment later |
| Wednesday | Begin a paper-making project | Read method first; adult handles blender |
| Thursday | Return to the project once dry | Check drying before offering decoration |
| Friday | Choose a repeat or finish an unfinished activity | No new supplies to buy |
The two-day project could be our recycled-paper tutorial. Its soaking and drying steps are the reason to check the method before putting “paper making” into a single box. This is where a planning page earns its space on the table.

If you select a page from our tracing worksheets guide, note which page you want to offer and what you need beside it. You do not need to turn one page into a week’s worth of printing. Keep the plan specific enough to prepare and light enough to change.
Get the materials ready without building a paper mountain
Walk through the plan once and collect only the loose pages you expect to use. Put them in your next-week folder in day order, or use sticky notes if the order is flexible. Keep books separate so the folder closes without a wrestling match.
Match the folder to an actual storage spot. The companion guide to storing homeschool paperwork in a small space shows how to fit active pages, books, and supplies into a portable station. That guide handles where things live; this one handles what you choose next.
After an activity, add a short factual completion note in your chosen record. Do not treat every planned box as completed automatically. Our record keeping guide separates upcoming plans from completed work, so the two can stay useful without pretending they are the same thing.
Your plan does not decide attendance by itself. Keep the dated log separate and use the attendance-record tutorial when you need to enter or check what actually happened.
When lesson planning gets sticky
Every day is overfilled
Circle the first choice for each day and move extras out of the main boxes. Check how much adult setup those choices need before adding anything back.
You keep moving the same activity
Check why: missing supplies, too much setup, or no longer a useful choice. Fix the actual obstacle or remove the activity instead of carrying it forward forever.
The resource and planner disagree
Keep one clear note showing the next starting point. Update it after use so you are not comparing several conflicting page numbers at the next planning session.
You forgot the preparation
Write the missing task beside the activity and move it to a day when you can prepare it. Read the original directions before collecting substitutes.
Three ways to make the page fit
Use a short activity queue
If dated boxes feel too rigid, list your next few choices in order instead. Keep commitments on your calendar, and choose from the queue when you are ready.
Separate shared and individual choices
Put a shared read-aloud in one place, then label each child’s separate resource reference. Sharing the page should not make it impossible to tell whose materials to prepare.
Plan around available materials
Choose from resources already in your home before shopping for extras. The same reachable-storage principle in our playroom organization ideas makes preparation easier: keep the items you will use where you can actually find them.
This is an organization guide, not expert educational or legal advice. Follow your chosen resources and official requirements where applicable. Keep identifying details private when sharing planner photographs.
Homeschool lesson planning questions
How far ahead should I plan homeschool lessons?
You can sketch a longer outline while preparing only the next small stretch in detail. A weekly page is useful when you want specific materials ready without printing months of work in advance.
Do I need a separate daily lesson plan?
Not necessarily for your own organization. Use a daily page when an activity needs extra preparation or detail; keep simple choices on the weekly page if that gives you enough information.
Should I write times beside every lesson?
You can if times help your household, but this method does not require a timetable. Start with commitments and activity choices, then add timing only where it makes the plan easier to use.
What happens when we do not finish the plan?
Record what actually happened and review unfinished choices before carrying them forward. Some need another chance; others can be removed or replaced without leaving an ever-growing backlog.
Does the printable bundle include a curriculum?
No. The bundle supplies attendance, record-keeping, daily and weekly planning pages, and a cover. You bring your chosen resources and use the forms to organize them.

Your next useful move is small: choose the first activity, gather its materials, and put the page somewhere reachable. A plan you can read at breakfast is doing its job.


Leave a Reply