
A home for the paperwork, finally
Homeschool Record Keeping: What to Save and How to Organize It
Your kitchen counter does not need to become the official archive of everything your child has ever touched. Here is a practical homeschool record keeping system with a place for plans, attendance, useful samples, and the papers you actually need to find again.

Give current records one binder, incoming papers one folder, and finished years their own archive. Separate planned work from completed work, date what you save, and review the intake folder weekly.
I am Anya, a mom of two, and I like an organization idea a lot more when it survives someone needing a snack halfway through it. This one has a deliberately boring rule: every paper needs a destination. Not a beautiful destination. Just one you can remember.
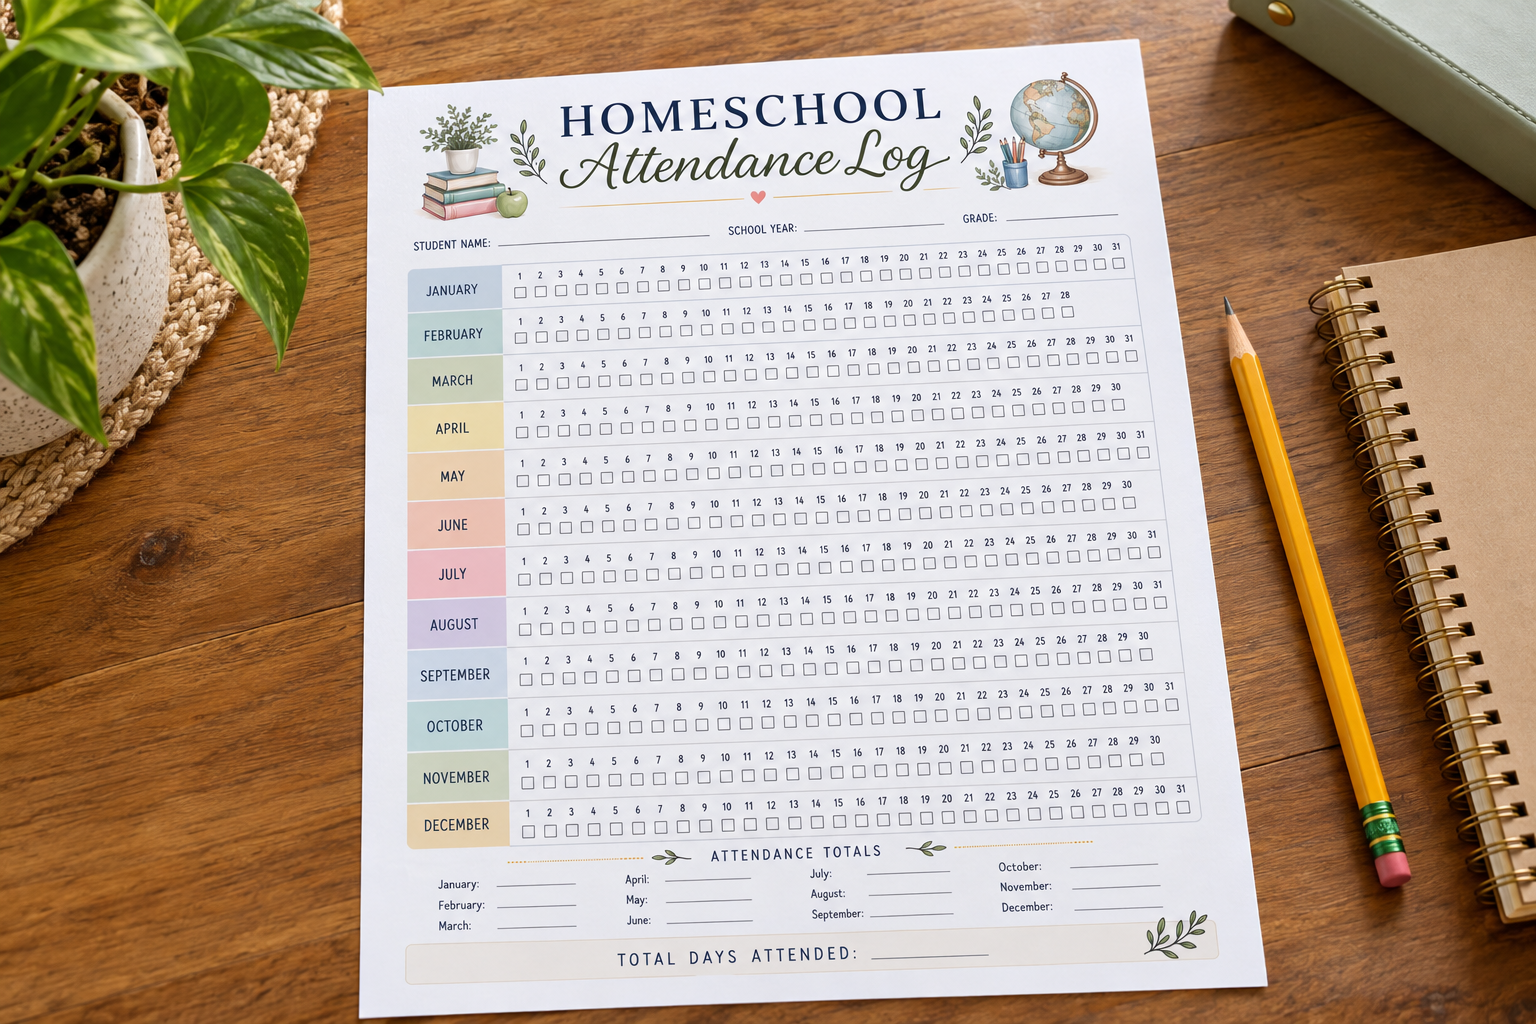
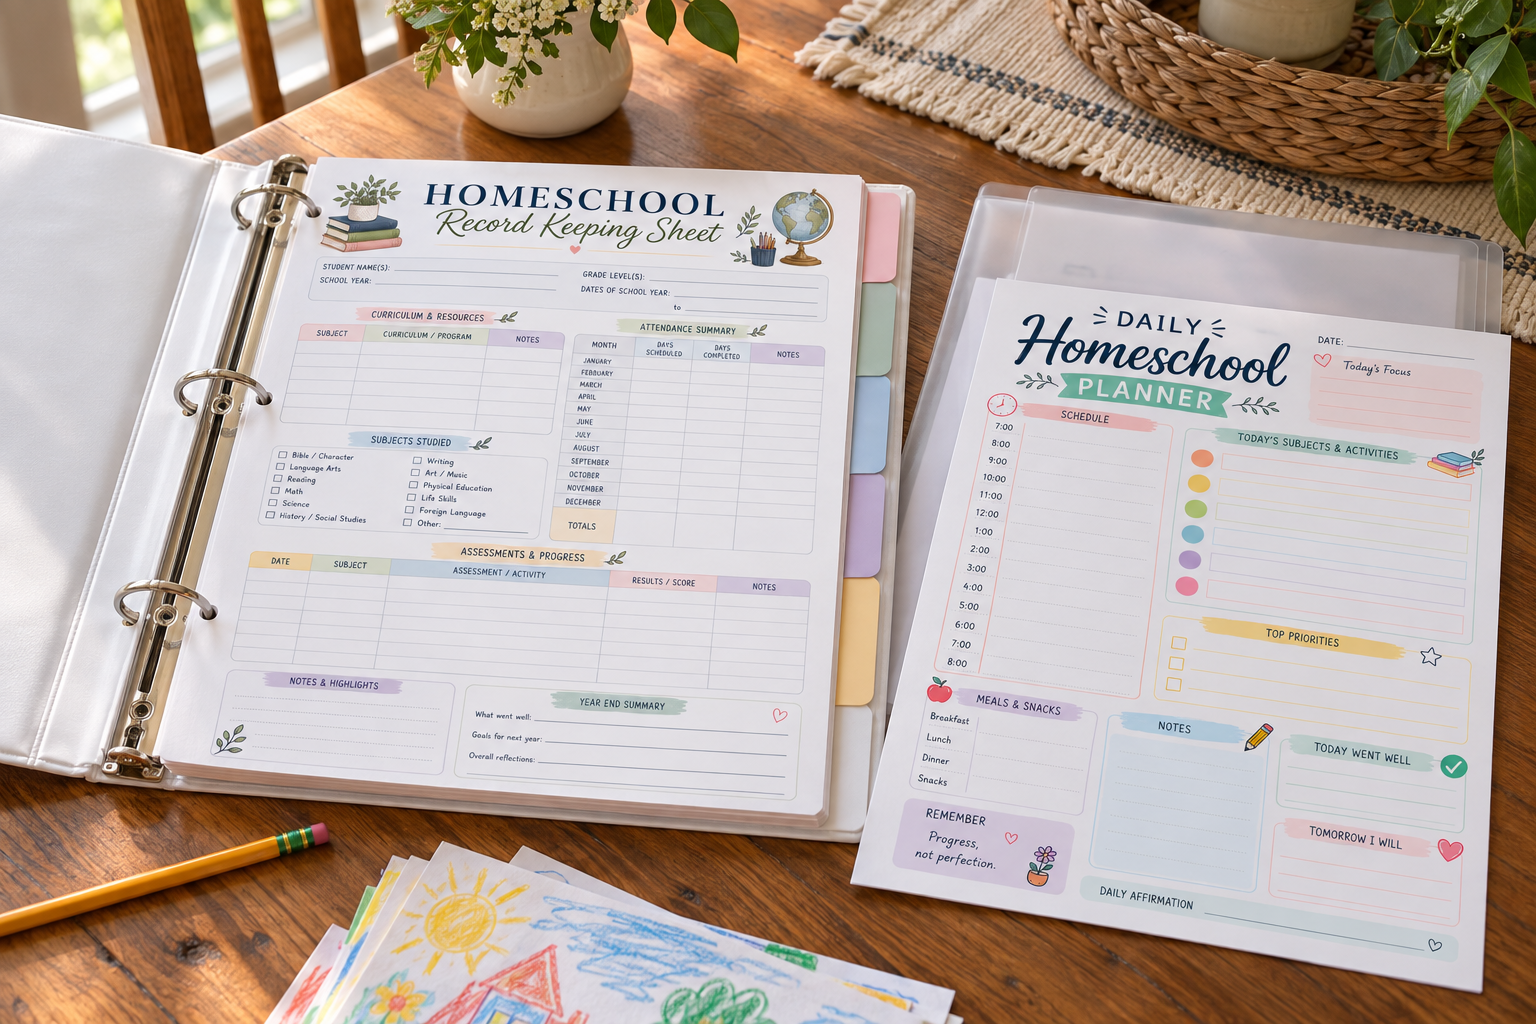
If drawing the forms is the part slowing you down, the Homeschool Record Keeping Bundle available in the Feral Toddler Etsy shop supplies attendance, record-keeping, daily and weekly planning pages, plus a planner cover. Your binder and filing routine do the organizing; the printable pages give you somewhere to write.

Feral Toddler printables
Make your binder setup easy
Make this easy on yourself: buy the ready-made bundle on Etsy, print the pages you need, and start your binder without designing a single form. You get attendance and record-keeping pages, daily and weekly planners, and a cover.
Buy the bundle on Etsy →Your starter binder supplies
Enough structure to find things, without a stationery shopping expedition.
- 1 three-ring binder, around 1 inch to start
- 5 dividers: Overview, Attendance, Plans, Completed Work, Reference
- 1 pocket folder for incoming papers
- 10 clear sleeves for awkward-to-punch samples
- 1 pen and a hole punch
- 1 dated overview sheet and the forms you will actually use
- 1 digital folder for backups and photographs
These quantities are a starting setup, not a shopping requirement. An existing folder can hold incoming papers, and handwritten dividers work just fine.

How to set up your homeschool records binder
- Choose the year label first.
Write your child’s name and the school-year dates on the overview. Use the same label on the binder spine and digital folder. A folder called “School Stuff Final FINAL” will eventually betray you.
- Put important reference documents together.
Keep the official guidance relevant to your situation, any required correspondence, and documents you need to locate quickly in Reference. Separate these from ordinary activity sheets so they do not disappear under a purple dinosaur.
- Give attendance its own divider.
Place the current log near the front where you can reach it. Our attendance-record tutorial shows how to mark a dated log and check the totals; this binder guide simply gives that log a permanent home.
- Keep plans separate from what happened.
File upcoming daily or weekly plans under Plans. When you finish a week, add brief notes about what you actually did. A planned activity is not automatically a completed activity, even if it looked very convincing on Sunday night.
- Create one landing spot.
Put the pocket folder beside the binder. Loose samples, outing notes, and papers waiting for a date go there first. It is an inbox, not a second archive: write “Review Friday” on the front if that helps.
- Choose a small sample section.
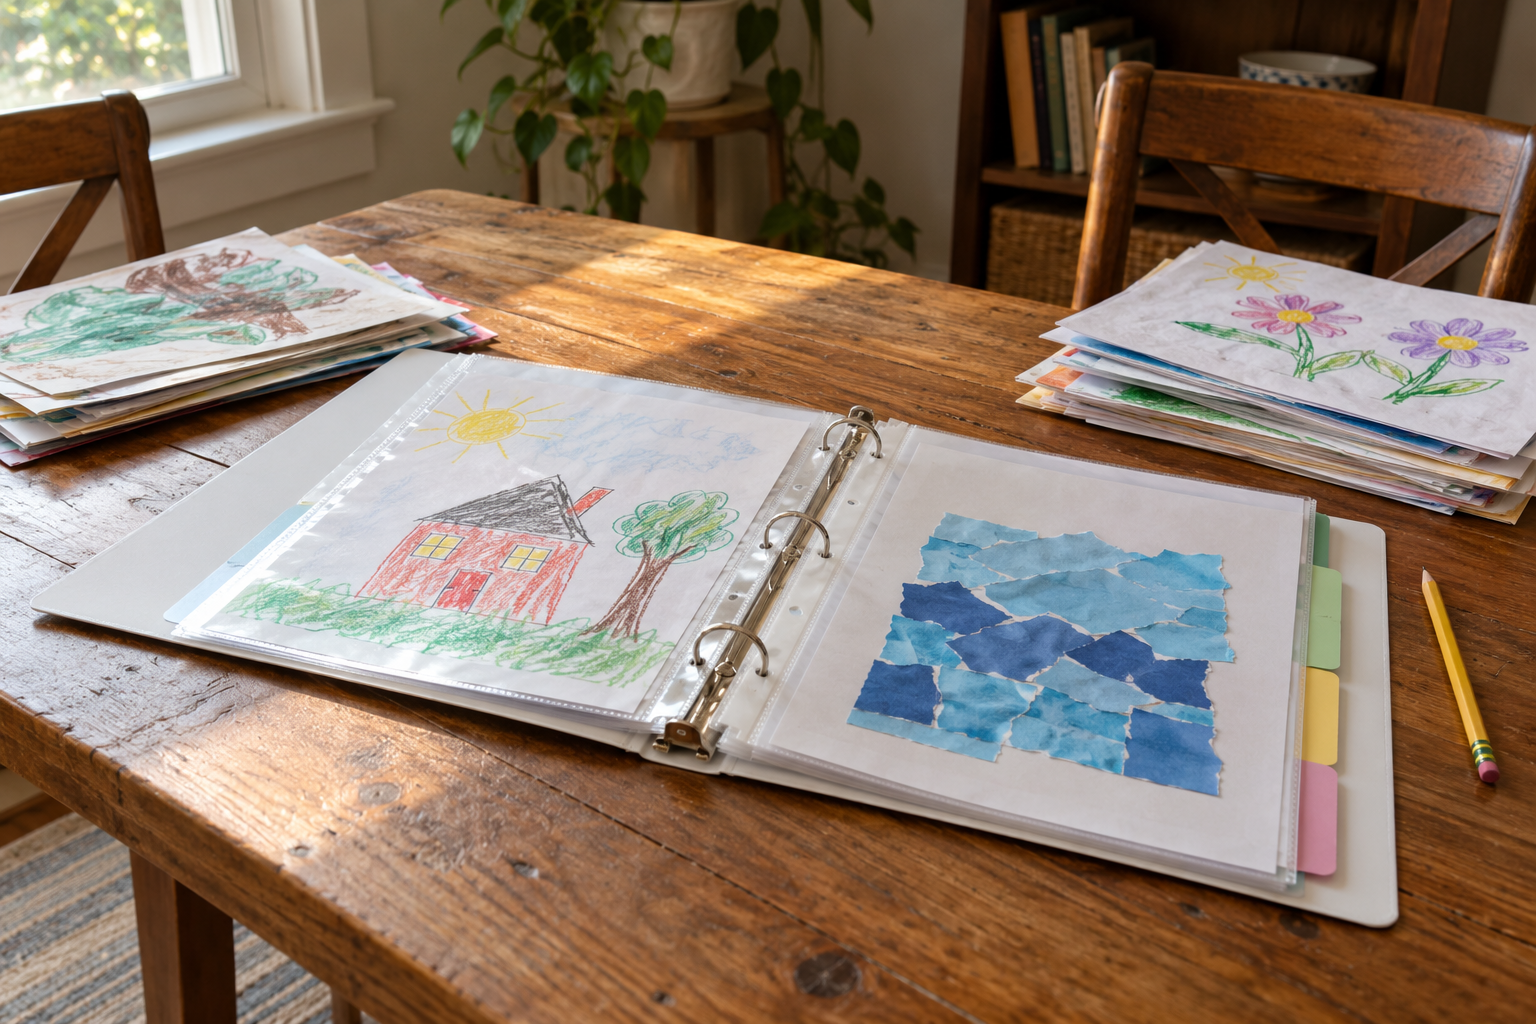
Use Completed Work for selected dated pieces rather than every sheet. To build a work-sample collection with labels and project photos, follow the separate homeschool portfolio setup. Keep the portfolio beside this binder if it grows bulky.
- Make a backup folder.
Create a folder named with the school year and child. Save readable scans or photos of important pages there, using dates in the filenames. Open a saved file before calling it backed up; a blurry thumbnail is not much of a rescue plan.
What homeschool records should you keep?
Start with anything your official requirements ask for, then add records that are useful to your family. The categories below are organizational choices, not a universal legal checklist.
| Category | Useful example | Where it goes |
|---|---|---|
| Year overview | Dates, resources used, and a short summary | Overview |
| Attendance | A dated record of days, with any additional details you need | Attendance |
| Plans and completion notes | A weekly plan annotated with what happened | Plans |
| Selected work | Dated pages, project descriptions, or photographs | Completed Work or portfolio |
| Reference papers | Relevant official guidance and correspondence | Reference |
For a paper example, one of your child’s completed tracing worksheets can be dated and filed as a sample. You do not need to save the entire printer tray to remember which page you used.
For a project that changes over time, such as growing a bean in a clear cup, dated photographs and a few notes are easier to store than the actual cup. Keep the record honest: what your child did, what you observed, and when.

A daily, weekly, and monthly routine
After a recorded day: update the attendance log and jot down anything you will forget. One specific sentence beats a paragraph you promise to write later. Put loose work in the intake folder.
Once a week: empty that folder. Add missing dates where you can verify them, choose samples, and move completed plans behind the current ones. Keep snacks away from the sorting area. Applesauce is an enthusiastic document adhesive.
At month end: check attendance totals, scan important pages, and add a short overview note. For example: “Used library books about birds; kept a nest drawing dated October 12.” This is a description of your month, not an assessment you need to dress up.
At year end: label the finished archive, make a readable backup, and start a fresh current-year folder. Check any applicable retention requirements before discarding records. Keep the active binder easy to use rather than making it carry every previous year.
When the system gets tangled
You already have a mountain
Sort by child and year first. Then separate reference papers, logs, plans, and samples. Date the sorting session; do not invent dates for old work.
You printed too many forms
Remove blank extras from the active binder. Keep one week or month accessible and store spare pages elsewhere.
The binder will not close
Move selected work into a separate portfolio. Keep its location noted in the overview so the two collections stay connected.
You keep forgetting to file
Move the intake folder to where papers actually land. Attach the review to an existing weekly habit rather than choosing an imaginary quiet afternoon.
Adapt the setup to your household
Two or more children
Use a clearly named attendance log for each child. Shared plans can stay together, but label completion notes and samples so you can identify whose work they describe.
Mostly digital records
Use the same five folder names digitally. Keep a small physical folder for originals you need to retain, and note where those originals live.
A very small workspace
Use one binder and one upright intake folder. The same principle behind giving playroom items a clear home applies to papers: a reachable destination beats an elaborate hidden system.
This is an organization guide, not legal advice or a state-compliance checklist. Check official guidance for your situation. Store identifying information privately and cover it before sharing record photos.
Homeschool record keeping questions
Do I need a homeschool records binder?
A binder is one convenient option, not the only way to organize. Paper folders or a clearly labeled digital system can also work; choose a format you can update and retrieve.
Should I keep every worksheet?
You can choose representative samples for your personal collection rather than keeping every duplicate. Check any applicable requirements before deciding what to discard, and date the pieces you retain.
Can plans count as completed-work records?
A plan describes what you intended to do. Add factual completion notes or keep actual samples so you can distinguish the plan from what happened.
How do I organize homeschool records for multiple children?
Label each child’s logs and samples clearly, even when you use shared activities. Separate binders are optional; separate identities on the records make retrieval much easier.
What if I am behind on homeschool paperwork?
Start with current records and sort the older pile in small batches. Reconstruct details only from sources you can check, and flag uncertain dates rather than guessing.


Leave a Reply