
Toddler Robot Craft with a Box and Accordion Paper Arms

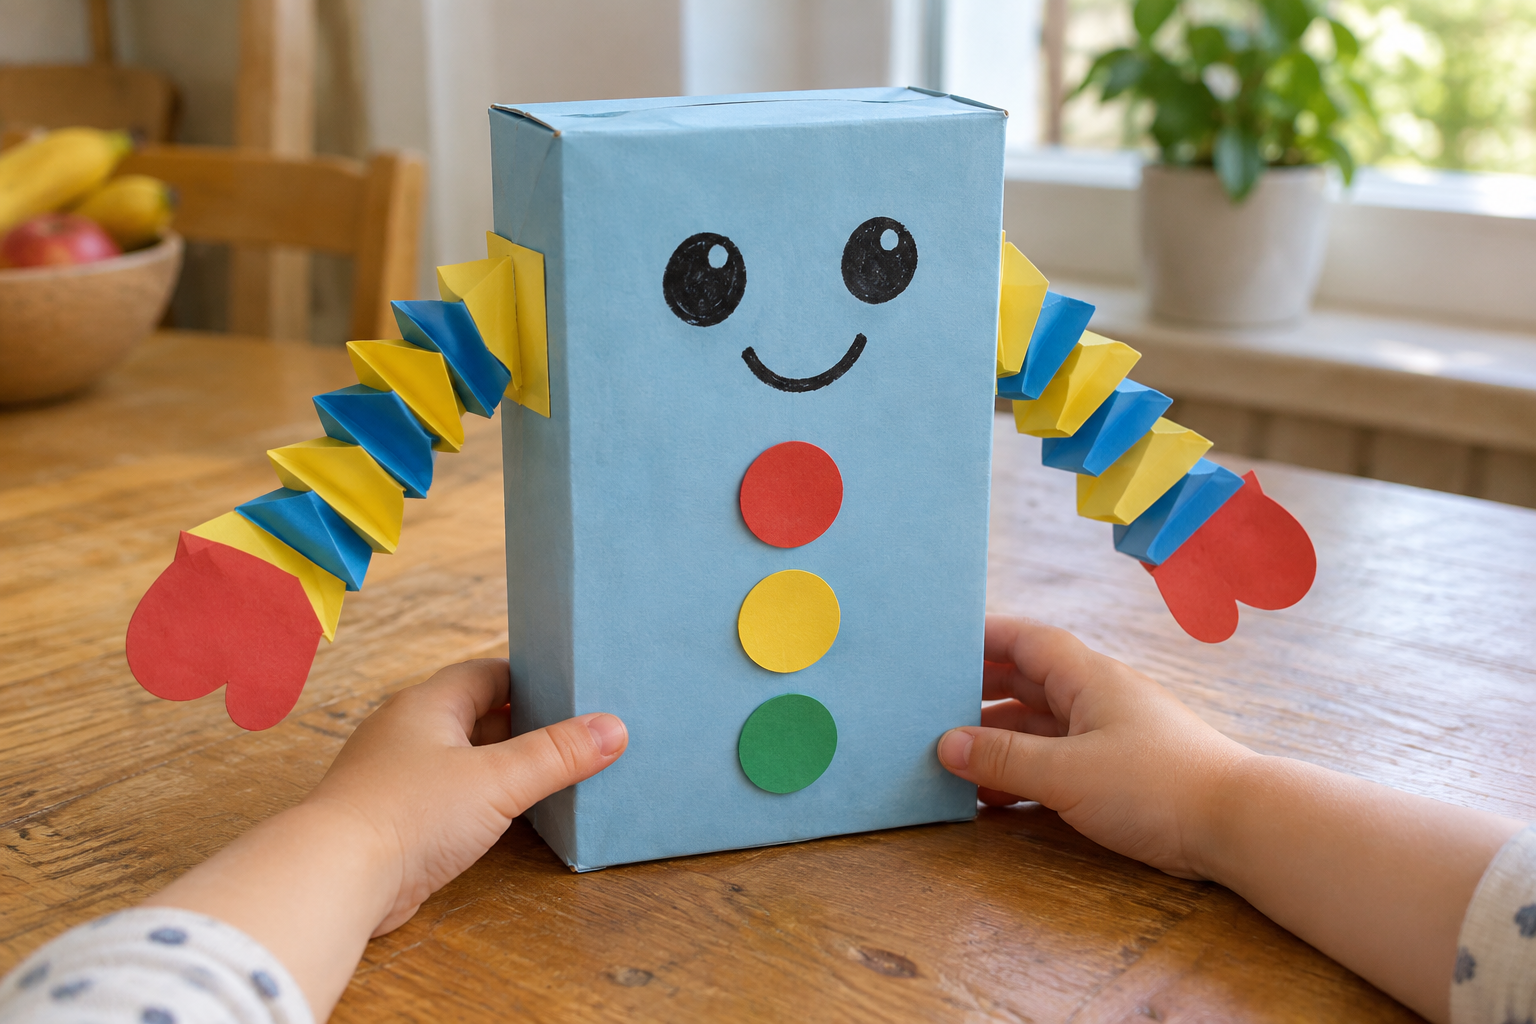
Use one closed carton as the standing body and face. Cross equal-width paper strips and fold them alternately to make accordion arms, then attach them with broad taped shoulder tabs.
The robot has been given a job. It is apparently in charge of snacks, which seems ambitious for a cereal box with no working fingers. Still, once your toddler sees its paper arms bouncing, the cardboard employee tends to acquire a personality fairly quickly.
This toddler robot craft uses a small closed box for the body and two accordion-folded paper arms. Those folds are the useful bit: they give flat paper some spring, while wide attachment tabs keep it from immediately falling off. You draw the face directly on the body, so there is no top-heavy second box to persuade into staying put.
Plan on doing the first arm together. Your child can choose colours, decorate buttons and pull the finished arms gently outward. Some preschoolers want to fold the entire thing themselves; others have strong opinions about the face and would prefer you handled all engineering.
Supplies for one robot
- 1 clean empty carton, about 12 × 16 × 6 cm
- 1 paper front panel matching the box face
- 4 construction-paper arm strips, each 3 × 24 cm, in two colours
- 2 cardstock shoulder tabs, each 4 × 6 cm
- 2 broad cardstock mitten hands, about 4 × 5 cm
- 3 large paper control shapes, or drawn buttons
- Glue stick, tape, crayons, black marker, ruler and adult scissors

Find a body with a broad base
Choose a clean, empty carton around 12 cm wide, 16 cm tall and 6 cm deep. A small tea or snack box is useful if its bottom closes flat. Remove loose packaging and tape the empty flaps shut before your child handles it.
Stand it upright and give it a gentle nudge. If it keeps tipping, lay the box on its wider side and make a shorter robot. You can rotate the body before decorating; turning it afterward puts the robot’s smile somewhere near its elbow.
Cover the front with a paper panel approximately the same size. You do not need to wrap every corner. Neat panel edges and a couple of uncovered sides still look like a robot, and there is less paper bunching underneath the base.
Our shoebox dollhouse also begins with checking the actual box rather than trusting a shopping-list measurement. If your carton is smaller, shorten the arms instead of making a very small robot drag two enormous sleeves around.
Make one accordion before making two
Cut two paper strips for each arm, each about 3 × 24 cm. Use ordinary construction paper for the first attempt. Very thick card is difficult to fold neatly at this size; tissue paper is likely to collapse or tear.
Place the ends of two strips across one another at a right angle, overlapping a 3 cm square. Glue that square and press it flat. Fold the lower strip over the upper strip, then fold the other strip over it. Continue alternating, keeping the edges lined up.
The growing stack should stay roughly square. You are folding each long strip back over the same small stack, not rolling it into a spiral. Stop when you have only a short end left; glue the final overlap, press it briefly and gently open the folds.
Do a few folds while your child holds the stack, then swap jobs if they want. Saying “this colour, now that colour” can make the alternating order easier to follow. If everyone loses track, flatten the last fold and restart there rather than pulling the whole arm apart.
Give the box a face and two arms
- Prepare the closed body. Tape the bottom flaps flat and cover any torn edges. Place the carton upright on its intended base. The finished robot should stand on the box itself, rather than on decorative feet that cannot support it.
- Decorate the front panel. Draw two eyes and a mouth near the top. Add three large paper circles or squares for pretend controls below. Put glue across the panel back and press it onto the carton, keeping its lower edge above the base fold.
- Fold the first arm. Cross two 3 × 24 cm strips at their ends, glue the overlap and alternate folding one strip over the other. Keep each fold square. Glue the final short ends and open the stack only a little while the joins dry.
- Make a matching second arm. Repeat with two more strips of the same size. Compare the relaxed lengths rather than stretching one arm to its limit. A wonky pair is charming; one arm three times longer than the other is more likely to catch on everything.
- Add broad paper hands. Cut two mitten-like card shapes around 4 × 5 cm, with no narrow individual fingers. Glue a 3 cm square attachment area to the outer end of each accordion. Tape over the join on the back for a little reinforcement.
- Attach the shoulders. Cut two 4 × 6 cm card tabs and fold each across the middle. Tape one half of each tab flat to a box side, around the upper third. Attach the arm’s inner end to the projecting half. Reinforce the shoulder with tape while keeping the first accordion fold free to open.
- Let the joins settle, then test. Leave the arms resting on the table while glue dries. Stand the robot up and extend each arm gently, stopping before the folds flatten completely. Check that the shoulder tabs remain attached and the box stays upright.

Give the robot something manageable to do
Offer a few large scrap-paper parcels on the table. The robot can point at them or supervise delivery; its hands are decorative, not designed to grip. Your child can supply the sound effects, and you can decide whether the cardboard employee is allowed to make beeping noises during dinner.
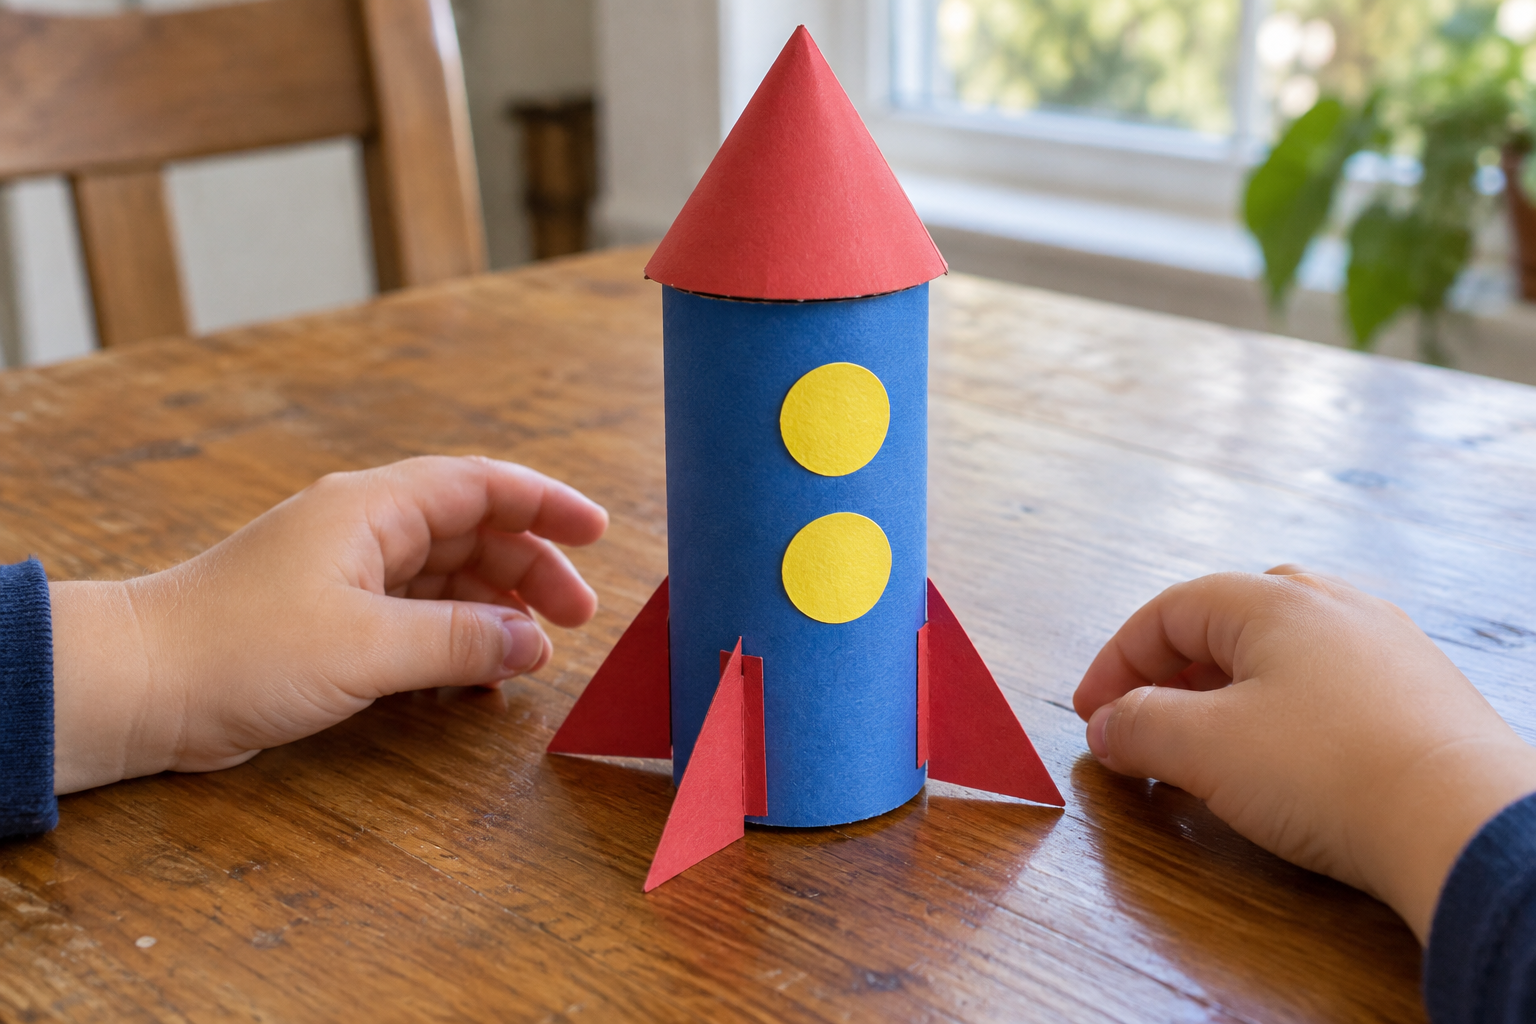
A useful first mission is welcoming the standing cardboard-tube rocket. The robot’s broad box base makes a good control-station character, while the rocket’s fitted cone and fins introduce a different kind of assembly.
Keep the play area simple. If your child wants a whole shop for the robot to manage, the cardboard-box grocery store has a separate setup for shelves and pretend groceries. You do not need to build a shopping centre on the same afternoon as the arms.
Repairs for your cardboard employee
The accordion twists sideways
Open just the last few folds and square their edges before folding again. Work on the table, holding the stack with one hand. If the strips are uneven widths, recut them rather than trying to force the narrower one into alignment.
An arm pulls off the box
Reinforce the shoulder tab with fresh tape against clean cardboard. Keep glue and tape away from the first moving fold. Shorten an overlong arm if its weight keeps peeling the tab away.
The folds will not open
Check for glue between layers instead of only at the end squares. Separate a lightly stuck layer carefully once dry; replace a badly glued arm. For the next one, use a small dab only on the joining overlap.
The robot falls forward
Check that the base is flat and the front paper does not curl underneath it. Lay the box on a broader side if necessary. Replace heavy decorations with drawn details, rather than adding hidden weights.
Three different-looking robots
A stripey robot
Alternate two colours in each arm and repeat them in the drawn controls. The folding method stays the same. Use broad marker stripes on the front if your child has already lost interest in gluing individual shapes.
A short robot for younger makers
Use a squat carton and 3 × 16 cm strips. An adult makes the arms while your toddler decorates the body. Fewer folds and shorter arms make this version easier to carry without dragging it across the table.
A dinosaur caretaker
Park the robot beside the paper-plate dinosaur that rocks. Your child can give it a caretaker job or introduce a very unlikely friendship. The dinosaur moves as a whole body; this robot gets its movement from folded paper arms.

Store the arms without flattening them
Bring both arms close to the body, then place the robot in a shallow open box. Do not squash the accordion stacks completely or wedge the hands beneath other crafts. A small envelope beside it can hold spare control shapes and repair tabs.
Lift the finished robot by its carton. Pulling one hand to move the whole robot puts every paper join under strain. When a strip tears, make a fresh arm; taping through several folds can leave a stiff section that no longer opens.
Reuse clean paper offcuts for smaller decorations. For an activity that starts with those scraps rather than an empty carton, making recycled paper with kids turns them into a completely different project. Save that wet session for another day.
Box robot craft questions
What kind of box can I use for a toddler robot craft?
Use a clean, empty carton with a flat, securely closed base. A short, broad box is easier to keep upright than a tall narrow one, especially once arms are attached.
How do you make accordion paper arms?
Cross two equal-width strips at their ends, glue the overlapping square and fold the strips over one another in alternating order. Glue the final ends, then gently open the square stack.
Can I make this robot without a glue gun?
Yes, this version uses a glue stick for flat paper and tape for the stronger shoulder attachments. Hold the arms on the table while the glued end squares dry.
Are bottle caps needed for the robot’s buttons?
No, draw the controls or use broad flat paper shapes. They are lighter, easier to attach and avoid adding small hard pieces to a preschool craft.
Can my three-year-old fold the arms?
They may enjoy alternating a few folds with your help holding the stack square. You can also make the arms yourself and let your child choose colours, draw the face and press the front panel down.

Leave a Reply