
A nature project with a proper waiting stage
Toddler Nature Craft: Pressed-Flower Bookmarks
Press a few small flowers, arrange the dry shapes on card, and cover them with clear book film. This is a two-session project, not a promise that fresh petals will be ready after lunch.

A flower can look flat until you put it inside a book and discover its center is doing all the lifting. Small, thin flowers are easier to work with than a thick garden handful. Choose six, leave space between them, and keep the rest of the afternoon free of petal confetti.
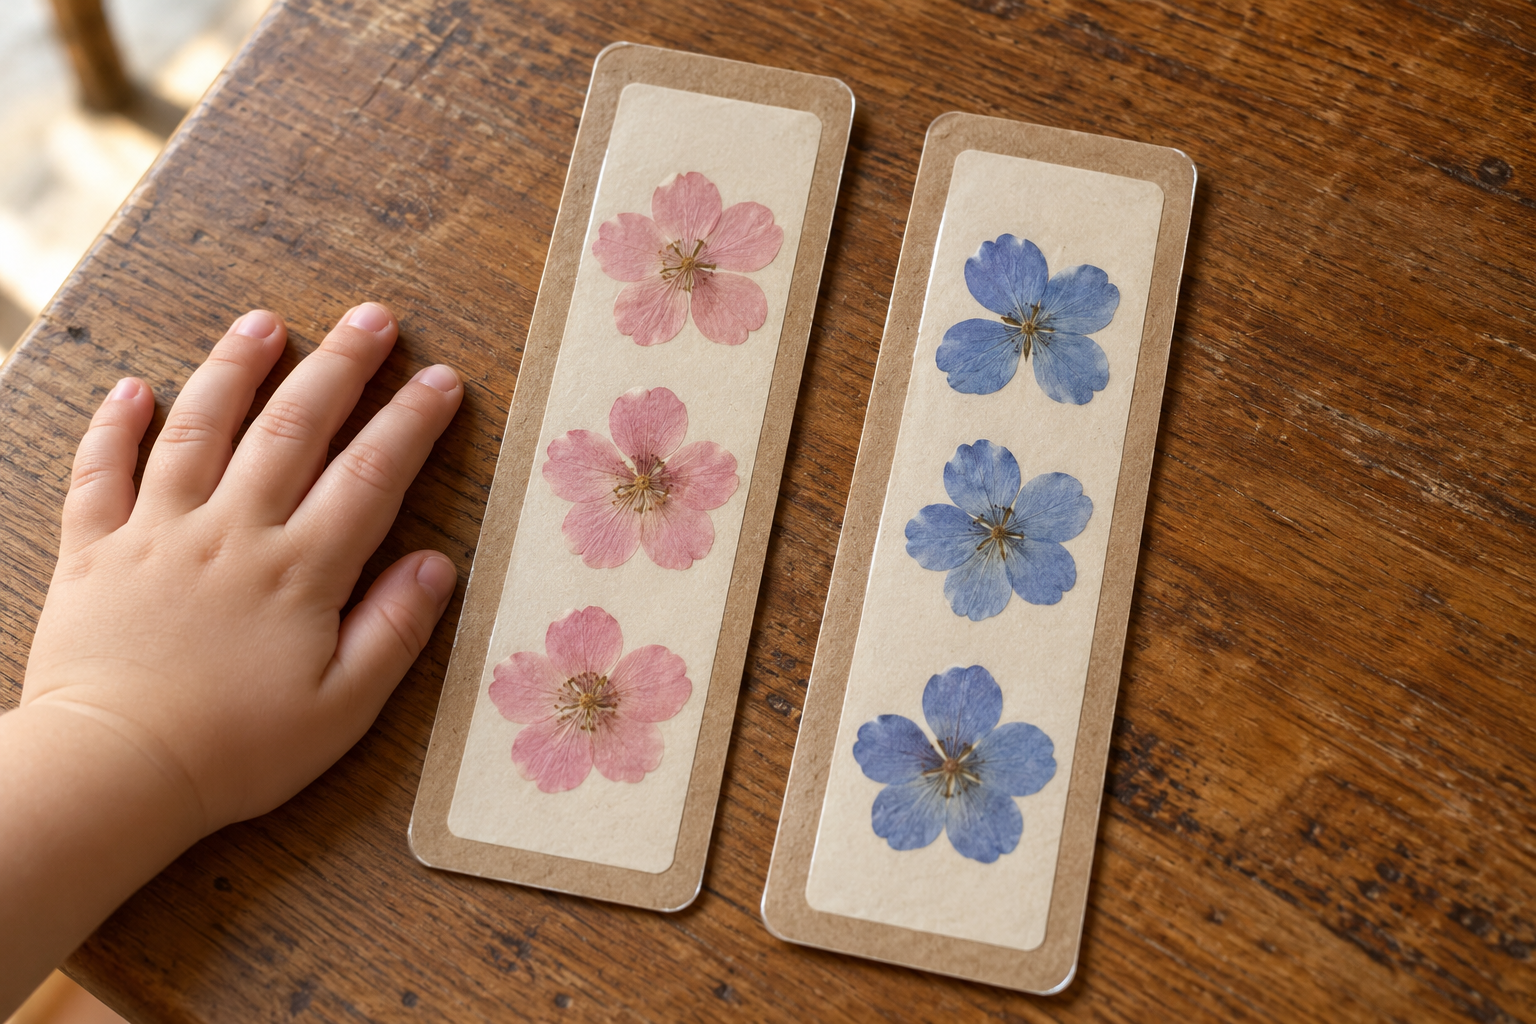
This toddler nature craft turns those pressed flowers into two useful bookmarks. Your child chooses the arrangement; you prepare the press, check dryness and handle the sticky covering. There are no tiny punched holes, tassels or dangling beads to add afterward.
Press small, surface-dry flowers between absorbent paper and cardboard under a closed book. Wait until they are completely dry and papery, then arrange three on each card bookmark. Adults lower clear adhesive book film over the flowers and trim it flush.
Choose a small collection you are allowed to use
Use a few flowers from your own garden or another place where you have permission. An adult chooses familiar plants suitable to handle and keeps unknown plants out of the activity. This is a craft, not a foraging lesson, and nothing collected goes into mouths.
Choose small, thin, fairly flat flower heads. Remove bulky stems before pressing. If a flower has a thick center, use a few individual petals instead; the finished design does not need to preserve every flower as a perfect specimen.
The recycled-paper tutorial offers another way to make a nature-colored paper surface. For these bookmarks, begin with firm, dry card. Damp handmade paper is not ready for a clear adhesive covering.
Supplies for two bookmarks
Prepare the press first; prepare the bookmark pieces while the flowers dry.
- Six small, thin flower heads, roughly one inch across, or a few flat petals for each bookmark
- Four sheets of plain absorbent paper, with extras for replacing damp sheets
- Two corrugated cardboard rectangles, about eight by ten inches
- One heavy closed book an adult can place safely on the low press
- Two firm kraft-card strips, each two by seven inches
- Two cream-paper strips, each one and a half by six and a half inches
- Two pieces of clear self-adhesive book-cover film, each slightly larger than a bookmark
- A glue stick and adult scissors
The example uses pink and blue flowers to keep each bookmark simple. Your flowers may fade or change color during pressing. A faded petal is still a perfectly good shape.

Press in a dry, low, out-of-the-way spot
- Check the surface moisture.
Let rain or dew dry before making the press. Lay the flowers out where an adult can inspect them. Do not trap damp plant material just because the cardboard is ready.
- Build the lower layers.
Put one cardboard rectangle on a stable low surface, then add two absorbent paper sheets. Keep the paper smooth. Avoid a precious book as the surface touching the flowers; plant moisture can mark paper.
- Arrange without overlaps.
Lay the six flowers face-up, separated by space. Spread folded petals gently without pulling them apart. If one flower will not flatten easily, use separate petals for that spot.
- Close the sandwich.
Add the remaining absorbent sheets and the second cardboard rectangle. An adult lowers the closed book onto the stack. Keep the weight flat and away from edges or places a child might pull it down.
- Check the paper the next day.
An adult lifts the weight and checks for damp sheets. Replace damp paper gently without tugging stuck petals. Return the layers to the press and keep them in a dry place.
- Wait for a dry, papery feel.
Begin checking after about a week, but allow longer for thicker flowers or humid conditions. The center must feel dry too. Do not seal a flower that still feels cool, soft or moist.

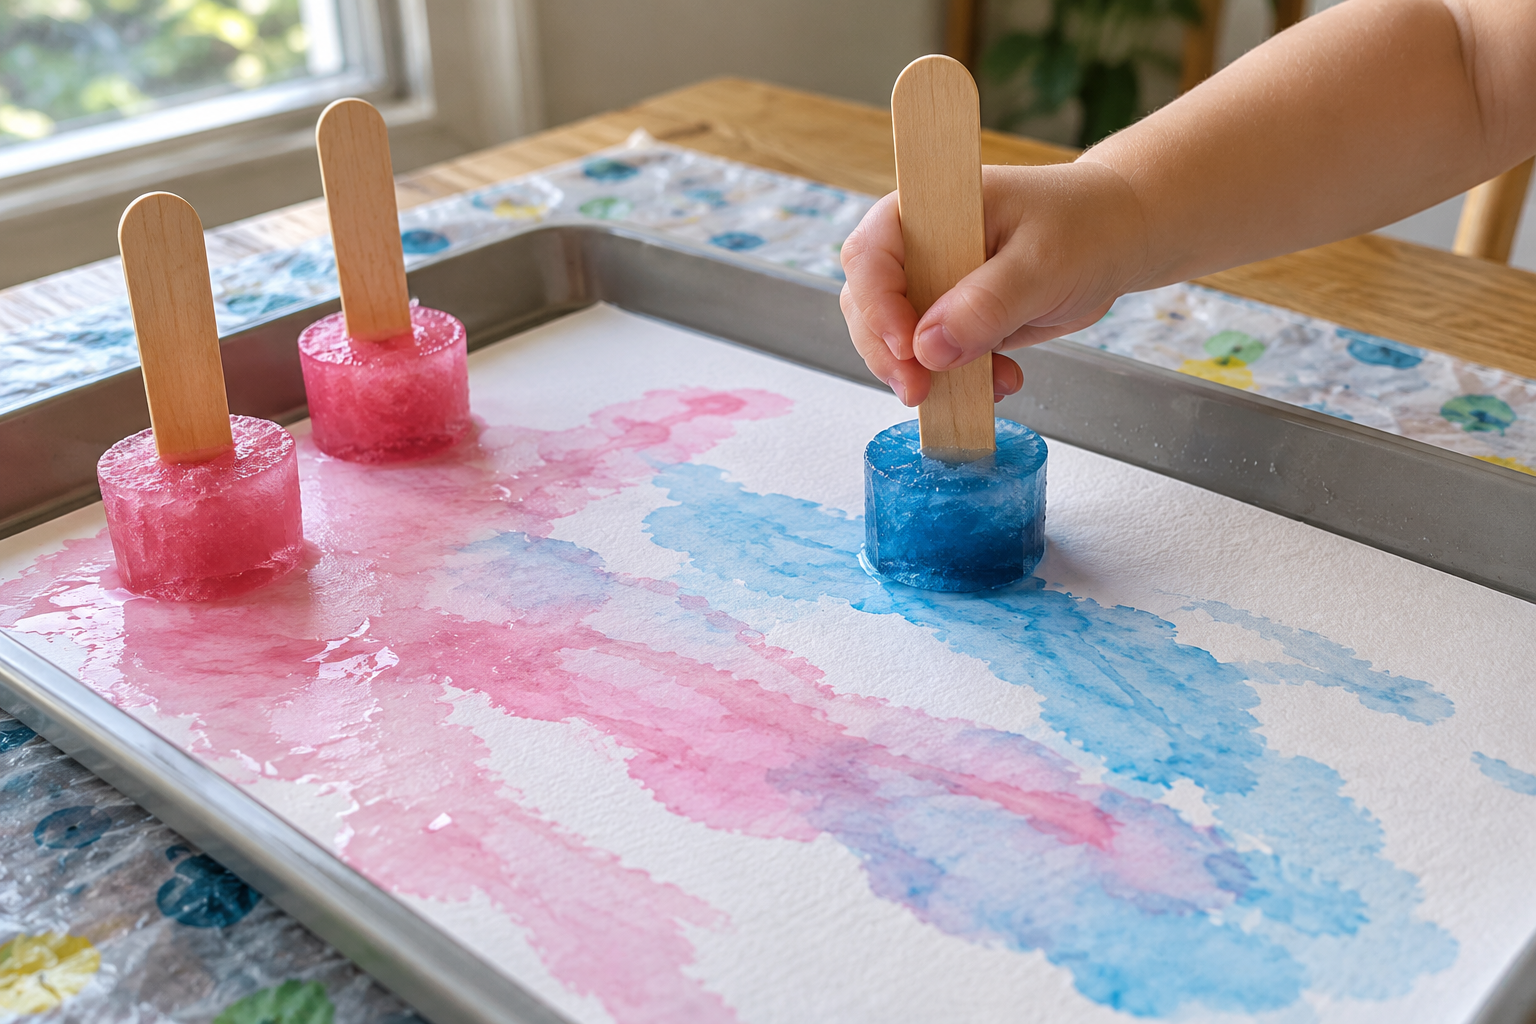
During the wait, the frozen-paint summer project can make loose colored papers for another day. Keep its wet tray entirely separate from this press. Flowers need the dry corner of the table, not the splash zone.
Arrange the bookmarks before peeling anything sticky
- Prepare the card.
An adult rounds the bookmark corners slightly. Glue a cream strip in the center of each kraft strip and press it flat. Let the glue grip before arranging delicate flowers.
- Place three dry flowers.
Leave a little space between them and a clear border around the cream paper. Let your child choose the order without adhesive. Take one arrangement at a time to the covering stage.
- Lower the clear film.
An adult peels a small section of backing and starts at one short edge. Lower the film slowly while smoothing toward the other end. Press around the flowers rather than rubbing hard across their centers.
- Trim and test.
Trim the film flush with the card using adult scissors. Check for lifting corners and press them down. Try the bookmark in an ordinary book; it should lie flat without a thick raised lump.
This is a paper bookmark with a protective front, not a waterproof resin object. Keep it dry. If a flower remains too bulky, save that one for a display instead of forcing a book to close around it.
Small repairs before you cover the second bookmark
Petals stick to pressing paper
Lift a paper corner carefully and support the petal underneath. Do not yank the stem. Use an undamaged petal if the flower tears.
The center is still soft
Return the flower to fresh dry paper in the press. Give it more time. Clear film is not a shortcut for drying.
The flower changes color
Keep the shape as part of the design or choose a different dry piece. Do not add water to restore the color. Natural materials will not all retain their fresh shades.
Film catches a wrinkle
Stop smoothing before it spreads. If the film cannot be lifted without tearing the design, keep that bookmark as the practice one. Start the next piece from a single short edge.
A flower moves under the film
Work on a flat surface and lower the covering slowly. Leave more space around the next arrangement. A slightly crooked flower does not need to be recentered at the cost of torn petals.
The bookmark bends
Use firmer card for the base. Let the cream-paper glue dry before covering. Replace a badly curled strip rather than adding more wet glue underneath.
Save the arrangement, not every loose petal
Put spare dry flowers in a flat adult-managed envelope. Clear the tiny scraps after making. A full handful of brittle flowers tipped into a craft drawer becomes surprisingly effective confetti.
The fold-out back-to-school book gives your child another place to keep small drawings. Leave its folding creases clear of flowers and film; a stiff sealed bookmark should not become a hinge.
If your child would rather move pieces around than preserve an arrangement, the felt story board is reusable without adhesive. Choose it for repeated rearranging, and the bookmark for one finished design.
Individual-petal stripes
Use thin dry petals instead of whole heads. Arrange three small groups along the cream strip. Keep the groups clear of the trimming line.
A single-flower bookmark
Use one small flower near the top and leave the rest blank. Add a crayon line before covering if wanted. A simpler arrangement is easier to seal smoothly.
A flat display card
Use a wider card for flowers that do not fit the narrow strip. Keep the same dry-material and slow-covering method. Display it instead of putting it between book pages.
Pressed-flower craft questions
What nature craft can a toddler make with flowers?
Your child can arrange pressed flowers on card for a bookmark or display. Adults prepare and check the press. Use a small collection rather than an overflowing handful.
How long do flowers need in a book press?
Begin checking after about a week and allow longer when needed. Thickness and room conditions change the timing. The whole flower must feel dry and papery before covering.
Can you cover fresh flowers with sticky film?
Use completely pressed, dry flowers for this project. Fresh material contains moisture and does not lie as flat. Dry it first rather than trapping it under the covering.
Do pressed-flower bookmarks need a laminator?
No heated laminator is used here. Adults apply clear self-adhesive book film to the front. The result still needs to stay dry.
What if the flower is too thick for a bookmark?
Choose individual dry petals or a flatter flower. Keep a bulky specimen for a display card. A bookmark should not make the book gape open.



Leave a Reply