
Use the carton shape instead of fighting it
Toddler Crafts Using Egg Cartons: Flowers, Frames and More
Choose a row of cups for a caterpillar, separate cups for flowers, or a sturdy lid for a collage surface. Make the flower frame below when you want a project with cutting, painting, arranging and a proper drying break.

An egg carton already contains a collection of useful shapes. The cups can become shallow blossoms, a connected row can stay an animal body, and a flat lid can support a small picture. The trick is choosing the section before somebody paints the entire carton purple.
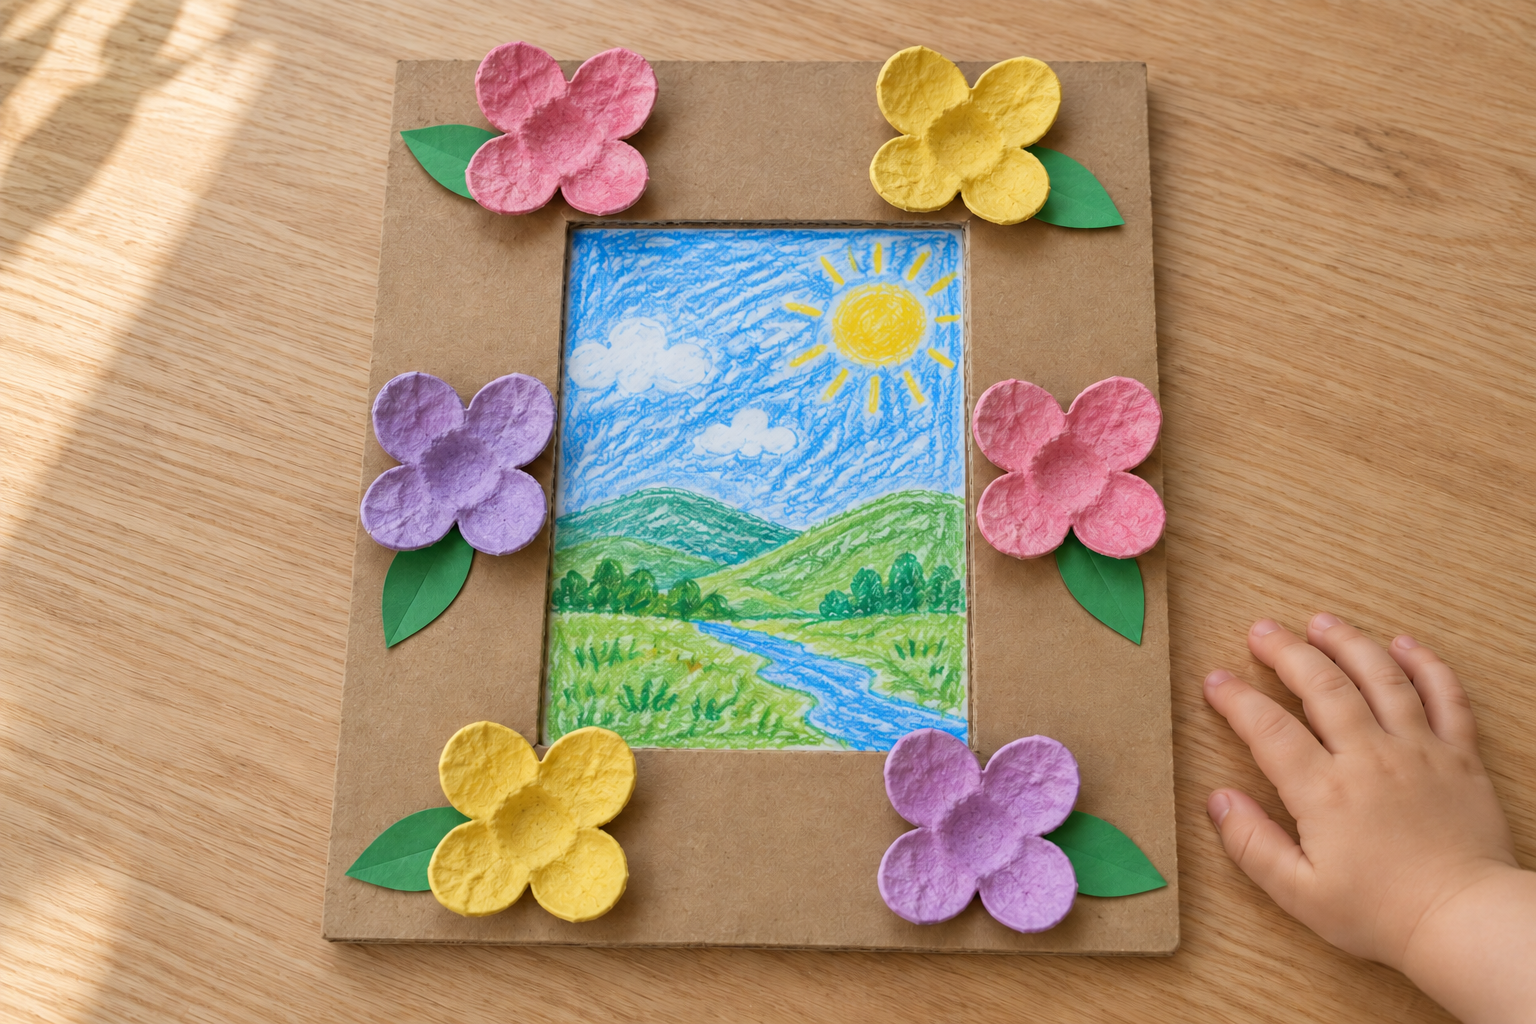
These toddler crafts using egg cartons give you a choice of structure rather than a pile of tiny decorative ideas. The flower frame is the full new tutorial here. It uses six individual cups on a firm cardboard border, with your child’s drawing taped behind the opening.
Use dry paper-pulp cartons for these cutting-and-painting projects. For the frame, trim six cups into shallow four-petal flowers, paint and dry them, then glue them around an eight-by-ten-inch cardboard border. Tape a small drawing behind the central window after the flower joins have set.
Choose the carton section first
Keep a connected row for an animal
The egg-carton caterpillar keeps several cups joined together. Choose that tutorial when your child wants a character and you have an intact row. Do not separate every cup before deciding.
Separate cups for raised flowers
The frame below uses each cup as a flower center and its trimmed walls as petals. The carton texture stays visible under a light coat of paint. These blossoms need a flat backing; they are heavier than ordinary paper petals.
Keep the lid for a small collage
A flat, firm lid can hold torn paper shapes or a crayon picture. Trim projecting catches before setting it out. If the lid is too lumpy, use flat cardboard instead of promising your toddler a drawing surface with an inconvenient mountain in the middle.
Supplies for one six-flower frame
Make a frame for a drawing, without glass or hanging hardware.
- Six cups from a clean, dry paper-pulp egg carton
- One firm cardboard rectangle, eight by ten inches
- One small drawing on paper, five by seven inches
- Six green paper leaves, each about two by one inch
- One teaspoon each of pink, lilac and yellow washable craft paint, plus a little extra if needed
- One paintbrush, a paint dish, and a washable table covering
- About one tablespoon of white craft glue in a small dish
- Four short pieces of clear tape
- A pencil, ruler, and adult scissors
Choose a carton without dampness, food residue, or damaged sections. Plastic cartons do not cut, paint or glue like paper pulp. Use fresh craft card rather than trying to soak a dirty carton clean.

Cut and paint the pieces in two sessions
- Prepare the cardboard border.
An adult marks a centered four-by-six-inch window inside the eight-by-ten-inch rectangle. Cut out that center, leaving a two-inch border on every side. Adults can begin with a small scissor opening inside the waste section, keeping the outer frame intact.
- Separate the cups.
Cut around each cup with extra material at first, then trim the rough joins. Keep each shallow base intact. Remove pointed scraps and ragged edges before handing the pieces over.
- Shape four broad petals.
Trim each cup wall to roughly half an inch high. Make four short cuts down toward the base, stopping before the flat center. Round the top of each resulting section into a petal.
- Check the flower footprint.
Open the petals gently until the blossom is about two inches across. Place it on the frame border without glue. Trim an especially wide petal if it reaches far into the window.
- Paint in light coats.
Paint two blossoms pink, two lilac and two yellow. Work the brush around the cup curve without filling its center with paint. Rest the flowers on the covered surface while they dry.
- Make the picture during the drying break.
Let your child draw on the separate five-by-seven-inch sheet. Keep it away from the wet flowers. Before assembly, check that the painted cups feel dry and follow the paint’s drying guidance.

For a picture made with repeated shapes, the reusable foam stamps can make the center artwork in a separate session. Let that page dry flat before it goes behind the frame.
Arrange first, then glue
- Lay out six flowers.
Keep the frame flat and arrange two flowers along the top border, two along the bottom, and one on each side. Leave the window mostly clear. Turn the cups until their bases sit against the cardboard.
- Add flat leaves underneath.
Slip one green leaf beneath each blossom with its tip showing beyond the petals. Glue the leaves to the cardboard first. Keep them on the border rather than covering the picture opening.
- Attach the dry blossoms.
Put a small patch of white craft glue under each flower base and press it onto the border. Avoid filling the whole cup with glue. Leave the frame flat and follow the glue’s setting instructions; allow overnight before lifting if the joins still feel soft.
- Tape the drawing behind.
Once the flowers hold, turn the frame carefully onto a soft folded towel. Center the drawing face-down over the back of the window and tape its four edges to the border. Return the frame face-up for a flat display.
Do not use this as a handheld photo prop while the glue is damp. The carton blossoms need their own setting time, even when the paint underneath is already dry.
For an entirely paper decoration with lighter overlapping pieces, the paper-plate wreath tutorial uses leaves attached by their bases. Its lighter construction is useful to compare before choosing a backing for heavier carton flowers.
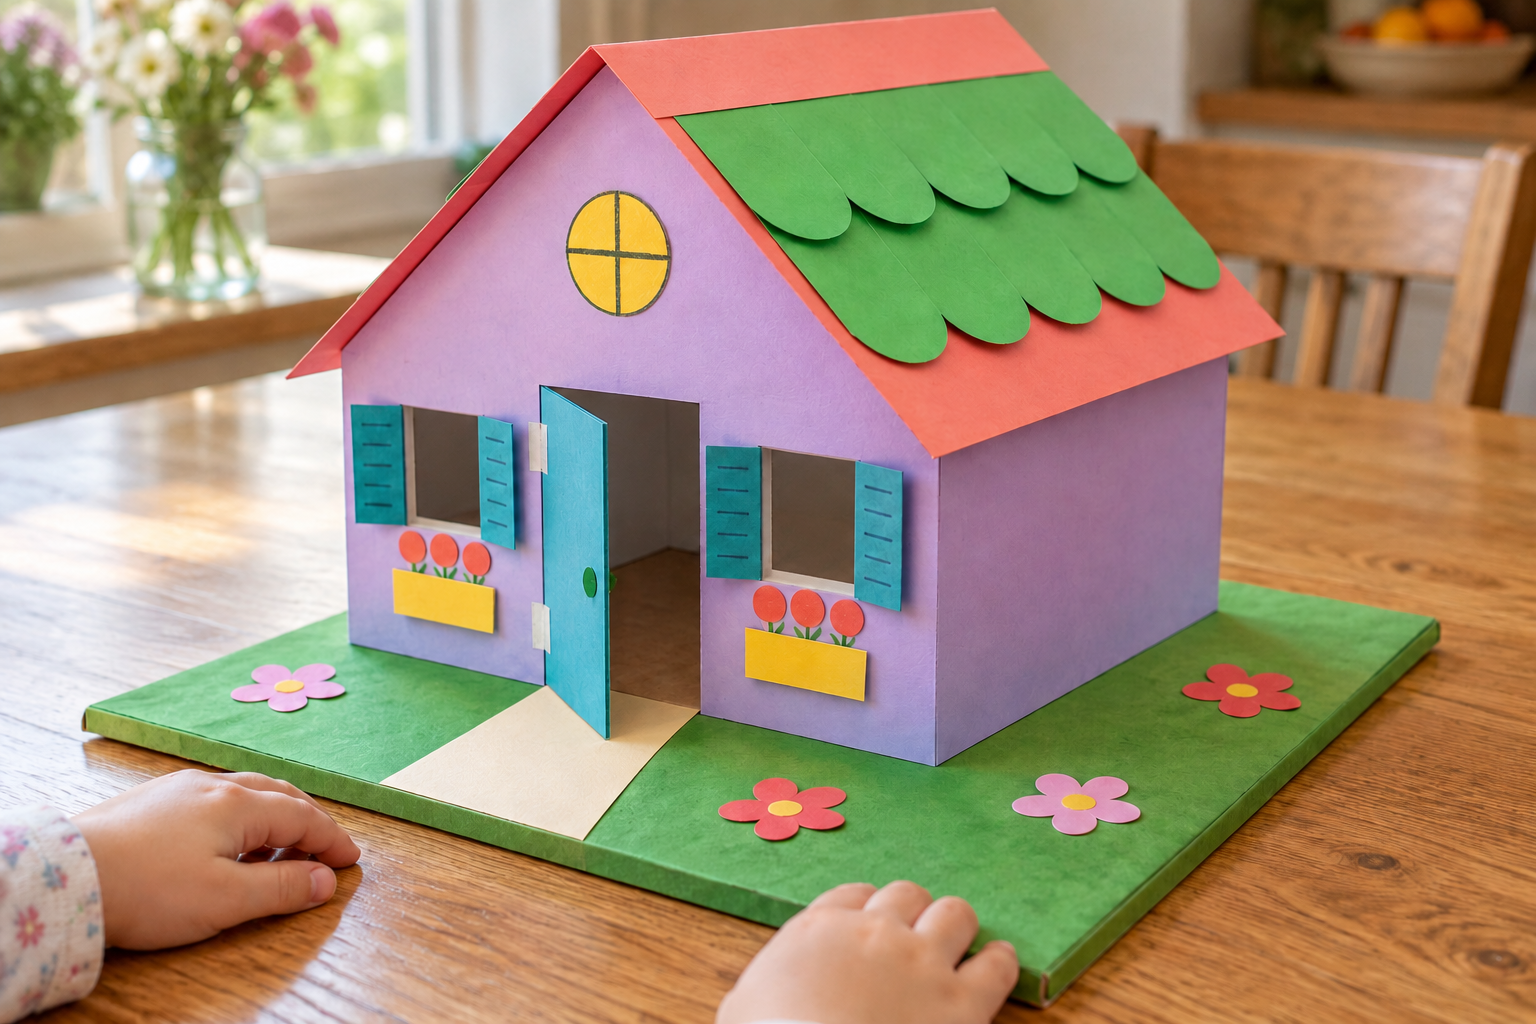
Put the frame beside the construction-paper house as a display of the day’s work. Keep the flowers on their flat backing; the folding house needs flexible walls.
Fix the base or the join
A flower will not sit flat
Check the outside of its base for a ragged projection. An adult can trim the projection carefully. Rotate the flower to find the broadest contact area before adding glue.
The paint stays wet inside
Spread a pooled patch thinly with the brush. Leave the cup open to dry rather than stacking it inside another. Use less paint on the next flower.
A petal tears off
Keep that blossom with three petals or cut another cup. Stop the petal cuts before the base next time. Repeatedly bending a wet pulp petal is likely to weaken it.
The flowers slide
Return the frame to a flat surface and press the bases onto small glue patches. Wait before moving it. More glue around the petal tips will not repair a poorly attached base.
The picture is hidden
Move the flowers outward during the dry arrangement. Keep their bases centered on the two-inch border. Trim a broad leaf instead of cutting the drawing to fit a shrinking window.
The border bends
Choose firmer cardboard or glue a second matching border behind it before decorating. Let that laminated border dry flat. Thin printer paper cannot carry six raised carton flowers reliably.
Make a small gallery from the saved materials
If your pile contains more tubes than carton cups, the cardboard-tube craft guide includes a castle with curved tower joins. That structure uses folded tabs and tape instead of these broad glued flower bases.
Three frame variations
A two-color border
Paint three flowers in each of two colors. Keep the same six-flower arrangement. Lay them out before deciding whether to alternate or group the colors.
A drawing you can change
Keep the tape pieces accessible on the back. Replace the picture after removing the old tape gently. Do not glue the whole drawing down if you want to swap it later.
A flat carton-lid picture
Skip the window and use a firm flat lid as a small art panel. Attach just a few painted blossoms around a drawing area. Check the lid’s shape before choosing where the picture will go.
Egg-carton craft questions
What toddler crafts can you make using egg cartons?
Keep a row joined for a caterpillar or separate cups for painted flowers. A firm flat lid can support a collage. Choose the section before cutting the whole carton apart.
Which egg cartons work for painted flowers?
Use dry paper-pulp cartons with intact cups. Plastic versions behave differently and are not the material for this tutorial. Replace dirty or damp cartons with clean craft materials.
How do you cut egg-carton flowers?
Adults trim a shallow cup and make four short cuts toward its base. Round the resulting sections into petals. Stop before the center so the flower stays in one piece.
What glue holds egg-carton flowers to cardboard?
White craft glue works on broad, dry pulp bases and firm cardboard. Use small patches and follow its setting instructions. Keep the frame flat until the joins hold.
Can you put a photo in this frame?
You can tape a suitably sized photo behind the window once everything is dry. The example uses an original drawing instead. There is no glass or separate stand in this version.





Leave a Reply