
Six bumps, one very hungry paintbrush
Toddler Caterpillar Craft with an Egg Carton
Your toddler gets to paint a whole row of bumpy carton cups. You handle the awkward cutting, then turn the dry row into a caterpillar with a drawn face and broad paper antennae. No threading tiny beads. No fishing a googly eye out of the glue.

There is a satisfying amount of actual making here: trimming a lumpy carton into a stable row, getting paint into the dips without flooding them, and persuading two paper antennae to stand up. Your toddler can do the painting and press the paper pieces while you deal with the carton’s stubborn corners.
Use a clean, unused carton from a craft supplier rather than one that held raw eggs. Pick paper pulp, not shiny plastic or foam. You want the sort with recognizable cup-shaped bumps and a connected ridge between them; those ridges are what keep the creature together.
Our low-mess toddler craft ideas are handy when you want to skip wet paint entirely. This project earns its tray: the bumpy surface is the bit your toddler gets to explore, not an obstacle you need to smooth away.
Supplies for one caterpillar
Prepare the connected carton row before handing over the paint.
What to gather
- 1 clean, unused molded-paper egg carton with at least 6 connected cups in a row
- 1–2 tablespoons washable green paint suitable for your child’s age
- 1 wide paintbrush and 1 shallow paint dish
- 1 sheet green construction paper, about 9 × 12 inches
- 2 green paper antenna strips, each ½ × 2 inches, cut from that sheet
- 1 teaspoon child-appropriate white craft glue, used in small dabs
- 1 black washable marker
- Adult scissors, a protected tray, and a damp cleanup cloth

Turn six carton cups into one caterpillar
- Cut out one connected row. An adult removes the lid and cuts around six cups along one side of the carton. Leave the bridges between neighboring cups intact. Trim away tall divider points and ragged outer edges so the row rests evenly when turned upside down. Do this before your toddler sits down; carton scissors are nobody’s relaxing warm-up.
- Check the landing gear. Set the row on the tray with the six domes facing up. Gently press the ends. If it rocks, trim only the lowest protruding edge a little at a time. Do not cut through a bridge to make it flatter; that turns one caterpillar into six bowls.
- Offer a small puddle of paint. Put one tablespoon of green paint into a shallow dish and add more only as needed. Show one light brush stroke across a dome. There is no water in this paint setup: a wet brush and a flooded carton make a floppy combination.
- Paint the outside bumps. Your toddler brushes each dome and the dips between them. Rotate the tray instead of asking them to reach across wet paint. Leave the underside unpainted. Thin patchy coverage is fine; you can still see where the cups join, which is part of the charm.
- Leave the row to dry. Put it on a protected shelf with the domes up. Check the deepest dips as well as the tops; the tops may feel dry while paint still sits in a seam. Wait until it is dry and firm before adding glue or drawing the face.
- Give the front cup a face. Draw two black eyes and a small smile on one end cup. An adult can make the eyes while your toddler chooses the expression. Skip separate eyes and tiny nose pieces; a marker does the job without adding little loose decorations.
- Attach two broad antennae. Put a small dab of glue on the bottom ½ inch of each paper strip. Press that portion against either side of the front cup so the remaining paper points upward. Hold briefly, then prop with a folded scrap if needed until the glue grips. Do not punch holes in the carton.
- Set it on a leaf. Cut one broad oval leaf from the remaining green paper, roughly 12 inches long if your sheet allows. The caterpillar can rest loose on it. Let your toddler draw leaf lines or a bite-shaped scribble, then leave the glued antennae alone until dry.

The carton does most of the building
Keep the cup row short enough to move without bending. Six cups give you a pleasingly long caterpillar, but three or four work if your carton is especially flimsy. The project uses the carton’s original structure; there is no reason to assemble separate cups with a mountain of glue.
For a three-year-old, offer the row and brush first. Save the face and antennae for later if the painting has used up the available cooperation. “We will give it a face after snack” is a perfectly respectable project plan. The drying gap is real, so there is no need to fill it with extra instructions.
A carton with very deep cups may need a brush with slightly longer bristles. Turn the tray and dab into the valleys rather than adding water to reach them. If your child paints only three bumps, leave the other three grey or finish them together when they ask; a half-green caterpillar is still unmistakably a caterpillar.
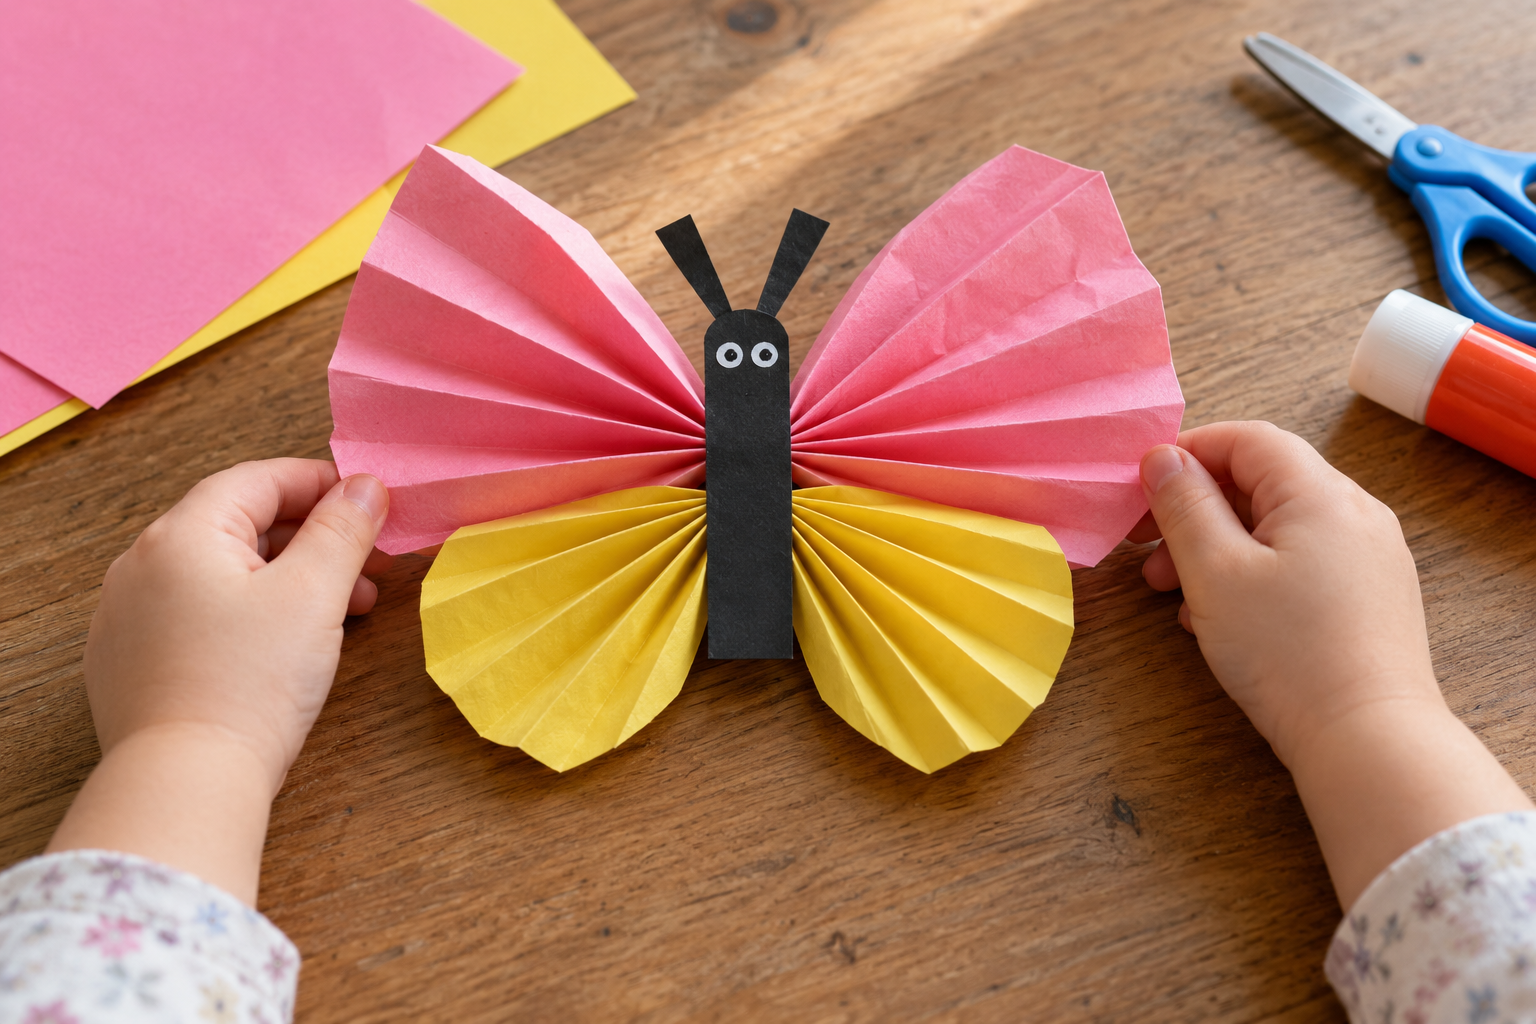
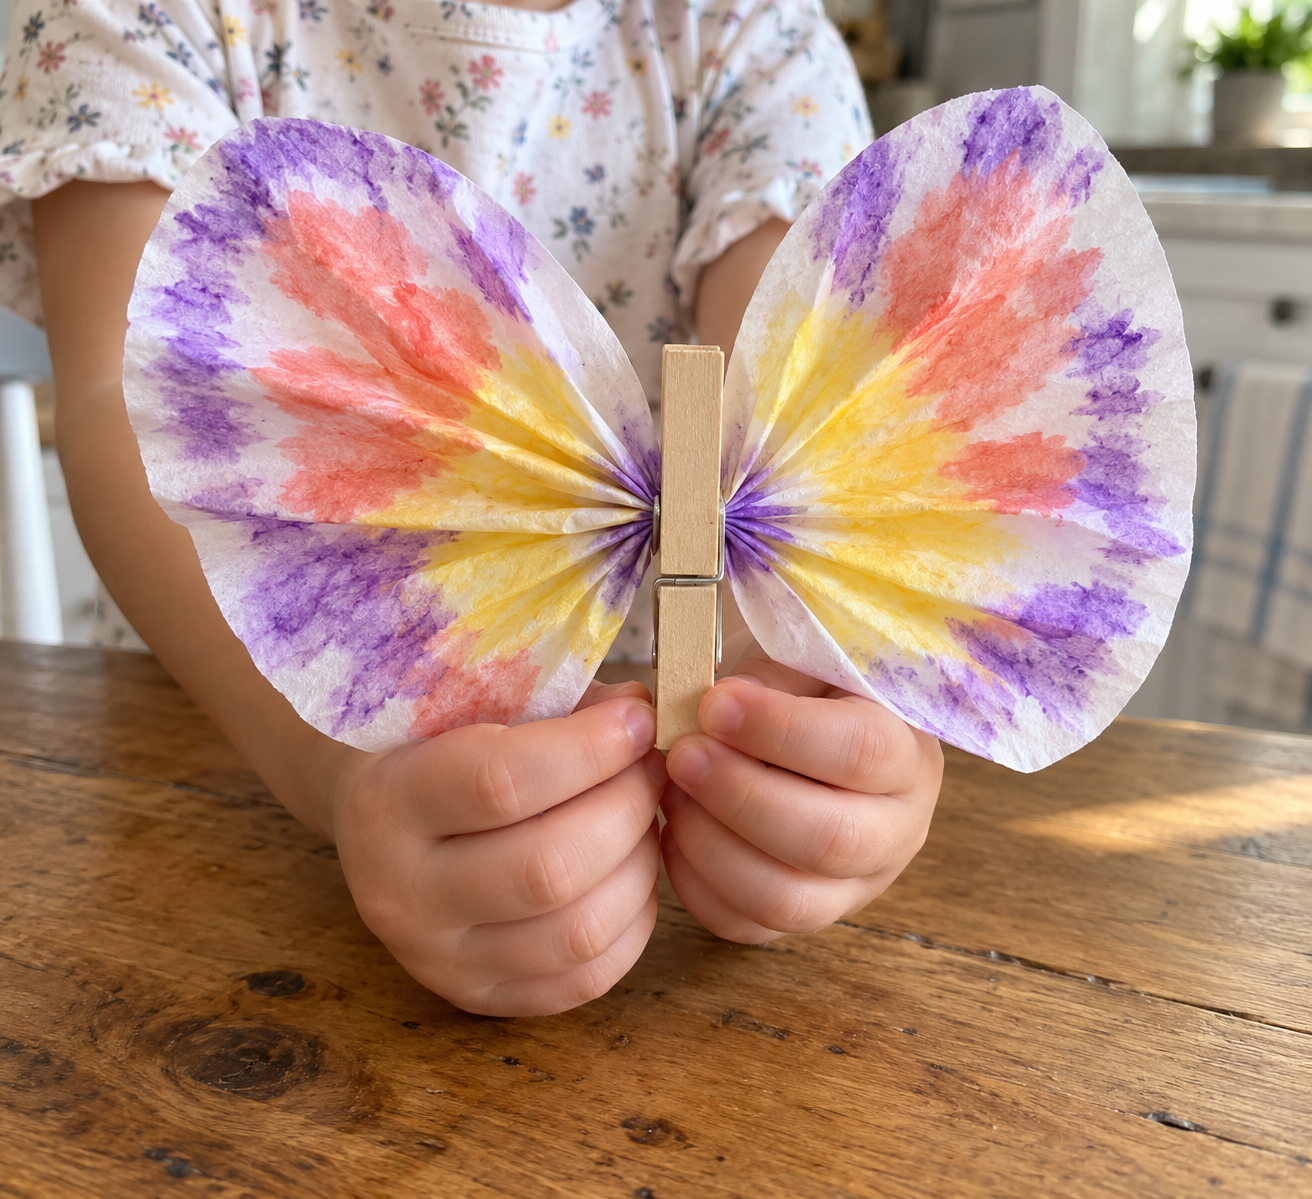
Making a little garden display? Set this sturdy crawler below the butterfly with folded fan wings. The butterfly uses dry paper and a separate folding session, so you can build the two without juggling wet paint and a glue stick at once.
When your caterpillar looks a bit soggy
The carton is getting soft.
Stop painting and let it dry completely before touching it again. Use less paint on the next coat. If a bridge tears or the carton stays misshapen, start with a shorter intact row rather than trying to rebuild wet pulp.
There are grey patches in the dips.
Once the first coat is dry, dab a small amount of paint into those spots with the brush tip. Do not pour paint along the seam. Grey flecks are also fine if your child has declared the creature finished.
The antennae keep falling.
Check that the carton is dry and use a broad glue contact area, not just the strip’s tip. Shorten each strip to 1½ inches if the paper is thin. Prop the strip with a scrap while the glue sets.
The row wobbles on the table.
Look underneath for an uneven rim or remaining divider point. An adult trims the protruding bit when the paint is dry. Avoid pushing down hard on the domes; crushing a cup cannot be undone.
Three ways to make it your own
Rainbow bumps
Offer two or three paint colors in separate small dishes. Let your toddler choose different bumps rather than requiring a pattern. Rinse and thoroughly blot the brush between colors, or offer separate brushes.
A short caterpillar for a shorter session
An adult cuts a row of three connected cups. Keep the same face and broad antennae, with less carton to cover. Your toddler still gets the full paint-and-finish process without a long stretch of repeated brushing.
A garden with a secret
Add the ladybug whose wings open to reveal a picture beside the leaf. It uses paper flaps rather than carton, and the hidden drawing gives your child something to show a visitor after the caterpillar is dry.

Give it a dry landing spot
Do not put the painted row straight into a storage box. The narrow spaces between cups need air, and a closed box can leave damp areas soft. Let it sit on the tray until the paint, carton, and antenna glue all feel dry; thick paint or humid weather may push finishing into the next day.
Wipe the dish before the paint dries hard, rinse the brush, and fold the used tray liner inward. Keep the carton dry during later play. It is a paper craft, so a trip through the bath or a heavy toy parked on top will shorten its career considerably.
For a different animal that also starts with a painted base, the paper-plate lion’s broad paper mane shows another way to attach large paper pieces after drying. Save that for another day rather than turning today’s paint dish into an entire zoo.
Questions you might actually have
What kind of egg carton works for a toddler caterpillar craft?
Use a clean, unused molded-paper carton with connected cups. Plastic and foam cartons behave differently with paint and glue, so they are not the base for this method.
Can I make the caterpillar without pipe cleaners?
Yes; this version uses two broad paper antenna strips. Glue the lower portion of each strip against the front cup, and shorten the paper if it droops.
Should I cut the egg cups apart?
No, keep one row connected. The existing bridges hold the caterpillar together and remove the need to glue separate cups into a body.
How long does egg-carton paint take to dry?
Check the actual carton rather than relying on a timer. A thin coat may dry within a few hours, but thick paint in the dips can need overnight; wait until those areas are firm and dry.
Can a 3-year-old make this craft?
Your child can brush the domes and help press on the paper antennae. You handle the tough carton cutting, check the glue attachments, and split painting and finishing into two sessions if that suits your afternoon.

Leave a Reply