
A little flap, a big reveal
Toddler Ladybug Craft with Wings That Open
This paper ladybug hides your toddler’s drawing beneath two red wings. The spots are easy; the useful trick is attaching each wing with a short tape hinge so it opens instead of becoming a permanently glued sandwich. You cut the circles, and your child supplies the secret picture.

A paper fastener is a common way to make moving ladybug wings, but this version uses tape and broad paper pieces. The wings lift forward rather than swivel sideways. That means your toddler can hold the bottom edges, open both flaps, and announce the picture underneath as though they have invented the reveal themselves.
There are three layers to keep straight: black body, yellow secret picture, red wings. Only the first two get glued together. If glue goes under the red wings, the secret becomes considerably more secret than intended. Set the glue stick aside before starting the hinges.
For another project where you join paper around a large base, the paper-plate lion tutorial explains attaching a broad mane. Here, the attachment needs to stay flexible, so you will use tape at the wing tops instead of gluing around the outside.
Supplies for one ladybug
Keep the two red halves loose until you are ready to hinge them.
What to gather
- 1 black cardstock body circle, 6 inches across
- 1 red lightweight-paper circle, 6 inches across, cut into two equal semicircles
- 1 black paper head circle, 2 inches across
- 1 yellow paper rectangle, 2 × 3 inches, for the hidden drawing
- 1 pale-green cardstock backing sheet, about 9 × 12 inches
- Clear tape: 2 pieces about 1½ inches long for hinges, with spare tape for repairs
- 1 child-appropriate glue stick
- Black washable marker and crayons, including white for the eyes
- Adult scissors and a bowl or plate about 6 inches across to trace

Make wings that really open
- Trace and cut the circles. An adult traces a 6-inch black circle and a matching red circle, then cuts both out. Fold the red circle lightly in half to find its middle and cut along that line into two semicircles. Cut a 2-inch black head and the yellow rectangle. Keep scissors and the little offcuts out of the child’s work area.
- Make the secret drawing first. Give your toddler the yellow 2 × 3-inch rectangle and crayons. Anything goes: a tiny picture, a scribble, or a determined patch of one color. Keep the drawing flat. Bulky glued decorations underneath make the wings sit unevenly and can catch when opening.
- Fix the drawing to the body. Glue the yellow rectangle in the center of the black circle, with its 3-inch side running vertically. Leave a clear black border around it. Press it flat and allow the glue to grip before handling the circle again.
- Add spots while the wings are loose. Place the red halves on scrap paper and let your toddler draw black circles or blobs with a marker. Explain that the straight edges will meet in the middle, but do not insist on matching spots. Drawn marks replace small glued-on dots, which keeps the material list pleasantly short.
- Line up the closed wings. Lay both red semicircles over the black body, straight edges facing each other vertically. Match the curved red edges to the black circle’s rim. Leave a tiny central gap if the halves rub together; overlap makes the opening awkward.
- Make the left hinge. An adult attaches half of a 1½-inch tape piece to the front of the left wing near its TOP curved edge, close to the middle seam. Let the other half project beyond that top edge. Fold that projecting tape over the black body’s matching rim onto its back. Keep the hinge short; the rest of the curved wing edge stays unattached.
- Hinge the right wing separately. Repeat at the right wing’s top curved edge, again near the middle. Each tape piece joins one red flap to the black base, not one red flap to the other. Lift the lower red edges gently to check that both wings open forward. An adult makes any tape adjustment before adding the head.
- Add the head and backing. Glue the 2-inch head behind the top of the body so it extends above the wings. Draw white eyes. Attach the back of the black body to the green backing, keeping glue off the moving red pieces. Let it dry with the wings open, then close them to hide the drawing.

The hinge matters more than the spots
The tape crosses the top rim and folds onto the back. That small flexible bridge is what lets a wing lift. It does not need a hole, a sharp pin, or a long tape strip down the straight edge. Test each flap as soon as you attach it so you can spot a sticky obstruction before adding the backing.
Choose lightweight red paper for the wings and firmer card for the body. A flimsy base bends along with the flap, making the whole ladybug crumple when your child opens it. Thick red card can work, but it may fight the tape crease; ordinary paper is less fussy for this version.
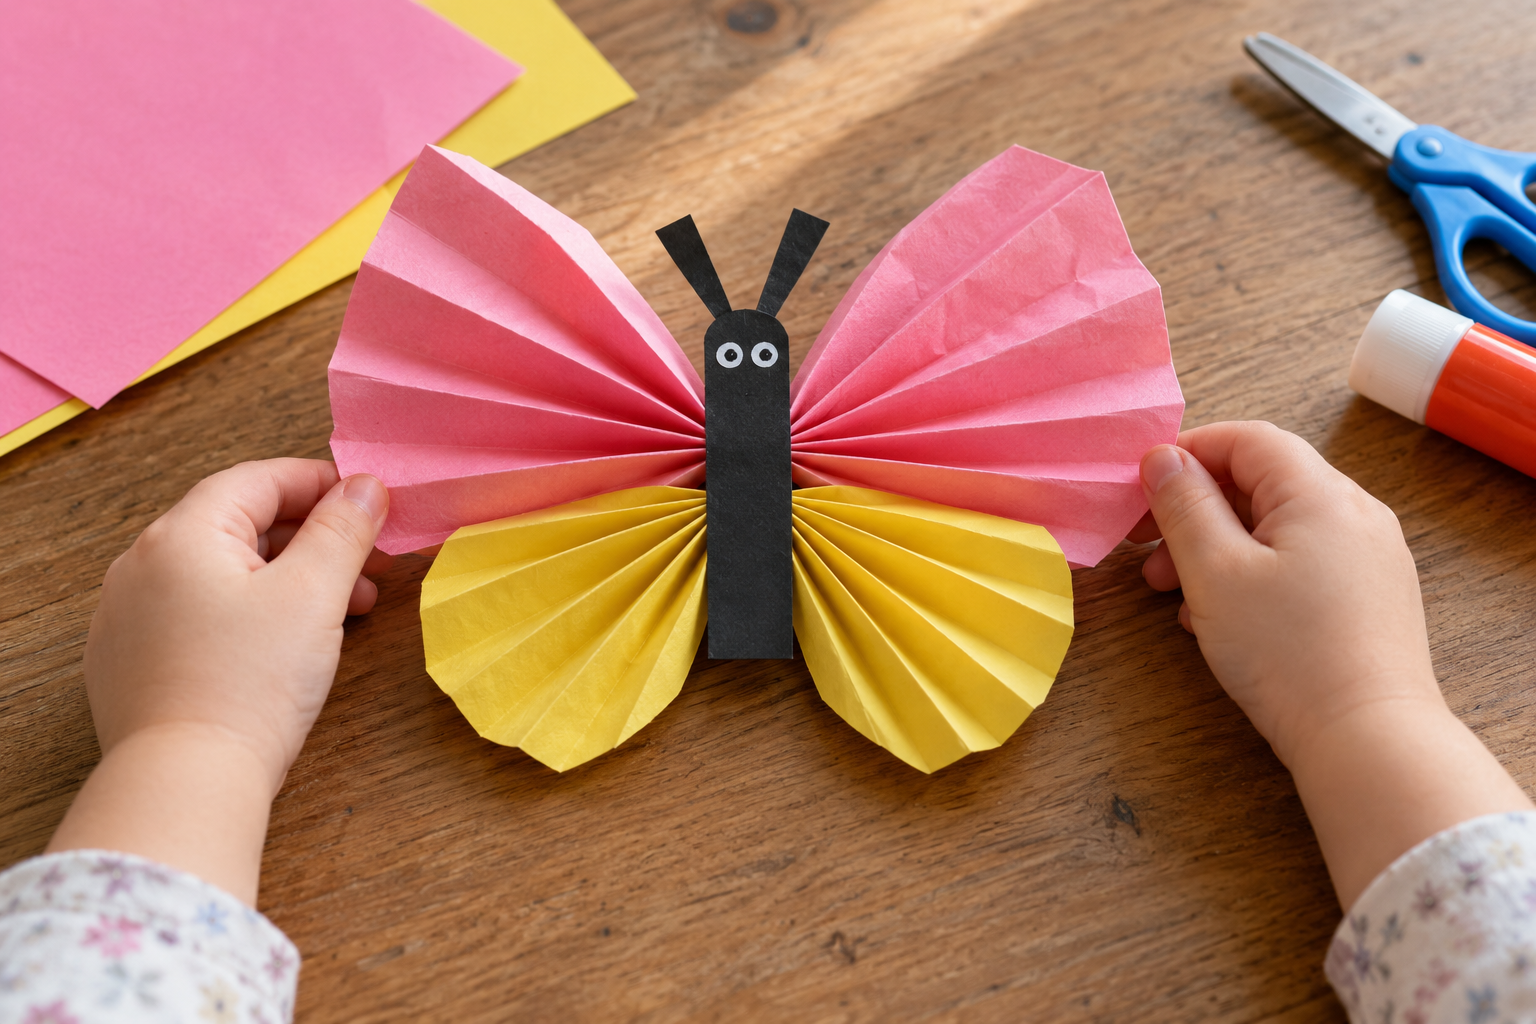
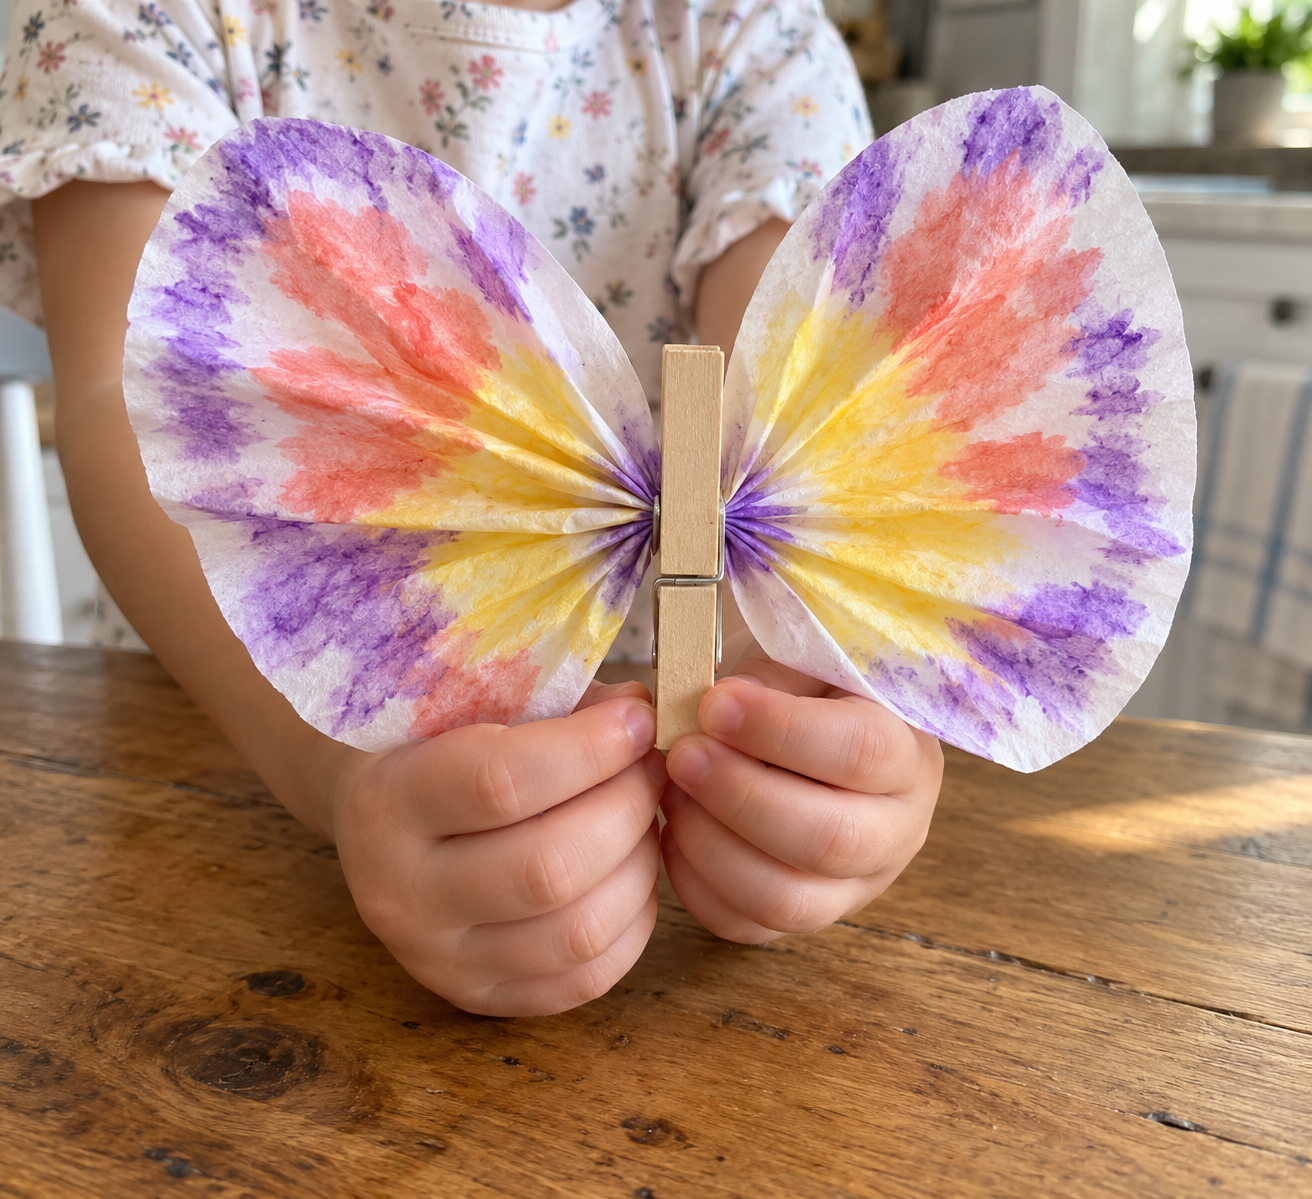
Your butterfly with accordion-fold wings gets its raised shape from pleats rather than hinges. Put the two on one garden picture and the materials make sense together: a sturdy backing, broad paper shapes, and two genuinely different ways for wings to leave the flat page.
Leave space around the lower wing edges. If you mount the ladybug close to a raised decoration or the edge of a folded card, a flap may catch even when its hinge works perfectly. Try opening it once on the actual backing before committing to glue.
When something will not open or stay put
A wing is glued shut.
If the glue is fresh, carefully lift the wing and wipe glue from the contact area before it sets. If dry glue has bonded the paper, replace that red half rather than pulling until the black base tears. The red wings should have tape hinges only.
The wings overlap in the middle.
Lift one hinge carefully and move its wing slightly outward. Aim for straight edges that meet or have a narrow gap. If the circle sizes differ, an adult trims the red curve while the wing is detached.
The tape peels away.
Check that the paper is dry and the tape contacts both red front and black back. Use a fresh piece and press it firmly. Some heavily waxed crayon areas resist tape, so leave the hinge spot uncolored.
The whole body bends during opening.
Use cardstock for the black circle and secure it to the backing. Encourage lifting from the lower wing edge without pulling outward hard. If the base is already creased, mount it flat before testing again.
The secret picture sticks out.
Keep the yellow paper within the black circle, centered beneath the closed wings. Trim it smaller if the red halves do not cover it. Avoid building a thick stack of picture layers underneath.
Three ways to make it your own
A thank-you surprise
An adult writes a short thank-you message on the yellow rectangle beside your child’s drawing. Put the finished ladybug on a folded card with room for the wings to open. This remains the same ladybug build, not a separate complicated card project.
Big scribbles, adult assembly
For a child who wants drawing more than construction, offer the two red wings and secret picture. You handle all the tape and circle alignment. They can press the head onto glue and open the finished flaps once everything is secure.
A garden floor
Place the six-cup egg-carton caterpillar on the table below the finished ladybug picture. Its painted carton body adds a different shape without repeating the wing method. Keep it loose rather than gluing a heavy carton onto the ladybug’s backing.

Dry it open, then close the surprise
Dry the glued pieces with the wings open so stray glue cannot seal the reveal shut. Check the hidden picture and head for movement, then close the wings gently. The tape hinges can handle careful opening, but paper flaps are still paper flaps; pulling one off is a repair job, not a mysterious craft failure.
Replace a torn wing by peeling away its tape and hinging a new red half in the same spot. Keep the black body and secret drawing.
Gather the marker lids and tape scraps, cap the glue, and wipe the table. If your child is still keen on placing colorful paper but you are done engineering moving parts, the contact-paper suncatcher’s sticky surface gives paper a place to land without needing another hinge.
Questions you might actually have
How do you make ladybug wings open without a paper fastener?
Attach each red half at its top curved edge with a short tape hinge folded over the black body’s rim. The lower edges lift forward; they do not swivel sideways like wings attached with a fastener.
Can I use a paper plate instead of black cardstock?
A plate has a raised rim that changes where these tape hinges sit. Use a flat cardstock circle for this method so the wing edges align; save a plate for a separate painted animal craft.
How big should the ladybug circles be?
Both the black body and complete red wing circle start at 6 inches across. Cut only the red circle into two halves, then use a smaller 2-inch circle for the head.
Why do my paper ladybug wings not open?
Check for glue beneath them or tape that joins both red halves together. Each flap needs its own short connection to the black base, with the rest of the edge loose.
Can a 3-year-old help make the ladybug?
Yes; your child can draw the spots and secret picture, press the head, and open the finished wings. An adult cuts the circles and makes the hinges, which are the fiddly part.

Leave a Reply