
Cook a little, cool it fully, make swirls
How to Make Homemade Finger Paint

Mix 2 tablespoons cornstarch with 6 tablespoons cold water, stir into ½ cup hot water and cook gently until glossy. Cool completely before coloring or child use. Make a fresh single-session batch; food coloring can stain.
Homemade finger paint should slide under a finger, not pour off the paper or sit there like cold mashed potatoes. This small cornstarch batch gives you a glossy paint base that an adult cooks first and your child uses only after it has cooled completely.
You need two tablespoons of cornstarch, water and a little optional food coloring. There is no flour, detergent or craft paint in the mixture. That short ingredient list is convenient, but it does not turn the activity into a snack or make the color stain-proof.
Make enough for one session. You are preparing a fresh, unpreserved craft mixture, not a replacement for a shelf-stable bottle. The payoff is a manageable little batch and a texture you can adjust before anyone starts drawing roads through it.
As an Amazon Associate I earn from qualifying purchases. Links marked “paid link” are affiliate links.
Materials for this project
- Large rimmed work trays (paid link)
The listing is a six-pack with nominal 16 × 12-inch outside dimensions. Check usable inside space; one existing tray is enough.

Small-batch homemade finger paint
Cooked Cornstarch Finger Paint
Adult preparation; about three small portions, depending on evaporation and thinning.
Ingredients
- 2 level tablespoons cornstarch
- 6 tablespoons cold water
- ½ cup water for heating separately
- Optional: liquid food coloring, beginning with 1 drop per portion
- Extra cool water for adjusting, 1 teaspoon at a time
Equipment
- Small saucepan and whisk or spoon
- Heatproof mixing cup
- Three shallow heatproof bowls for cooling and coloring
- Clean spoons
- Heavy paper, a washable work tray and old clothes
Expected texture: A smooth, loose paste that spreads into a thin film under a finger. After cooling, add water a teaspoon at a time if it sits in lumps or holds stiff peaks. It will not look or dry exactly like commercial paint.
The starting proportions come from the University of Alaska Fairbanks Cooperative Extension’s cornstarch finger-paint recipe. The directions below separate adult cooking, cooling, portioning and child use so the hot saucepan stays out of the art setup.
Measure level tablespoons rather than heaped spoonfuls. Cornstarch is the thickener here; doubling it because the first cold mixture looks watery changes the recipe before it has had a chance to cook.
Cook, cool and color the paint
- Clear an adult cooking space. Keep your child away from the stove, saucepan and hot-water handling. Put the empty cooling bowls somewhere stable and beyond their reach.
- Make a cold slurry. Stir the two tablespoons cornstarch into six tablespoons cold water in the heatproof cup. Scrape the bottom until no dry pockets remain.
- Heat the separate water. Bring the half cup of water to a boil in the small saucepan. Reduce the heat so you can add the slurry carefully without a vigorous bubbling pan.
- Stir in the slurry. Give it another stir immediately before adding it, because starch settles. Pour it into the hot water while stirring the pan continuously.
- Cook until glossy and thickened. Keep stirring over gentle heat, scraping the corners. Remove from the heat once the mixture has changed from cloudy liquid to a cohesive glossy gel; do not keep boiling it simply to fill an arbitrary timer.
- Divide and cool completely. Spoon the base into the three heatproof bowls and leave them out of children’s reach. Stir occasionally so a hot pocket does not hide beneath a cool surface.
- Check before serving. An adult checks that the entire mixture, bowls included, is cool. Stir any surface skin back in or lift it off if it has become rubbery.
- Add color sparingly. Mix one drop of liquid food coloring into each portion if wanted. For stronger color, add another drop only after the first is fully mixed; different colorings vary in strength.
- Adjust the cool texture. If the gel is too firm to spread, stir in one teaspoon cool water, then check again. Stop when a finger or spoon can make a smooth track without the whole portion running away.
- Offer a little on the paper. Start with one or two teaspoons per color. Keep the rest on the adult side and replenish instead of handing over every bowl at once.
The ingredients begin as a loose mixture because the thickening happens during heating. This is different from the quick uncooked mixture in our oobleck tutorial. Keep that recipe for its own pouring-and-pressing activity rather than expecting the two materials to behave alike.
Set up a painting space that can survive it
Lay heavy paper inside the tray before putting paint out. Tape the corners to the tray if your tape is suitable for the surface, leaving the raised rim clear. Loose paper plus a sticky hand can otherwise become a very efficient floor delivery system.
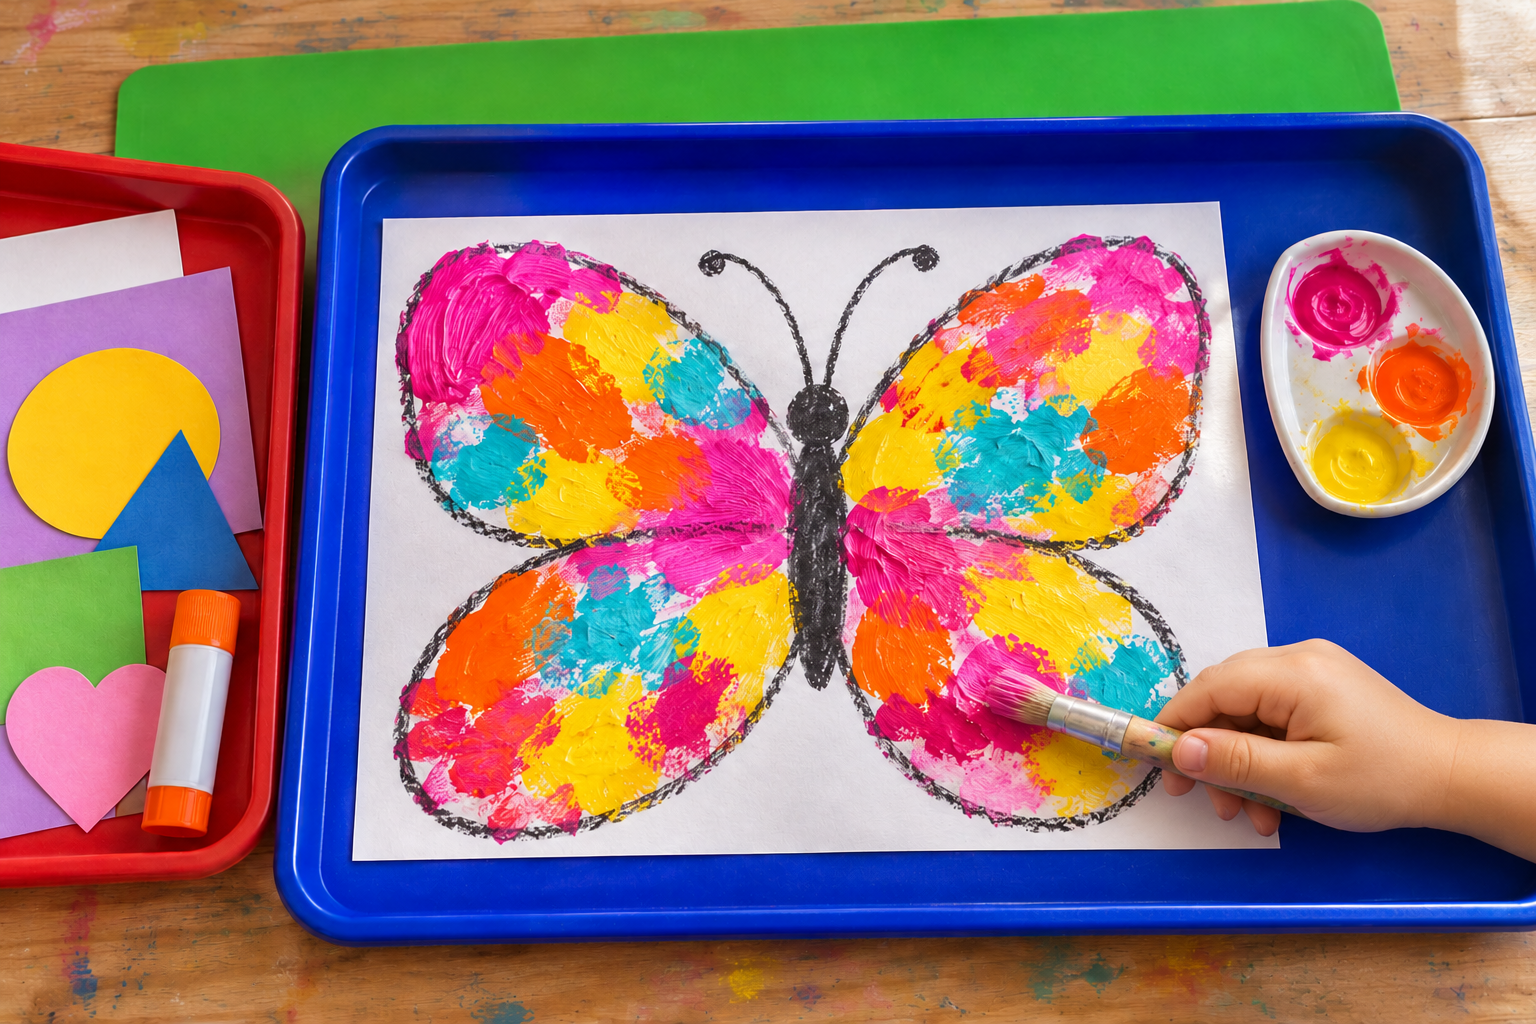
Offer one color first if your child likes a small start. They can make long roads with a fingertip, press a whole palm down, or use the back of a spoon. A child who wants a tool does not need to graduate to bare fingers for the activity to count.
For a ready-made option, the companion guide to washable paint, tempera and watercolor explains which product labels matter. Commercial finger paint and this cooked mixture have different formulas and cleanup expectations.

Fix the base before the paper gets involved
There are little white lumps
They may be dry starch pockets from the slurry. Press a small cooled lump with a spoon; if it stays gritty, start again with a fully smooth cold mixture rather than handing over a lumpy batch.
It is thin after cooling
If the starch never thickened, return the uncolored base to the adult cooking area and heat gently while stirring. Cool it completely again before judging the result.
It is a solid wobbling blob
Stir in cool water a teaspoon at a time. For the next batch, check the tablespoon measure and remove the pan when the gel forms instead of cooking away more water.
A skin forms on top
Stir the cooling portions periodically. Remove a tough skin rather than whisking rubbery strips into otherwise smooth paint.
The paper tears
Use less paint and heavier paper. Move to a clean part of the sheet rather than repeatedly rubbing the same wet patch.
The dried picture flakes
Spread a thinner layer next time and expect a temporary homemade finish. This is a squishy painting session, not the best material for a keepsake you need to post through the mail.
Three ways to use the same batch
One-color road map
Put a small portion near the middle of the sheet. Draw roads away from the paint with a finger, leaving empty paper between them.
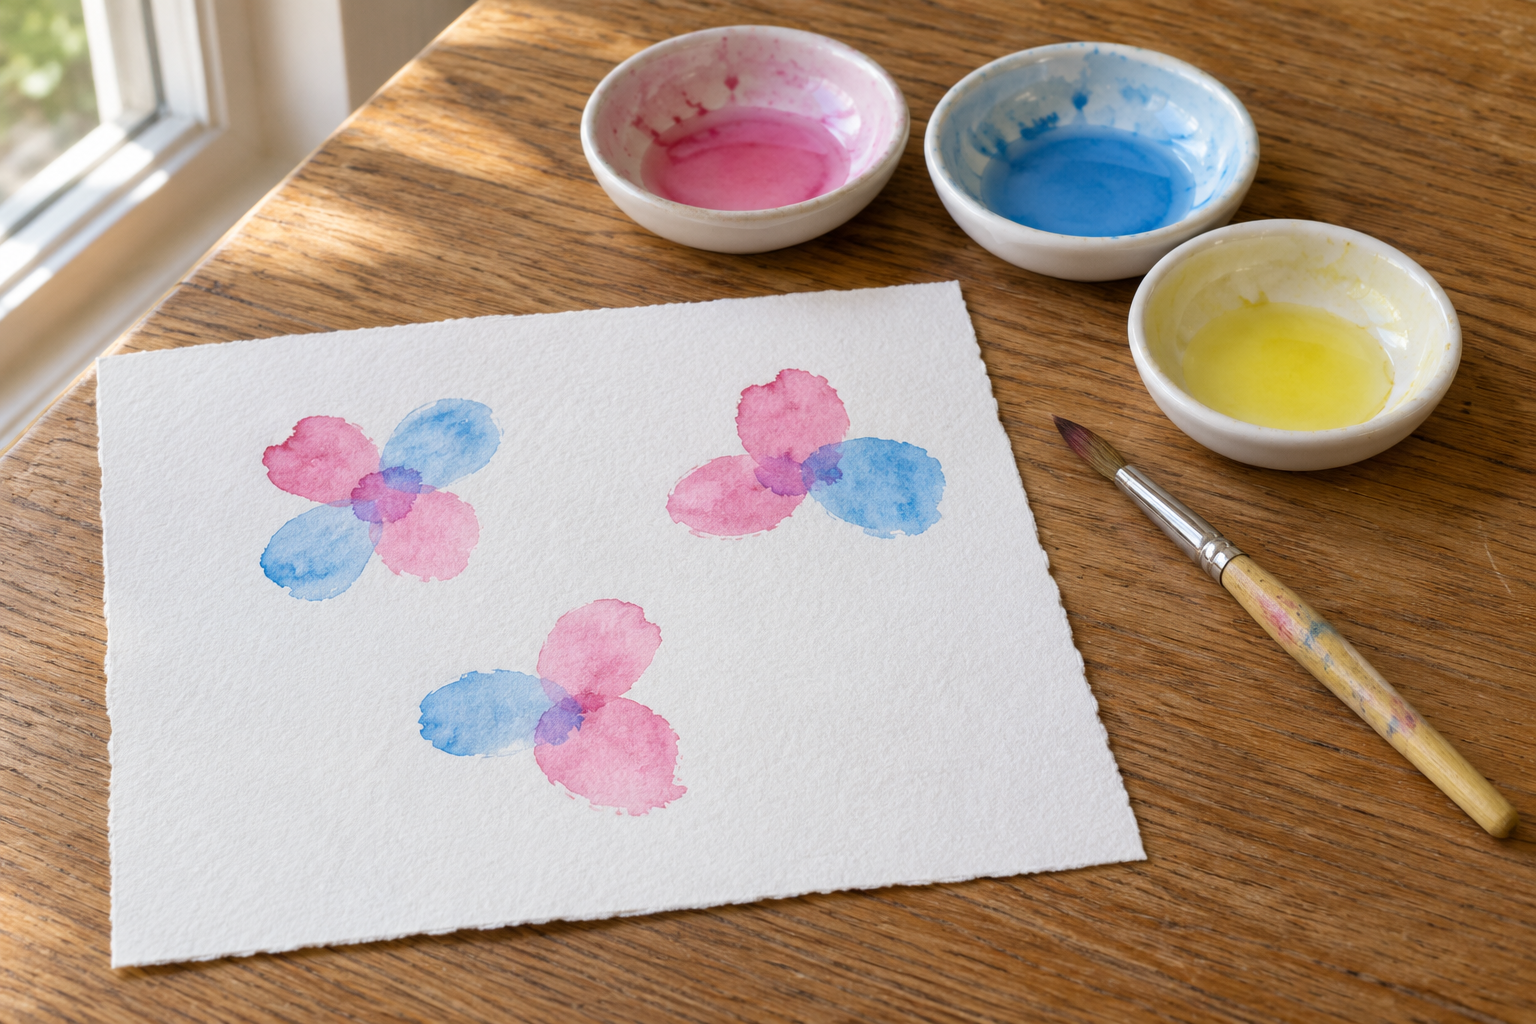
Two-color swirls
Offer two separate small portions and let the meeting point become part of the picture. Hold back a clean spoonful of each color if your child wants to start again.
Plain white texture painting
Leave the food coloring out and spread a thin layer on dark sturdy paper. The contrast comes from the wet marks and paper rather than a stronger dye.
Drying, leftovers and the sticky tray
Leave the sheet flat until dry and carry it on its tray while wet. Thick areas take longer than thin ones, and a shiny surface is not a reliable sign that the paint underneath has dried.
Make this as a single-session batch and discard leftovers afterward, including paint that stayed in the serving bowls. Do not return used paint to a clean container, promise it will keep for a week, or rely on a normal smell to establish that it is suitable to reuse.
Scrape excess gel into the trash, then wipe the tray before washing it. Wash hands and tools with soap and water. Follow fabric care instructions if the coloring transfers; the word “homemade” has never persuaded a white sleeve to forgive red dye.
For a later session using a brush and a raised surface, our companion salt-and-glue picture tutorial needs flowing watercolor, not this thick finger-paint gel. Save the remaining dry cornstarch for another fresh batch instead of trying to thin leftovers into a different paint.
You can find other setups in our toddler painting collection. That page covers activity choices; this recipe is the small cooked material you make first.

Homemade finger-paint questions
Can I make finger paint without flour?
Yes, this version uses cornstarch and water as its base. Check the actual ingredients and coloring against your household’s needs.
Can I skip cooking this finger paint?
No, the method relies on heat to thicken the cornstarch into a gel. A cold cornstarch-and-water mixture behaves differently and is not the same recipe.
Is homemade finger paint washable?
Do not assume that it is, especially when food coloring is included. Protect the surface and clothes, and use a small amount of coloring.
How long can I store homemade finger paint?
This tutorial makes a fresh single-session batch and discards leftovers afterward. It does not give an untested refrigerated shelf life for an unpreserved homemade mixture.
Can my toddler eat this paint?
No, set it up as a supervised craft and keep it out of the mouth. A short kitchen-ingredient list does not make a handled art mixture a snack.
Leave a Reply