
Paint a dome, give it tentacles
Toddler Jellyfish Craft with a Paper Plate and Tissue
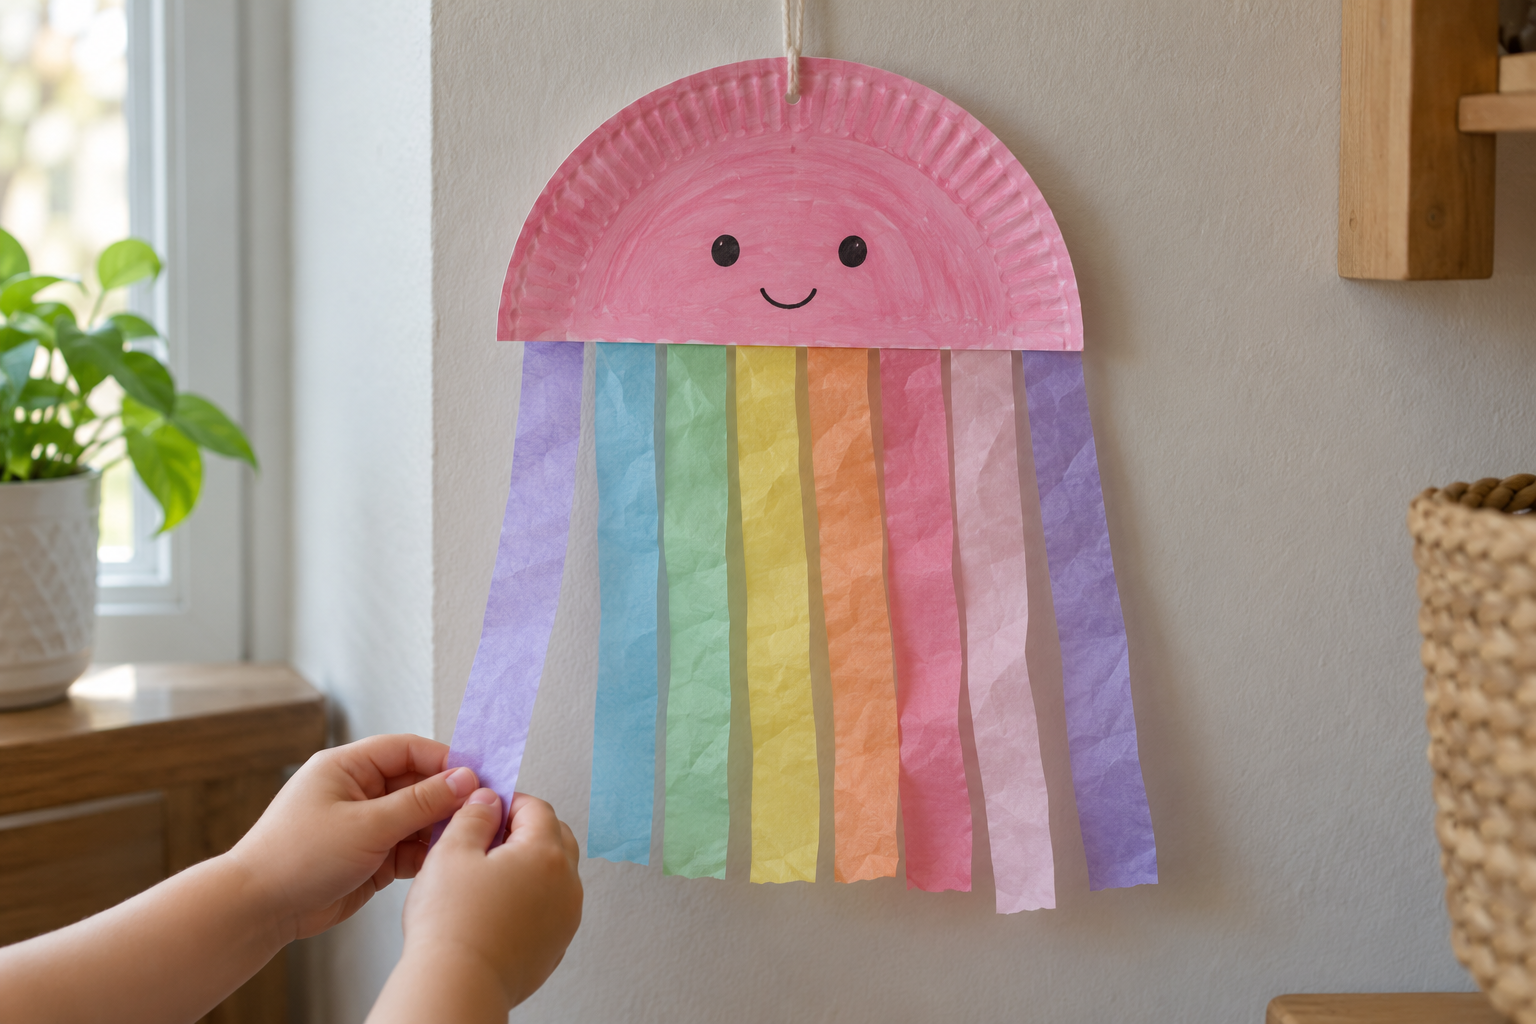
Half a plate becomes the dome, and broad tissue strips float beneath it. Secure the tops in one row so the jellyfish keeps its tentacles.

The jellyfish is the one that makes the paper-plate stash look impressive. Half a plate becomes a dome, broad tissue strips become tentacles, and suddenly your toddler has an animal that moves when the room has the slightest breeze. The attachment is the important bit. Stick the strips to the back of the straight edge, then reinforce their tops, and you avoid a jellyfish that sheds a leg every time somebody says hello.
Your toddler can paint the dome, choose the tissue colors, and press the strip tops. You cut the plate, handle the hanging loop, and untangle the first dramatic tentacle incident. Keep the tissue broad and reasonably short. Long, narrow strands look lovely in a staged photo and then twist into one pastel knot before the glue brush reaches the sink.
This version is a flat half-plate jellyfish for an indoor display. It does not need a bowl-shaped body or eight pieces of yarn threaded through tiny holes. If your toddler is currently fascinated by tissue colors, the tissue-paper suncatcher gives those colors a clear window surface rather than a hanging animal.
Paper-Plate Jellyfish Craft for Toddlers
Makes one hanging jellyfish; the spare half plate can make a second.
Materials
- ½ of a 9-inch uncoated paper plate
- 1–2 teaspoons pink washable tempera paint
- 8 tissue-paper strips, about 1 inch wide and 8 inches long
- 2 broad strips painter’s tape, each about 5 inches long
- A little washable craft glue for optional paper decorations
- One short length cotton string, about 6 inches, for an adult-made display loop
Tools
- Adult scissors and hole punch
- Broad paintbrush
- Black washable marker
- Washable mat and flat drying tray

Step-by-step method
- Cut a clean half plate. An adult folds or marks the plate across its center, then cuts along that line. Keep one half for the jellyfish and save the other. Hold it with the curve at the top and straight edge below; this is the dome shape your child will decorate.
- Paint the dome. Your toddler brushes a thin pink layer across the front. Start with a teaspoon of paint and add a little only if needed. Smooth thick patches so the half plate dries without curling into a bowl.
- Let the paint dry. Set the dome flat on a clean tray. Cut tissue strips while the paint dries, or return later. Wet paint and paper tentacles are a poor combination: the strips stick to the front and come away with a souvenir.
- Prepare eight broad tentacles. An adult cuts tissue strips roughly an inch wide and eight inches long. They can vary by an inch or two. Lay them in a loose row and let your toddler choose the color order. You can trim them after attaching if the bottoms are wildly uneven.
- Arrange the strip tops. Turn the dry half plate face down. Place the top inch of each strip along the back of the straight edge, with the long part extending below it. Leave a small gap between strips. Keep them clear of the upper curved rim.
- Secure the attachment line. An adult places a broad tape strip across four or five strip tops, catching bare plate on either side, then repeats across the remaining tops. Your toddler can press each taped section firmly. Add a little glue beneath a top only if the plate texture makes the tape lift.
- Add a simple face. Turn the plate over carefully while supporting the hanging strips. Draw two big eyes with a black marker, or let your toddler draw their own expression. A face is optional; the dome and tentacles already make the animal recognizable.
- Make the display point. An adult punches two nearby holes near the center of the curved top, leaving a generous margin from the edge. Thread a short string through them and tie it into a small loop. Lift by that loop and check the balance before placing the display beyond your child’s reach.
The trick that keeps the tentacles attached
Tape works well here because it holds a whole row of strip tops at once. Use painter’s tape broad enough to cover the tissue’s top inch and still touch some bare plate. Press along the full length, including the spaces between tissue strips. Tape resting only on tissue has less plate to grip.
Keep the tissue strands separate while you turn the dome over. Lay them flat first, then slide a hand under the plate rather than grabbing one strand as a handle. If your toddler wants to move the jellyfish around, carry it by the plate body together. Tissue is excellent for floating tentacles and terrible for structural engineering.
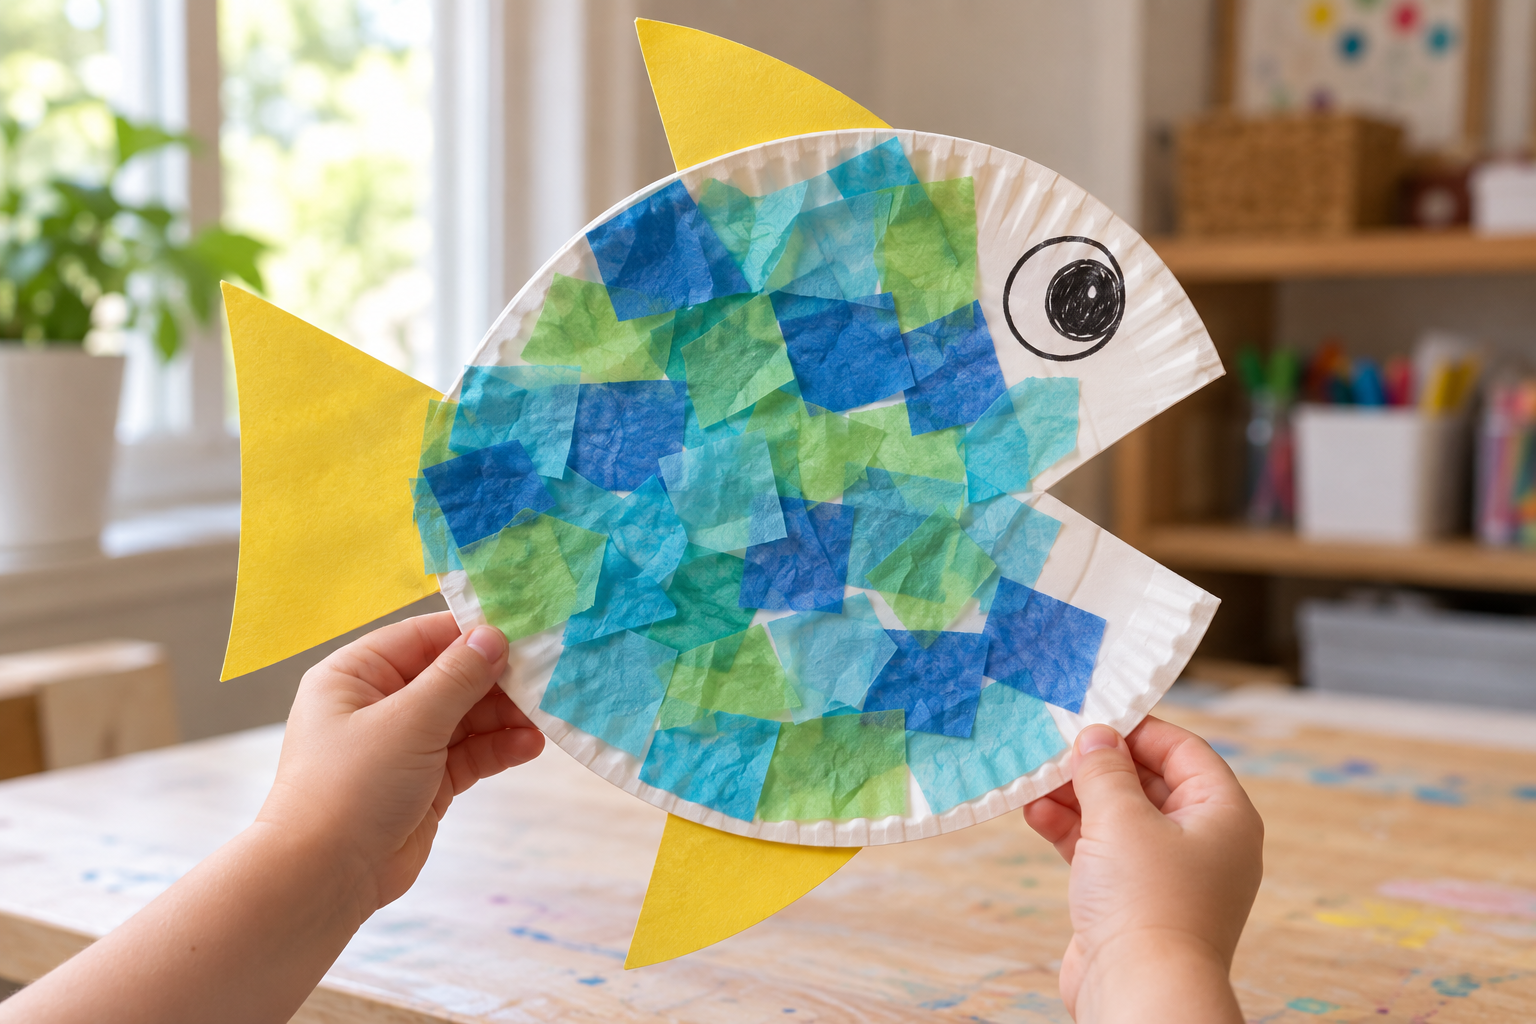
For a flat ocean neighbor, the tissue-scale paper-plate fish uses tissue on the body instead of hanging beneath it. You can save the short ends of these strips as broad scale patches, provided they are still dry and clean.

Troubleshooting
Tentacles fall off
Check that the tape touches the plate between and beyond the strip tops. Press down a fresh broad tape strip over the attachment line. If the plate is dusty or damp, dry it first.
The jellyfish hangs sideways
The hanging point may be off center or the tissue heavier on one side. Move the short loop closer to the dome’s center and redistribute a few strips. Test before securing it on the wall.
Tissue tears at the top
The strip is probably too narrow or being used as a handle. Replace it with a broader piece and reinforce its top behind the plate. Carry the craft by the dome.
All the strands twist together
Trim very long strips and separate them while the jellyfish lies flat. Space their attachment points slightly farther apart. Avoid storing the whole craft crumpled in a small bag.
The dome curls while drying
The paint layer was too wet. Let it dry flat and press the dry dome gently under a book before attaching tentacles. Keep the next paint layer thin.
Three ways to change it
Rainbow jellyfish
Choose eight strips in a few bright colors and arrange them in your toddler’s preferred order. Keep every strip roughly the same width so no single tissue strand becomes a fragile thread.
Dotty dome
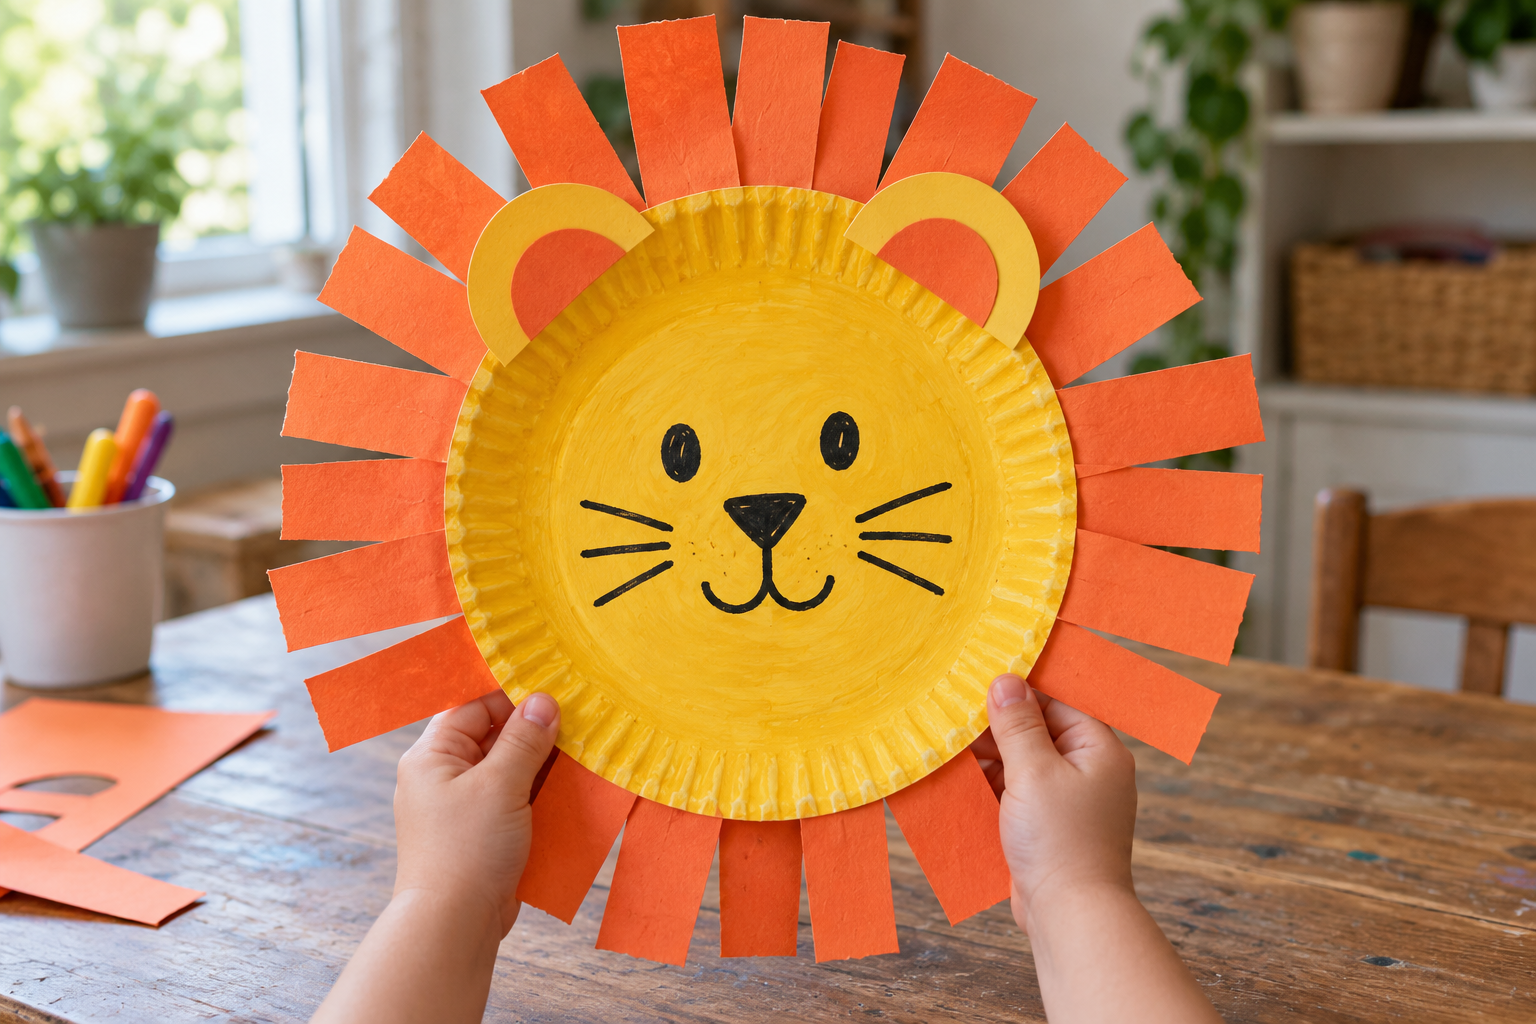
Once the base paint is dry, add big crayon dots or broad paper circles. Avoid tiny sequins and beads. For an entirely different paper-plate outline, the shaggy-maned lion uses sturdy orange strips radiating outward instead of delicate tissue hanging down.
Paint-free version
Color the half plate with crayons or use a plain colored paper plate. Attach the same tissue strips to the back. You can complete the assembly without a paint-drying pause, which is useful when your child has already announced the jellyfish’s name.
A hanging display that survives the afternoon
Place the finished jellyfish where an adult can secure the short loop and your child can admire it without pulling. A wall hook or a tape-secured display point works better than a low handle that invites swinging. Keep it indoors; damp air and a breeze outside can turn tissue tentacles into confetti surprisingly quickly.
You do not have to hang it. Tape the dome onto a large piece of blue paper and leave the tentacles loose beneath it, or lay it on a table for a temporary ocean scene. If you want a painted water background, painter’s tape watercolor art can make white wave-like lines on a separate sheet. Let the background dry before adding the jellyfish.
For storage, lay the craft flat on a sheet of cardboard with its tissue strips straight. Put another light sheet over it without pressing or folding the dome. You can roll the strips loosely around a broad cardboard rectangle, but do not wrap them tightly around the plate edge.
The low-mess toddler crafts roundup is helpful for choosing something dry after this paint session. If you have another half plate waiting, make a second jellyfish on a different day rather than doubling the supplies mid-project. One jellyfish and a clean table can be enough of an achievement.
Questions parents ask
What can I use for jellyfish tentacles?
Broad tissue-paper strips give a light, floaty effect. Cut them around an inch wide so they are easier to attach and less likely to tear. This version uses eight strips about eight inches long.
Should I use a whole plate or half a plate?
Half a plate gives a dome with a straight attachment edge. Put the curve at the top and attach strips behind the straight bottom edge. Save the spare half for another jellyfish.
How do I attach tissue strips without tearing them?
Lay their top inch flat against the back of the plate and secure a whole row with broad tape. Press gently at the tops, not along the hanging lengths. Avoid pulling on a strand to lift the craft.
Can a two-year-old help with this craft?
Yes, with close adult help for painting and pressing broad strip tops. The adult handles cutting, tape placement and the display loop. Offer fewer choices at once if a pile of tissue is becoming a distraction.
How do I keep the jellyfish from hanging crooked?
Use a centered hanging point and spread the strips across the straight edge. Lift gently and check the balance before fixing it on the wall. A small change to the loop position often corrects the tilt.




Leave a Reply