
Drop, close, spin, reveal
How to Make Salad Spinner Art with a 3-Year-Old
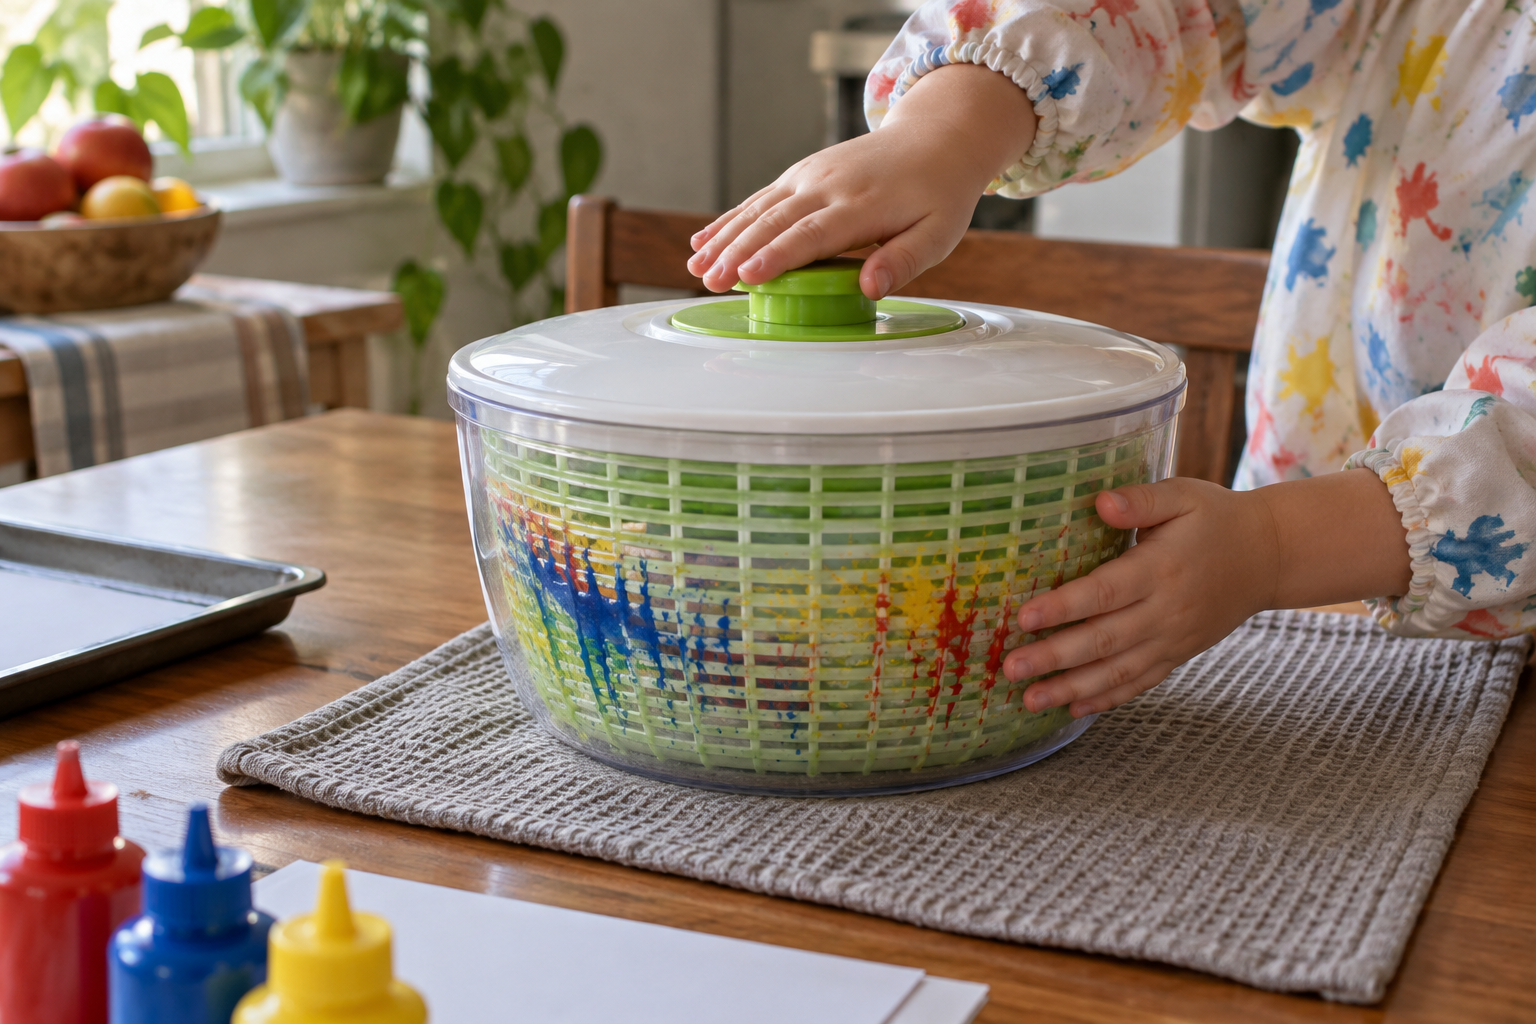
A few paint drops, a paper circle, and one very dramatic lid lift. Here is the setup that makes the spinner spin and keeps most of the paint inside it.

The salad spinner has a second job, and for once it is not holding a damp bag of lettuce you forgot about. Put a paper circle in the basket, add a few small drops of paint, close the lid, and let your three-year-old spin. The reveal is genuinely fun: thin streaks travel toward the edge, and no two circles come out alike.
There is a technique here beyond “put paint on paper.” The size of the paper, how wet the paint is, and whether the spinner stays shut change the result. I have laid out a setup that keeps the art inside the spinner and the cleanup mostly inside the sink. Mostly. If your child wants to paint with a brush next time, the painter’s tape watercolor art makes crisp shapes without the spinning.
Plan to cut several paper circles before calling your child over. One spin is exciting; the second is where they start making serious decisions about color. Use an old spinner reserved for crafts, not the one that will go back to your salad.
Salad Spinner Art for a 3-Year-Old
Makes four or more painted paper circles.
Materials
- 1 manual salad spinner, dedicated to crafts
- 4–6 circles of white cardstock, each about 1 inch smaller than the basket floor
- 2–3 tablespoons washable liquid tempera paint total, divided among 2–3 cups
- 1 teaspoon per paint color to drop small amounts
- 1 washable mat or tray under the spinner
Tools
- Adult scissors for cutting circles
- Damp cloth and shallow drying tray
- Optional old shirt or art apron

Step-by-step method
- Prepare the paper. An adult traces the flat inside bottom of the spinner basket onto cardstock, then cuts a circle slightly smaller than that outline. Keep the paper flat. If its edge climbs the wall, it may fold over when you spin and leave half the design blank.
- Set up a landing zone. Put the spinner on a wipeable mat or baking tray on a steady table. Place the paint cups and spoons nearby, but keep the drying papers on another tray out of elbow range. A three-year-old can move a surprising amount of paint by simply turning around.
- Put the first circle in. Lay one paper circle in the bottom of the removable basket. Set the basket back in the outer bowl and check that it is seated. If the basket rocks, lift and set it in again before adding paint.
- Add tiny drops. Offer two colors to start. Let your child place about three pea-size drops of each color across the circle, leaving space between them. Small separate dots give you streaks; a single big puddle gives you a soggy center. You can add paint after a first spin.
- Close the spinner completely. Put the lid on and check its fit with your hands. If the lid has a latch, close it. Invite your child to hold or press the knob while you steady the base, then trade places if the spinner needs a firmer adult hand to turn.
- Spin in short bursts. Give it five or six turns and stop. Wait for the basket to settle before opening. Lift the lid upward over the bowl so drips fall back inside rather than onto the table. Ask your child what changed before deciding if the paper needs another spin.
- Adjust one thing at a time. If the paint barely moved, add one or two drops or spin again. If the colors pooled in the middle, stop adding paint and try a fresh circle. For long streaks, start the next circle with dots nearer the center, then let the spin carry them outward.
- Lift and dry flat. An adult lifts the damp circle by two opposite edges and puts it on a clean tray or scrap cardboard to dry. Keep the painted side up and papers separate. Repeat with the remaining circles, letting your child choose a new color pair or a different dot pattern.
How much paint and how much spinning?
Start with roughly six pea-size drops total per circle. Washable tempera differs by brand: a runny bottle travels fast, while a thick one needs a slightly bigger drop. The spinner should spread color, not fill with it. If the paint starts collecting in the bowl, you have enough for this round.
A few quick turns make streaks that still show separate colors. Another burst usually blends them more. Pause and look between rounds; do not promise a particular pinwheel pattern. That little suspense is the whole show. For a thicker, raised finish on a different day, homemade puffy paint is its own recipe and works better without the spinner.
Do not try to spin a full sheet of paper by bending it inside the basket. A neat circle is not about being precious; it is the reason the spinner can actually turn. Save your offcuts for color tests or small collages.
Troubleshooting
The paper folds or catches
The circle is too wide or too thin. Cut a new cardstock circle at least an inch smaller than the basket floor. Press it flat before the first drop.
There is a muddy puddle in the middle
Use fewer drops and limit the first round to two colors. Let the wet circle dry rather than trying to rescue it with more spinning; the next circle is your do-over.
The color barely makes streaks
Try a few more turns. If the paint is very thick, stir a couple of drops of water into a small separate portion, not the whole bottle, and try a fresh circle.
Paint leaks out
Stop and check that the inner basket is seated and the lid fully closes. Reduce the paint amount. Put the spinner in a baking tray before trying again.
The circle tears when lifted
Leave it in the basket for a minute, then slide a thin spatula beneath it or lift gently from two sides. Switch to heavier cardstock for the next round.
Three ways to change it
Two-color experiment
Let your child choose two colors and place one near the center, the other near the edge. Spin once and compare with a second circle where both start in the middle. The result will not be identical, which is useful when someone insists they have invented a new galaxy.
Autumn leaves
Use yellow, red and a little brown on circles you can later cut into large leaf shapes. Wait until the paper is fully dry before cutting so the edge stays neat. Tape the leaves in a window or on a cupboard.
Small-group turn taking
Cut a stack of circles and assign one child to drop paint while another presses the spinner. Swap roles for the next circle. Keep the adults in charge of opening the lid and moving the wet art.
Drying, using the art, and washing up
Lay circles flat with space around them. Thin streaks may be touch-dry sooner, but thick dots can stay damp for hours. If a dry circle curls, put it under a clean book overnight with a sheet of plain paper between the artwork and the book. Do not press a damp painting; you will make a book-shaped surprise.
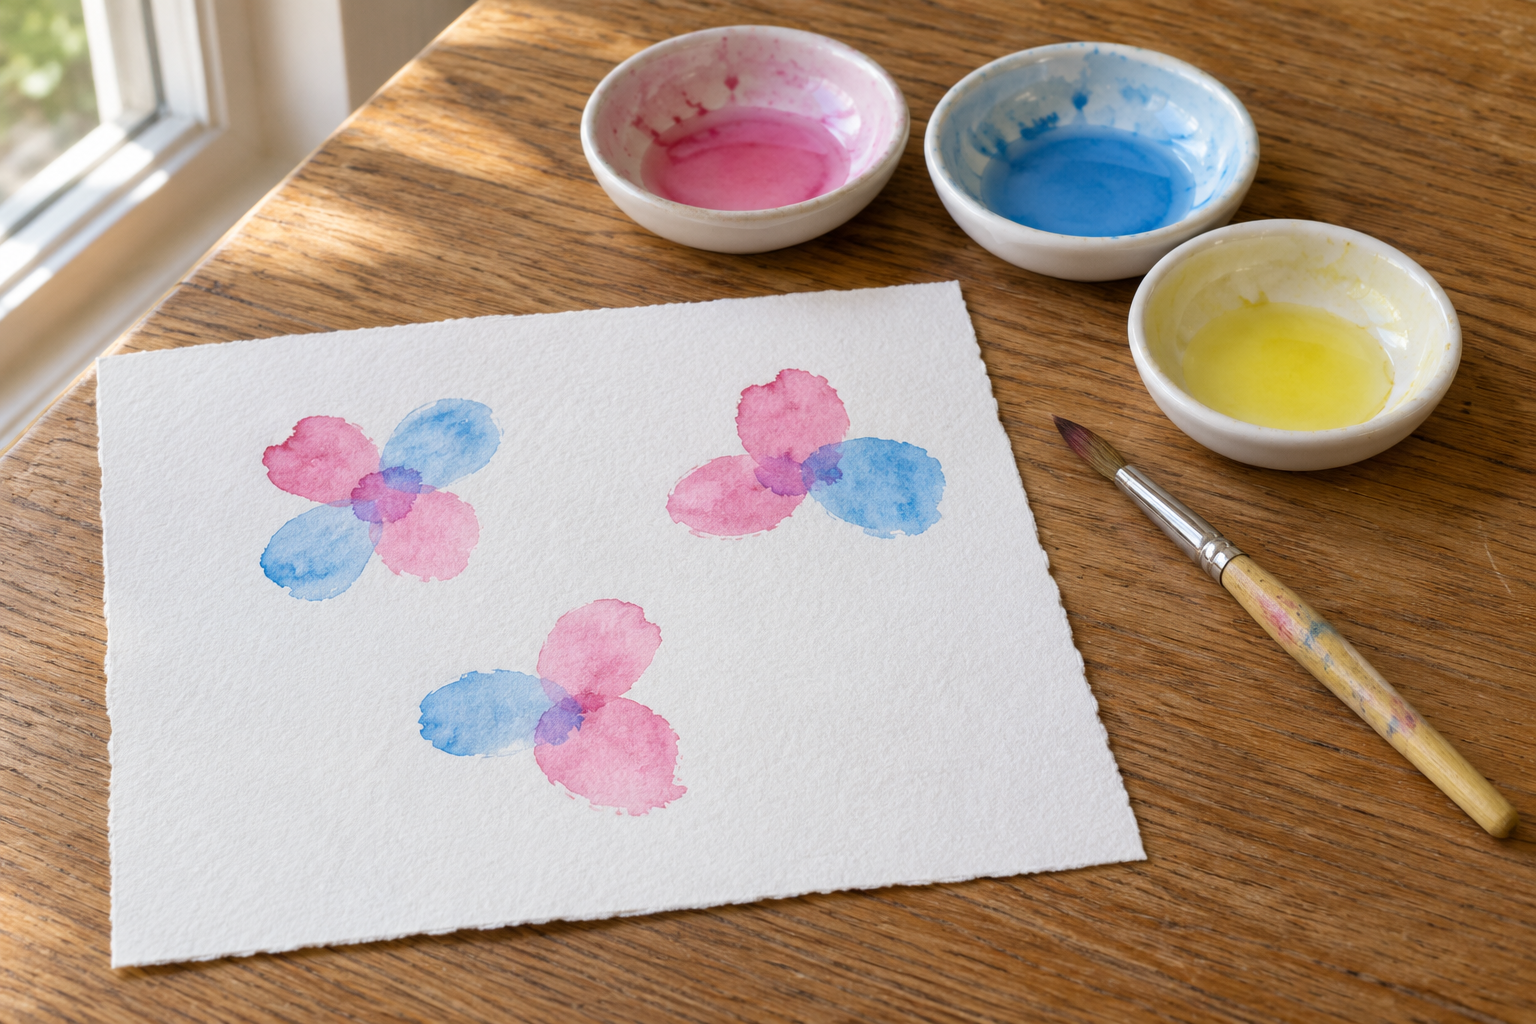
Once dry, use a circle as a card front, a big paper flower center, or simply hang it at toddler-eye level. If your child wants defined borders instead of unpredictable streaks, the tape-resist watercolor project gives them a different reveal. The painting activities collection has more setups for another day; this one earns its cleanup because the spinning itself feels like part of the craft.
Pour the collected paint into a disposable scrap towel before rinsing, especially if there is a lot of it. Wash the craft spinner, spoons and tray in a utility sink or tub. Wipe the table before taking off the apron. The final handprint on the chair is often a delayed discovery.
For a dry, reusable project when the spinner is being washed, the felt story board uses cut shapes that can be rearranged again and again. If your child likes checking on a project after a pause, the clear-cup bean project gives you a reason to come back to the windowsill tomorrow.
Questions parents ask
What paint works in a salad spinner?
Washable liquid tempera makes visible streaks and cleans up reasonably well. Start with small drops rather than pouring. Very thick paint may need a separate tiny portion thinned with a few drops of water.
Can I use a salad spinner for food afterward?
I keep a dedicated craft spinner so there is no question about paint trapped in its parts. A thrifted or older spinner works fine if the lid and basket still turn smoothly.
What paper should I use for spin art?
Cardstock holds up better than printer paper when wet. Cut it smaller than the flat basket floor, and prepare several circles at once. If a sheet buckles, try a heavier one next round.
Why is my salad spinner art just a blob?
There is probably too much paint in one spot or too many colors blending. Use a fresh circle with a few spaced drops in two colors. Spin briefly, look, and only then decide if it needs another turn.
How long does spinner art take to dry?
It depends on paint thickness and the room. Set the circles flat for several hours and check the thickest dot before stacking. A paper that feels cool or tacky in the center needs more time.



Leave a Reply