
Swirl, press, lift, scrape
How to Make Shaving Cream Marbled Paper with Preschoolers
The pattern looks like a frosted mess until the foam comes off. Here is how to get a clean, swirly print without turning the tray into purple soup.

The fun part of marbled paper is the lift. Your three-year-old presses a clean sheet onto swirled color, you peel it back, and for one second it looks like a frosted disaster. Then you scrape the foam away and the pattern appears. This is a printmaking project with an actual sequence, which makes it feel like a magic trick without requiring you to pretend the kitchen is a professional art studio.
This tutorial uses a thin bed of shaving foam and small amounts of washable color. The paper takes a print of the surface; you are not stirring paint all the way through the foam. The difference matters. If your child churns the tray into purple soup before the first sheet goes in, start a fresh patch and try one lazy swirl.
The site already has shaving cream sensory play ideas for kids who mainly want to squish foam. Here the goal is a sheet of patterned cardstock that dries flat enough to turn into a card or collage. Put on an old shirt, because paint migrates.
Shaving Cream Marbled Paper for Preschoolers
Makes four to six patterned cardstock sheets.
Materials
- 1 shallow baking tray or washable plastic tray
- About 2 cups plain white shaving foam, enough for a thin even layer
- 4–6 sheets white cardstock, roughly 5 by 7 inches or smaller than the tray
- 2–3 teaspoons washable liquid tempera or liquid watercolor total, divided among two or three colors
- A few paper towels and a washable table mat
Tools
- 1 craft stick or spoon handle for swirling
- 1 plastic ruler or straight-edged scraper
- Second tray or clean counter space for drying

Step-by-step method
- Cover the table. Put a washable mat under the tray and place the clean cardstock and drying area outside the splash zone. Give the scraper its own paper towel. Once your child sees the foam, you will not get a peaceful two-minute setup window.
- Spread a thin foam bed. Shake the can and spray enough shaving foam into the tray to cover an area a little larger than one sheet. Use the straight edge or a spatula to level it to about half an inch. You do not need a mountain; a level surface touches more of the paper.
- Add small color drops. Dot the surface with a few drops of each color, spaced apart. Start with two colors and perhaps ten to twelve drops total. Thick blobs sink through the foam and muddy the next print; you can always add a few more after the first sheet.
- Make two or three swirls. Let your child draw slow lines through the colored top layer with the craft stick. Stop while you can still see separate ribbons of color and white foam. A whole minute of stirring is excellent sensory play, but it erases the marbling.
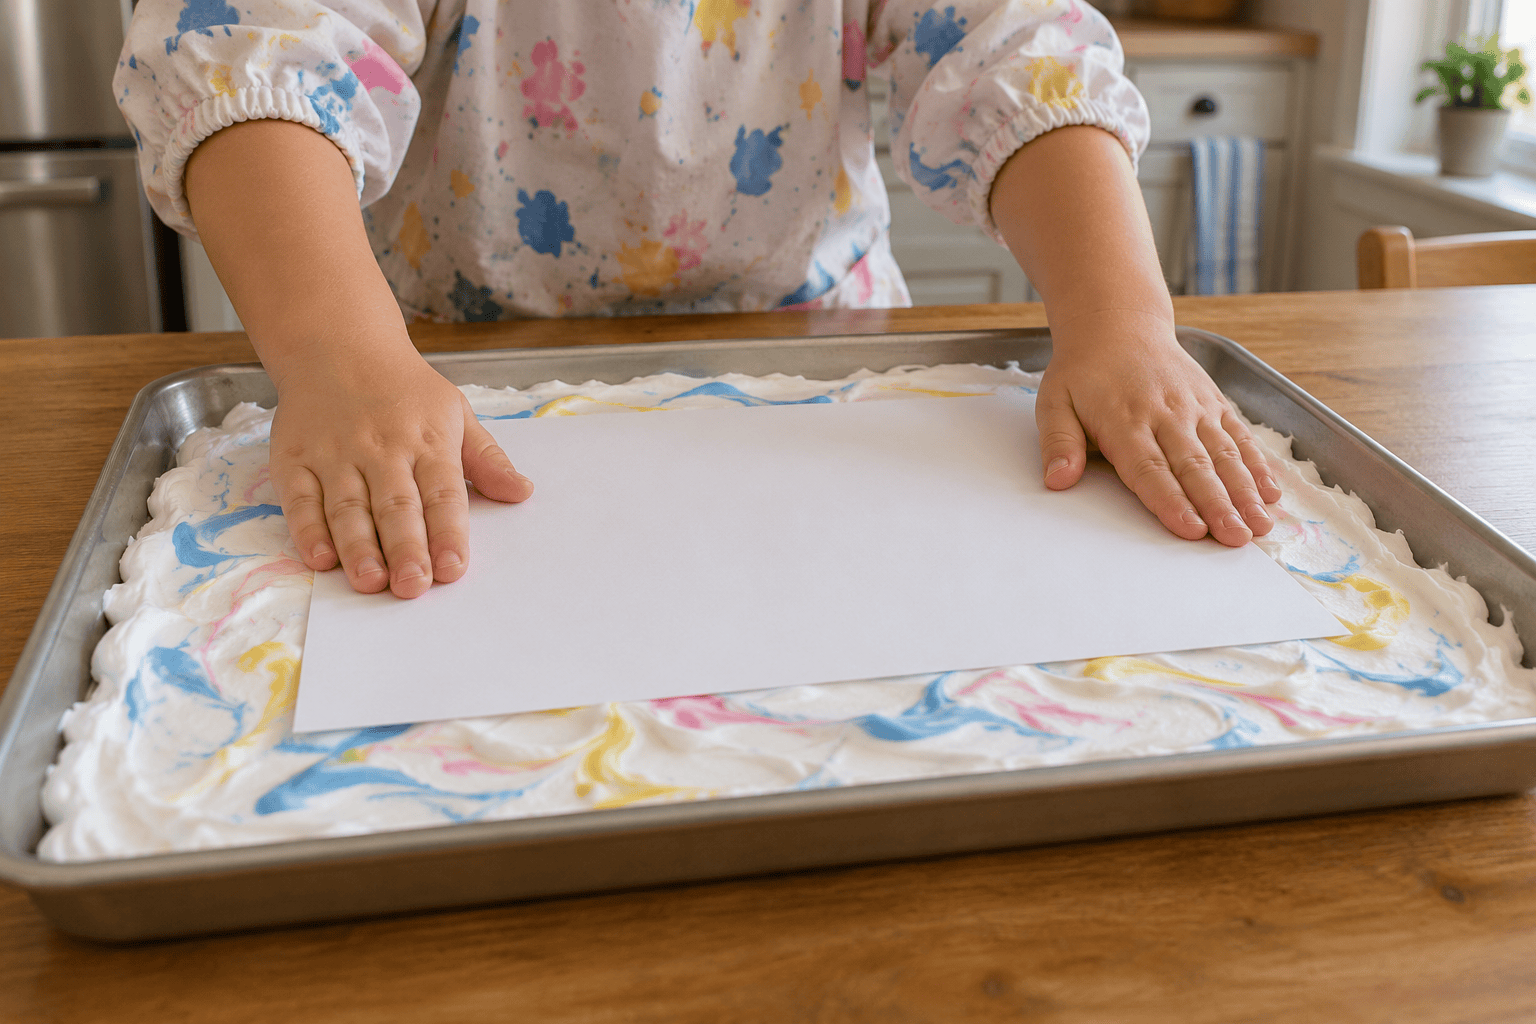
- Lay on the paper. Place one cardstock sheet onto the foam without sliding it sideways. Press gently over the center and corners with flat hands so the whole face meets the colored surface. Count to three together. Pressing harder will not make a better print; it mostly forces foam over the edges.
- Lift by two corners. Peel the sheet back in one smooth motion and set it foam-side up on the clean part of the table. You should see a layer of colored foam on the paper. Do not rub it with fingers or turn it face down.
- Scrape once. Hold the cardstock at the top edge while an adult draws a plastic ruler or scraper down the page in one firm, smooth pass. Wipe the ruler onto a paper towel. The design appears underneath. If a little foam remains, make one more gentle pass in the same direction.
- Set out to dry and reset. Move the print flat to a clean tray. Skim the mixed top layer from the foam if it looks muddy, then add a few fresh color dots and swirl again. Make another print. Replace the foam when the whole tray takes on one color or becomes watery.
The difference between a swirl and a brown puddle
Keep your stick near the foam surface. Draw one long S shape, then maybe a loose loop. Your child can make the next choice. The white areas between the colors are useful; they stop every sheet from becoming one solid shade. If the first tray turns muddy, call it the test run and spread fresh foam over part of the pan.
Liquid watercolor makes translucent ribbons; washable tempera gives bolder marks. Either can work, but try a tiny test print with the supplies you own. Food coloring can stain hands and counters more stubbornly, so this setup uses washable child craft color. Use a limited palette at first. Blue and yellow are usually easier to read than five competing colors.
For a completely different wet-paper technique, making recycled paper starts with pulp and forms the sheet itself. Here you start with sturdy cardstock and transfer a surface pattern onto it. The scraper is the satisfying reveal step, so resist wiping the foam with a cloth instead.
Troubleshooting
The print is a solid muddy color
The color was stirred too much or too many shades were added. Remove the mixed top layer, smooth fresh foam, add two colors in small drops, and make only two or three passes with the stick.
White patches did not print
The foam bed was uneven or the paper did not touch in those spots. Level the foam and press each corner lightly next time. A few white gaps can stay; they are part of the print.
The paper curls badly
The cardstock is too thin or was soaked with excess foam. Use heavier cardstock and less foam. Let the sheet dry completely before placing it under a clean book overnight between plain paper sheets.
The design smears when scraped
Hold the scraper upright enough to move the foam away in one direction. Wipe it after every pass. Do not use a wet cloth over the printed surface.
The second print is faint
The first sheet took most of the pigment. Add a few new drops on top of the foam, swirl once, and print again. Replace the bed if it is thin or watery.
Three ways to change it
Ocean paper
Use two blues and a tiny amount of green. Once dry, cut a large wave shape or use the sheet behind a simple fish collage. Keep the colors separate in the tray so the print has movement.
Autumn card fronts
Try yellow, orange and a very small amount of brown. Print on small cardstock rectangles that can later be folded or glued to cards. Brown can take over quickly, so add it with a light hand.
Single-color first try
For a child who wants to do every step alone, start with one washable color. It is much harder to make mud, and the press-lift-scrape sequence is still the fun part. Add a second color on the next sheet.
Drying, cleanup, and what to do with the pages
Spread prints separately on a clean flat surface. Thick corners may take several hours to dry. Check the center and edges before stacking; the paper can feel dry on top while a soft patch still sticks underneath. If a dry sheet curls, press it under a book overnight with clean paper on both sides.
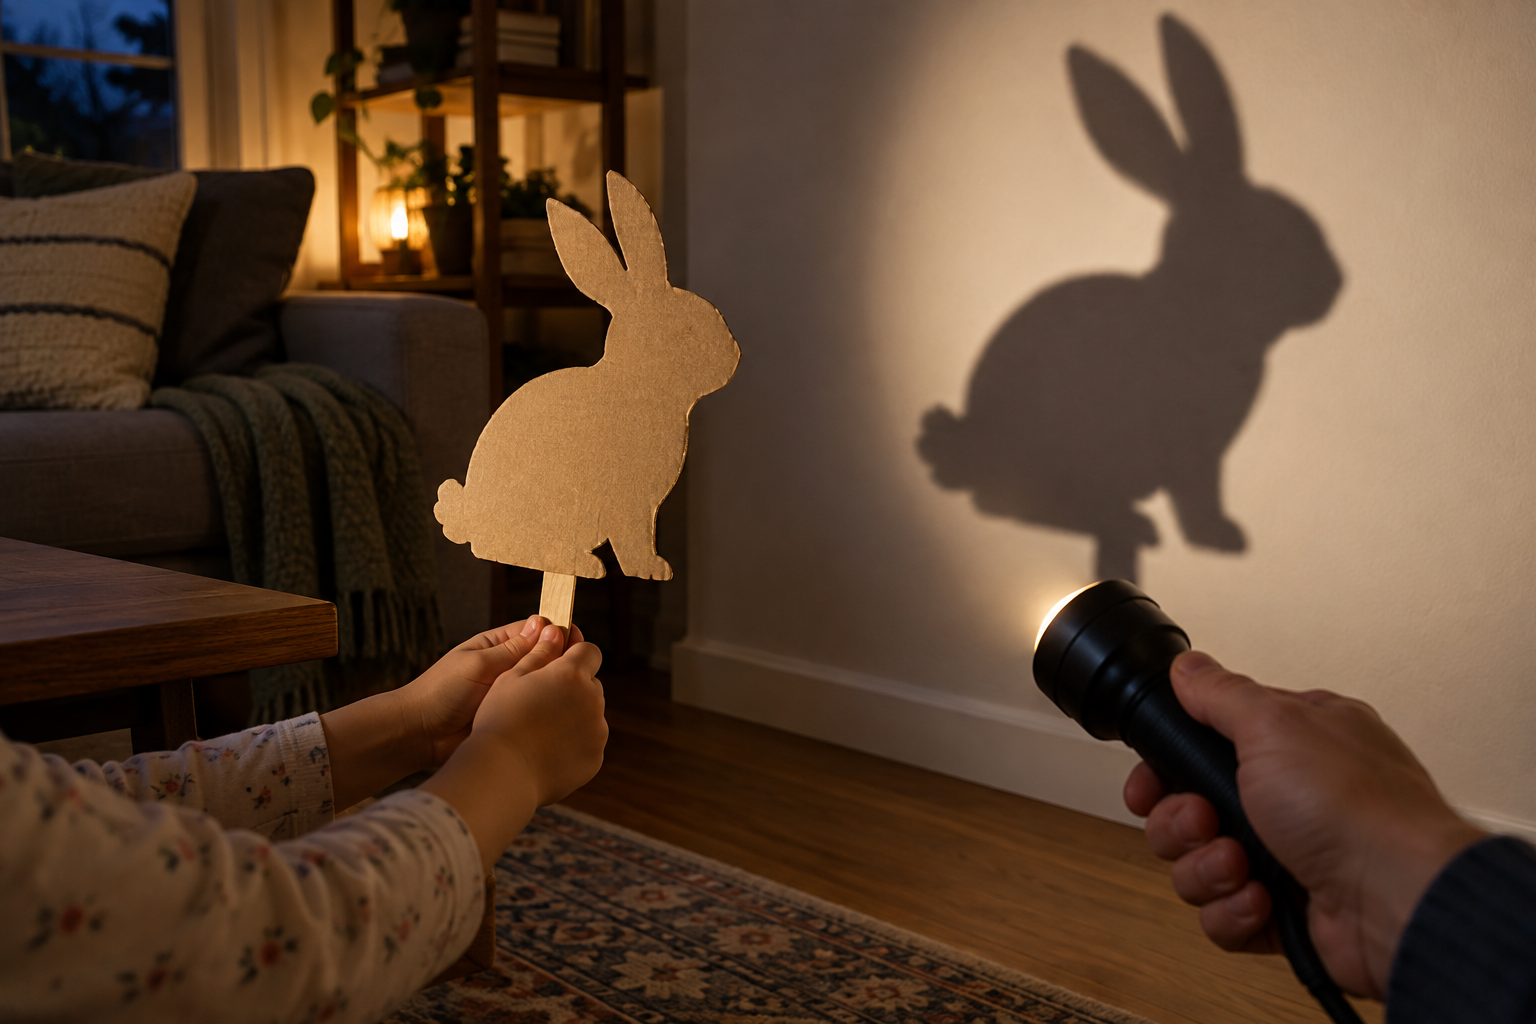
The finished pages make good card fronts, large cutout shapes, or bright scenery for a homemade theater. If you build the cardboard shadow theater, use a dry marbled sheet on the outside frame, not over its translucent screen. Opaque cardstock would block the light.
You can also cut a dry sheet into broad shapes and attach them to a card. For repeated patterns made by pressing a tool onto paper, the foam stamp tutorial uses a different kind of print transfer. It is a handy follow-up when your child asks to make ten nearly identical stars after seeing that these marbled sheets are all different.
Scrape used foam into the trash with paper towels, then wash the tray, stick and ruler. Wipe hands before your child touches the drying prints. If you want a brush-based reveal instead, painter’s tape watercolor art uses uncovered paper areas to make crisp lines. This project makes loose swirls, and it is allowed to look gloriously imperfect.
Questions parents ask
What paper works best for shaving cream marbling?
Sturdy white cardstock is easier to lift and scrape than printer paper. Cut it smaller than the tray so it lies flat. Thin paper can still take color, but it wrinkles and tears more easily.
Can I use washable tempera instead of liquid watercolor?
Yes. Use small drops of washable liquid tempera on top of the foam and try one test sheet. Very thick paint may leave blobs; stir a tiny separate portion if you need it a little looser.
Why is my marbled paper brown?
The colors were probably mixed for too long. Smooth fresh foam, use two colors, and draw just a couple of slow lines across the surface. Lift the paper before the colors blend into one field.
Do I have to use shaving cream?
This tutorial depends on foam holding color at its surface while paper takes a print. A different medium needs a different method. If you want a foam-free painting project, try the linked tape watercolor tutorial instead.
How long should the paper stay on the foam?
Only a few seconds of light, even contact are needed. More time does not make the swirls sharper and may soften the paper. Lift by two corners, then scrape away the foam right away.


Leave a Reply