
A practical preschool table project
How to Make Preschool Worksheets Reusable Without Laminating

You can stop printing the same perfectly usable page every time a purple line lands in the wrong place. Slip it into a suitable wipe-clean pocket, give your child one compatible marker, and keep a cloth within reach. The important word is suitable: a crinkly document sleeve and a purpose-made dry-erase pocket are not automatically interchangeable.
With two young kids, I like a setup with a clear ending: mark, wipe, put away. You do not need a laminator, a binding machine, or twelve activities arranged like a tiny office training day. Start with one page and one pocket, then decide whether the extra cleanup is worth it for your family.

A one-page reusable worksheet setup
You need
- One dry US Letter worksheet, 8½ × 11 inches
- One reusable dry-erase pocket that accepts that paper size
- One compatible, age-appropriate dry-erase marker
- One soft cloth and a second dry cloth if damp cleaning is permitted
- A flat washable work surface
- A shallow tray for the capped marker and cloth
Allow about ten minutes for the initial fit and erase check. Subsequent setup takes a minute or two. The cost depends on what you own; a small pocket-and-marker purchase is optional, and plain paper remains a perfectly good alternative.
How to make a worksheet reusable without laminating
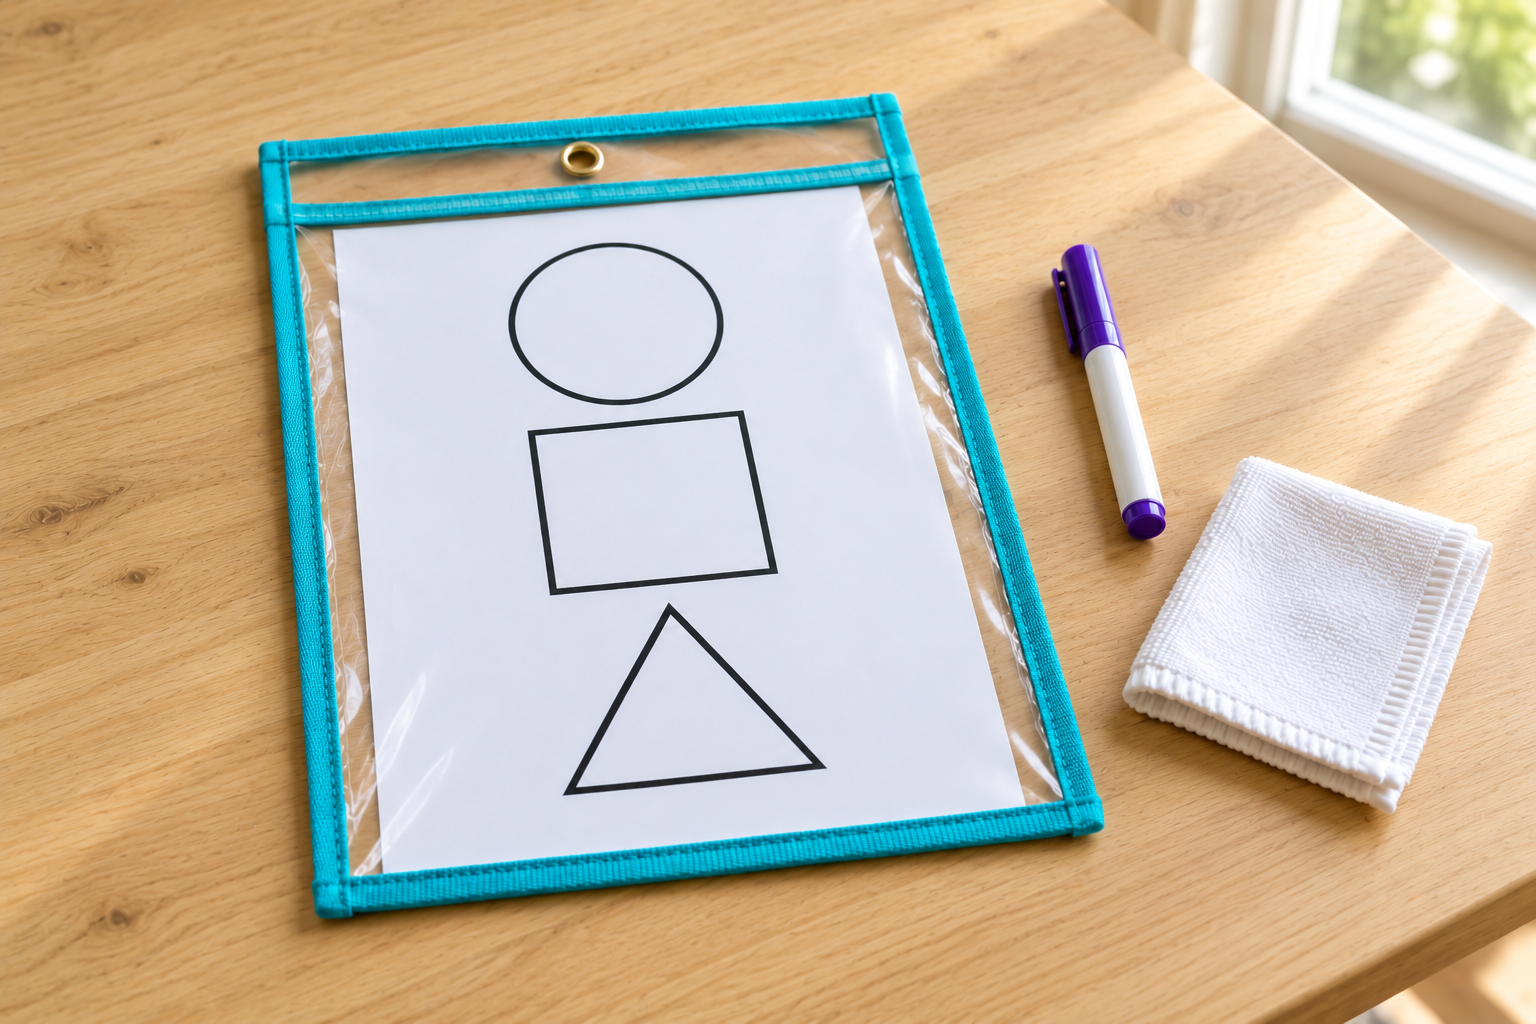
- Choose a page with something to mark. A few large shapes to circle make a useful first test. Avoid an activity whose whole point is cutting, folding, painting or sticking pieces down. Those actions need exposed paper, not a shiny barrier.
- Check the pocket label. Look for dry-erase compatibility, the supported paper size and cleaning directions. A standard binder protector may hold a page but still smear, stain or wrinkle under a marker. Do not assume a sleeve is wipe-clean because it is transparent.
- Load a completely dry sheet. Let ink dry first. Slide the page in gently, keeping its corners flat. If you have to force it through the opening, use a larger pocket rather than crumpling the worksheet into submission.
- Flatten the working area. Set the pocket on the table with the opening away from your child. Check that the paper lies under the clear surface and does not slide out when the pocket is nudged. Follow any closure instructions supplied with the pocket.
- Try a small mark yourself. Make a short line near an unused edge of the working surface. Erase it using the manufacturer’s method. If the line leaves a stain or the surface feels sticky, change the marker or pocket before handing over the whole page.
- Offer one marker. Uncap it yourself if necessary and keep the cap out of reach. Invite your child to circle one shape, add a dot or draw a line. The first invitation does not need to become a worksheet completion requirement.
- Wipe before packing away. Remove fresh marks promptly. If damp wiping is permitted, use a barely damp cloth and then dry the surface. Keep moisture away from the opening and remove the paper before any more thorough cleaning.
- Reset only when dry. Put the clean pocket, dry cloth and capped marker in their tray. Keep the paper separate if moisture has entered. Inspect the pocket for torn edges, split seams and trapped debris before using it again.
Choose pages that suit the surface
Large targets work better than crowded little boxes when a marker tip is chunky. Three simple shapes on a sheet give your child room to make a visible mark without covering every instruction. Leave generous white space around the things you want to circle.
A sleeve changes the feel of the activity. It is smooth and sometimes slippery, and the line can disappear under a hand. If your child wants the drag of a crayon or wants to keep the picture, take the page out. Reusability is a convenience, not a reason to insist on plastic.
For ideas about choosing the paper itself, the preschool workbook guide covers the broader selection question. This setup handles only the surface and cleanup; it does not require a particular workbook.
Likewise, using tracing worksheets is a separate choice from making a page wipe-clean. You can use this pocket for a simple matching page without turning the afternoon into handwriting practice.

Fix the annoying bits
The marker smears under a sleeve
Move the tray to the side and try a smaller amount of marking at once. A compatible marker may still rub off when touched; that is part of a dry-erase surface. If it frustrates your child, return to paper rather than switching to permanent ink.
A pale ghost stays behind
Stop and check both manufacturers’ cleaning instructions. Test only a permitted cleaner on a discreet area, with the worksheet removed. Do not start mixing household products or rubbing away the pocket’s surface; replace a badly stained pocket if necessary.
The paper slips
Check that the pocket is the right size and that any closure is used correctly. Keep it flat. If the page still moves, choose a better-fitting pocket; loose clips or small fasteners add another thing to supervise.
The ink beads instead of drawing
Check compatibility and make sure the surface is clean and dry. A greasy handprint can interfere with a line, but an unsuitable plastic is also possible. Do not scrub harder or add stronger chemicals to make a poor combination work.
Three useful versions
The plain-shape pocket
Draw a circle, square and triangle in black on ordinary paper. Put it inside the pocket and ask for a dot beside one shape. You can change the invitation without changing the page or buying another resource.
The two-sided choice
If your pocket allows marking on both sides, place two pages back to back. Keep the activity facing upward and turn the whole pocket when you change pages. Do not overfill it with a thick stack.
The mark-and-make tray
Offer a brief wipe-clean page, then switch to plain paper cutting strips. Put the pocket away first: scissors and reusable plastic do not belong in the same invitation.
When to print another copy instead
Keep a paper version for work your child wants to save. A picture destined for the fridge does not need a wipe-clean deadline. The same applies when siblings want different colors on their own copies; one shared pocket can create more negotiation than it saves in ink.
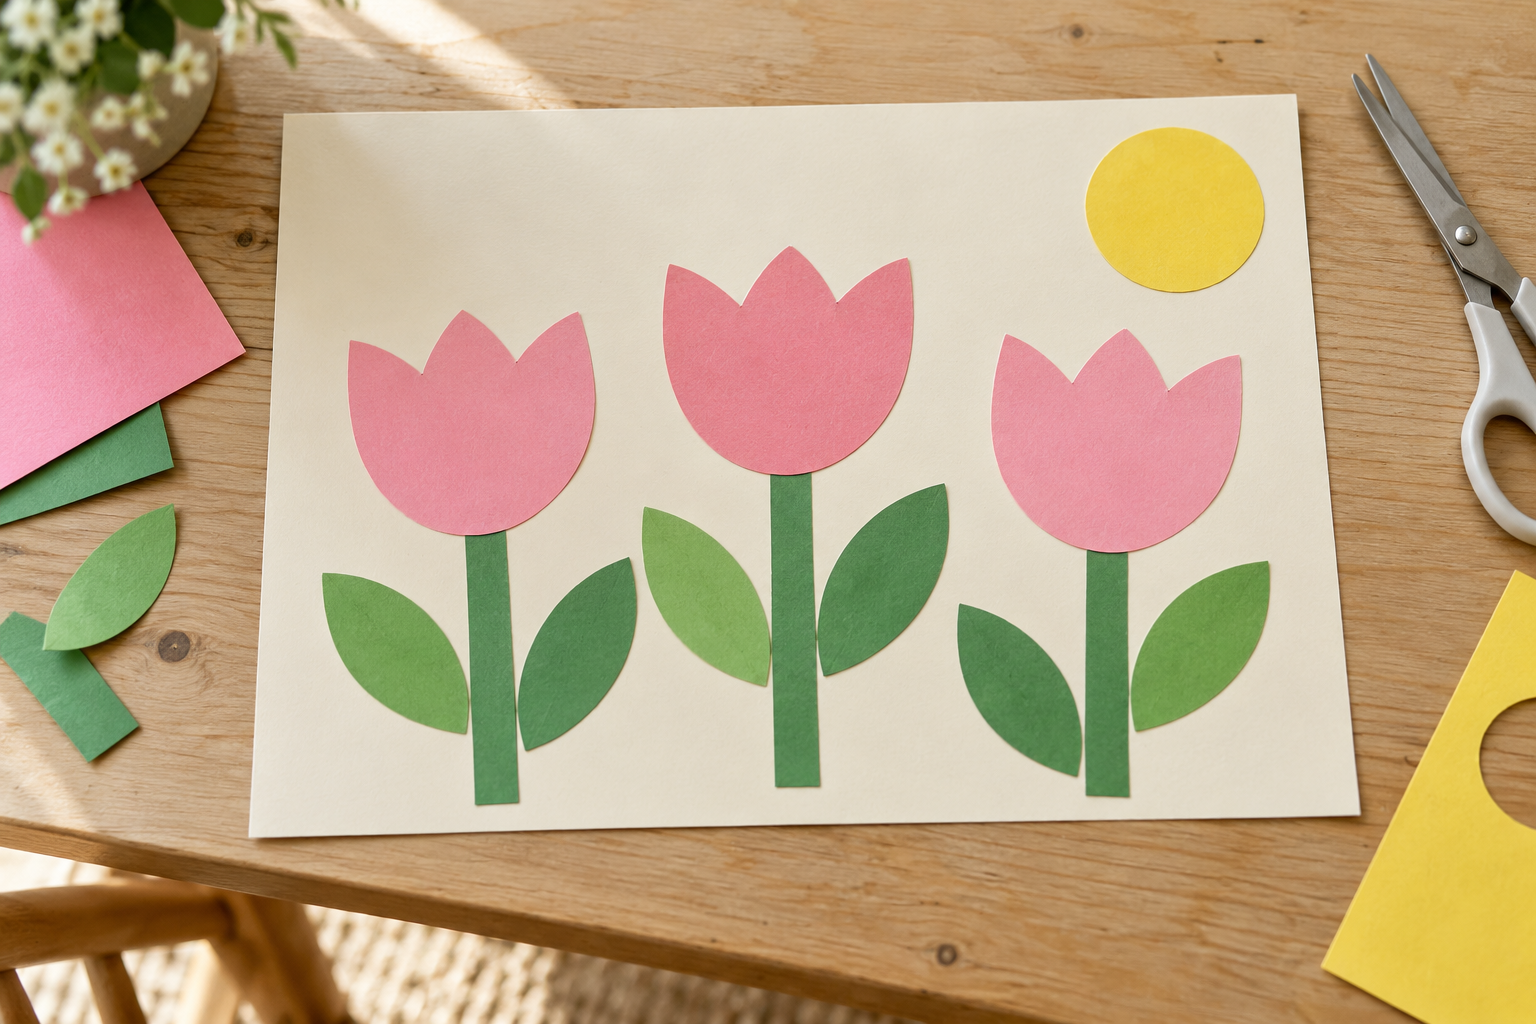
For a project with a permanent result, the cut-and-paste paper garden uses large pieces arranged and glued onto cardstock. Protect the table underneath it, but leave the backing sheet exposed.
Once you have a pocket that works, store only a few current pages beside it. The small-space paperwork setup offers ideas for keeping spare sheets accessible without letting them take over the table.

Frequently asked questions
Can I use ordinary sheet protectors?
Only if their instructions support the marker and cleaning method you intend to use. Document protection alone does not establish dry-erase compatibility. Test first and expect that an inexpensive sleeve may crease or stain.
Are washable markers the same as dry-erase markers?
No. Washable usually describes removal from specified surfaces such as skin or fabric, not wipe-clean behavior on every plastic. Choose the marker type named by the pocket manufacturer.
Can I leave the writing overnight?
It is better to erase promptly, following the product directions. Longer contact can make some marks harder to remove. A quick wipe belongs in the packing-away routine.
Can cutting worksheets go in a reusable pocket?
You can store them there, but take them out before cutting. Cutting the pocket damages it and changes the activity completely. Print fresh cutting sheets when the original has been used.
Do I need a binder for reusable worksheets?
No. One pocket and a little tray are enough to begin. Add storage only when you know which pages you actually reuse.




Leave a Reply